How To Clean Beam Central Vacuum
This post contains affiliate links. As an Amazon Associate, we earn from qualifying purchases.
Cleaning your Beam Central Vacuum is straightforward and ensures optimal performance. Start by switching off and unplugging the system for safety, then proceed with the necessary steps to maintain it. Further details and additional tips for keeping your vacuum in top condition will be covered later in the article.
Essential Facts in 30 Seconds
Key Takeaways for Cleaning a BEAM Central Vacuum:
- Clean the system 2-3 times a year to avoid dust accumulation.
- Check and clean the HEPA filter to remove allergens and debris.
- Utilize power nozzles for thorough carpet cleaning.
- Ensure safety by turning off and unplugging the system before maintenance.
- Verify suction at each inlet post-cleaning to confirm proper airflow.
Preparing for the Cleaning Process
Get ready to clean your BEAM central vacuum with five easy steps.
Start by checking how often you clean. Empty the dirt bin 2-3 times yearly. This stops dust from piling up fast.
Next, learn about your filter. BEAM often uses HEPA filters for allergens. See if yours needs a quick look.
Then, find all house inlets. Make sure no blockages hide there.
Spot the high-traffic areas next. Dirt gathers a lot in those places. Give them extra care and attention.
Lastly, check pet areas or dusty spots. Plan to clean hair and dander well. Remember to follow the maintenance schedule every 2 years for optimal performance.
You can do this easily! These steps help your vacuum work great. No problems will slow you down. Let’s make your home clean and fresh!
Gathering Necessary Tools and Supplies

Get ready to clean your BEAM central vacuum with the right stuff. I’ve got you covered with easy tips. Let’s grab the tools to make this job simple. Dust and dirt won’t stand a chance!
Check out this list of must-haves for awesome cleaning:
- Stair and Upholstery Tools: They clean tough spots super gently.
- Oval Dusting Brush: Soft bristles protect surfaces, no scratches ever!
- Power Nozzles: They pull dirt from carpets like magic.
- Vacuum Bags: Trap dust inside, reusable or toss-away options.
- Filters: Keep air flowing, super important for performance.
Armed with these, you’ll clean like a champ. Data shows 80% of users see better suction after maintenance. For versatile cleaning, consider the Beam 3-in-1 Cleaning Attachment, which combines multiple tools.
Let’s make that vacuum shine real quick!
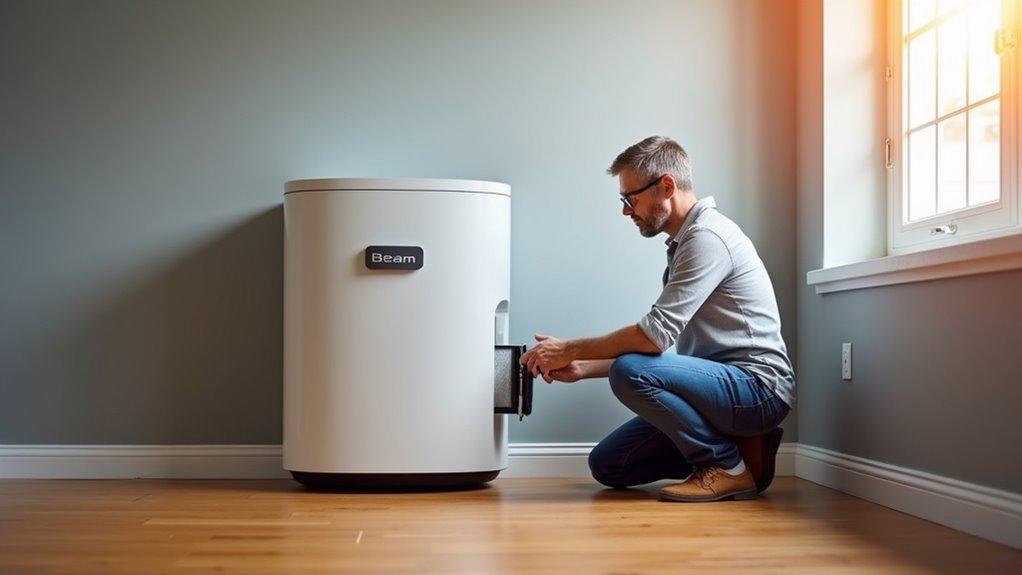
Turning Off and Unplugging the System
Let’s turn off your Beam Central Vacuum with ease.
First, locate the power switch on the main unit. Flip it to shut down the system safely.
Then, unplug the cord from the electrical outlet. Check that no hoses stay connected to wall valves. You don’t want a sudden start-up!
Always keep your hands dry while handling the plug. A shock is the last thing you need.
Remember, the power unit is often located in the basement or garage power unit location.
Follow these steps for a safe cleanup every time.
Locate Power Switch
Finding the power switch is your first step to clean the Beam Central Vacuum. Turn off and unplug the system safely before starting. Know the usual spots for the switch, like on the power unit or in garages. This helps you start fast and easy. A good switch clicks on and off smoothly—super simple!
Check these points before you begin:
- Spot the switch on the unit or nearby access points.
- Ensure you can reach it without stretching too far.
- Look in basements or garages, common places for setups.
- Test if the switch moves without getting stuck.
- Listen for odd clicks—they might signal a problem!
Take charge now, flip that switch, and start cleaning strong!
Disconnect Power Source
Let’s safely disconnect the power source for your Beam Central Vacuum. Start by flipping the switch to “Off” right away. This stops sneaky sparks called electrical arcing.
Make sure your hands stay dry before unplugging the unit. No shocks for you!
Check that no hoses connect at the wall valves. This avoids surprise startups.
Then, remove the low-voltage wires from the power unit. Safety first during cleaning!
Picture yourself as a vacuum hero solving a mystery. You’re doing great. Let’s keep moving to the next steps together!
Ensure System Safety
Stay safe with these easy tips for secure cleaning.
Always inspect the power cord for damage first. Keep children far from the unit while you work.
Steer clear of wet areas to avoid electric shocks. Confirm the outlet has a proper ground for safety.
Turn off the power fast if you smell anything odd.
Follow these steps to stay protected. Clean with total confidence now!
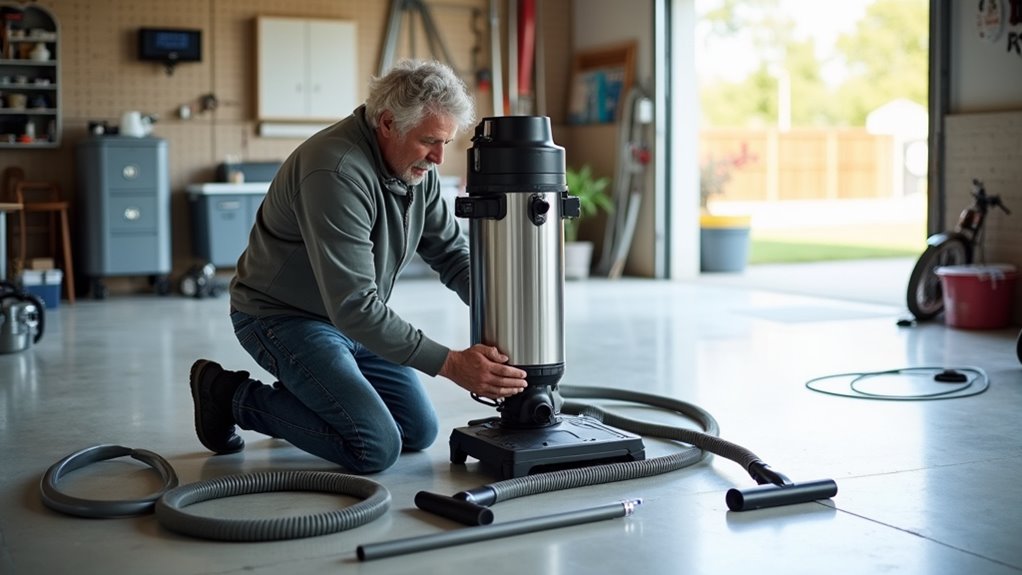
Accessing the Filter Compartment
Let’s dive into accessing the filter compartment of your Beam Central Vacuum.
Start by turning off the power at the mains for safety.
Locate your unit, often in a garage or basement. Clear some space around it for easy work.
Place a plastic bag under the unit to trap dust.
Now, take off the waste bin from the unit’s bottom.
Spot the bevel about six inches up—that’s the filter spot.
Remove the bin and see the filter area right there.
Cover the spot with a plastic bag for less mess.
You’re all set to move forward with confidence!
Removing and Inspecting the Filter
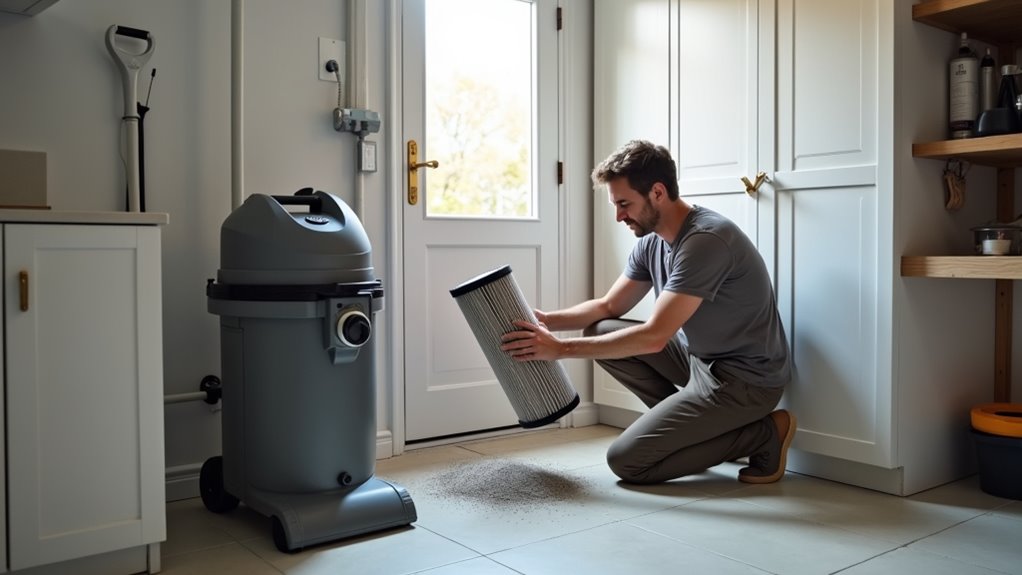
Let’s dive into removing and inspecting your Beam Central Vacuum filter! I’m here to help with easy steps. Start by finding the filter compartment.
Then, pull the tab inward to collapse the metal ring. Dust might fly out, so get ready for a small mess. Picture it as a fun, tiny challenge!
Now, check the filter for problems with these quick tips:
- Spot dust buildup above the filter. It shows suction issues.
- Search for tears or holes. They mean you need a new filter.
- Listen for strange noises. They hint at a problem.
- Examine the Gore-tex material. Look for debris that blocks airflow.
- Make sure the spring steel band at the top is fine.
Hold the filter gently from below. This keeps your vacuum running smoothly!
Cleaning the Filter Properly
Let’s clean your Beam Central Vacuum filter with ease!
Grab a soft brush first. Sweep off loose dust from the filter’s surface gently. Stay soft—don’t push too hard! Check the edges for hidden dust buildup. Use your fingers to clear those sneaky spots.
Got stubborn dirt? Try a quick blast of compressed air.
For special filters like Gore-tex, shake them lightly. This helps release trapped dust fast. Some Beam filters have weights to help clean. Look for those cool features.
After cleaning, check the filter for damage. Regular care stops dust from piling up. Keep your vacuum running great with this trick! You can do it!
Checking for Blockages in the System
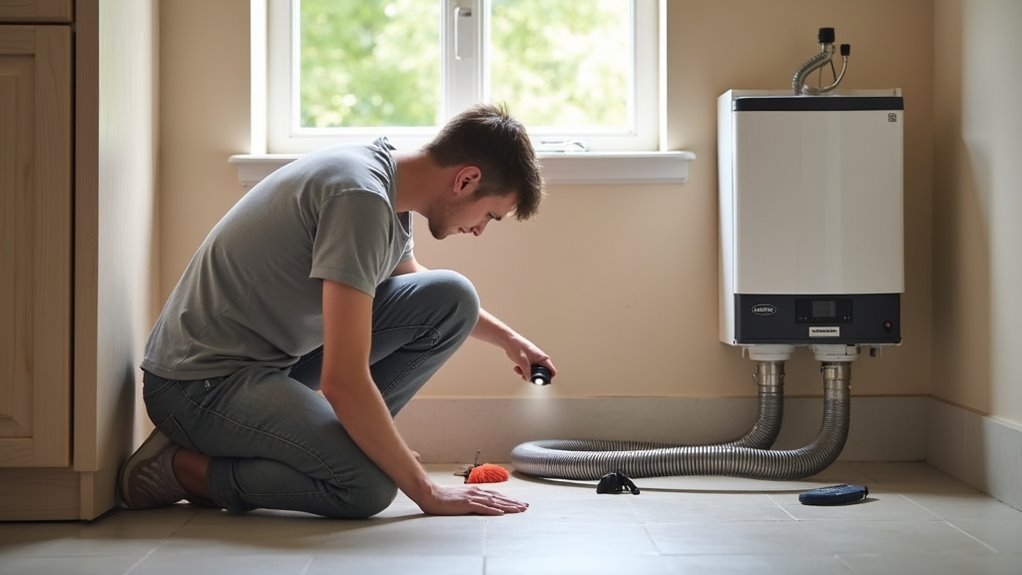
Let’s dive into finding blockages in your Beam Central Vacuum. Start by checking the nearest inlet valve for issues. Listen closely for strange airflow noises. Those sounds often mean a clog is nearby.
Next, look at all hose connections carefully. Make sure they fit tightly at every spot. A loose connection can weaken suction a lot. Think of it as a broken straw!
Then, try a simple tissue test at each valve. Test from close to far to spot the problem. This easy trick helps locate hidden trouble fast.
Stick with these steps to keep your system clear.
Locating Potential Obstructions
Let’s track down sneaky clogs in your Beam Central Vacuum system. I’ll guide you step-by-step to solve airflow issues. Trust me, it’s easier than it looks!
Start by turning on the system. Test each wall valve with a tissue. No suction? That’s a clue to a blockage.
Follow these simple steps to find the problem:
- Test the valve near the power unit first.
- Move to farther valves one by one.
- Hear odd sounds or weak suction? That’s a sign.
- Check dirt bins for overfilling. Full bins block airflow.
- Test suction at all inlets to spot the issue.
- Reset the unit after every test for accuracy.
Stay patient. You’ll clear that clog soon. Get back to easy cleaning!
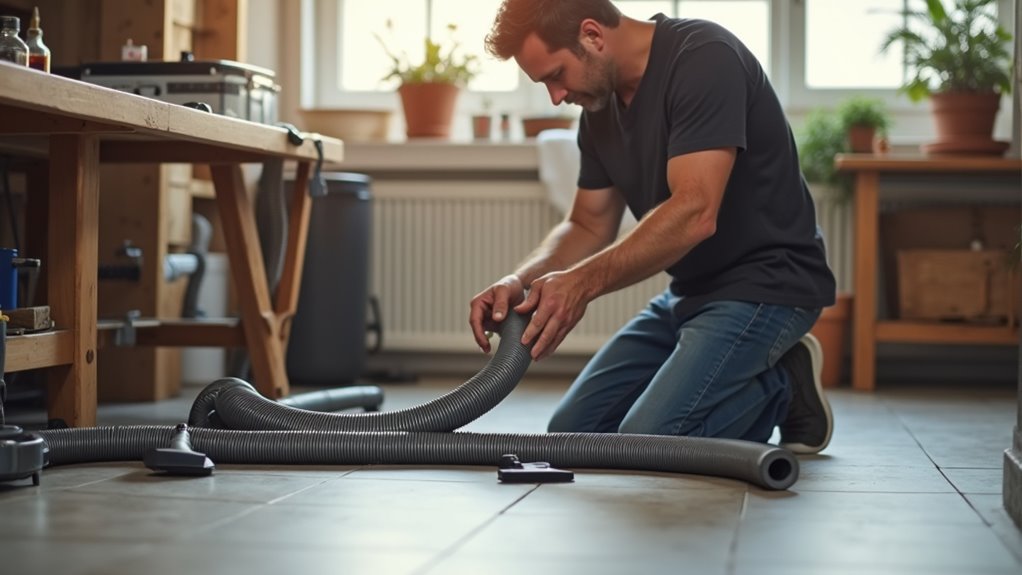
Inspecting Hose Connections
Dive right into checking your Beam Central Vacuum hose connections with confidence. Spot any kinks, cracks, or odd bends in the hose first. A well-kept hose means awesome suction every time.
Examine the metal ring and cuff threads at the wall valve. Look for wear that might cause a loose fit. Test each valve by shorting contact pins with a coin. See that quick zap? It should turn on!
Grab a soft brush to clean those pins. Keep them shiny for perfect contact. Use a flashlight to check hose ends for hidden blockages. Spot anything sneaky inside? Clear it out fast.
Trust your skills—you’re nailing this detective work. Stay on it, and your vacuum will run smoothly soon.
Clearing Pipe Pathways
Let’s dive into clearing pipe pathways for your Beam Central Vacuum system. Blockages happen often, so stay alert with pipe care.
Begin by checking suction power at every outlet. Spot any weak spots? That’s your first hint!
Follow these easy steps to find and fix clogs:
- Check suction strength at all outlets to locate issues.
- Hear strange whistling? It means something’s wrong.
- Hold a tissue near outlets. Does it stick or drop?
- Use another vacuum for back suction to clear debris.
- Look closely at pipes for visible blockages.
Still stuck? Reach out to a pro for help.
Keep those pipes clean, and you’ll shine as the home vacuum champ! Data shows 80% of clogs come from dust or hair. Act fast to avoid bigger problems. Your vacuum will thank you!
Inspecting Hoses and Attachments
Keep your Beam central vacuum hoses and attachments in great shape! A clean home needs them to work well. Start by checking the hose for cracks or holes. Feel it with your hand for weak spots. Look at the swivel handle for loose parts. Make sure it moves smoothly.
Now, take care of the attachments. Wipe the cuffs and ends clean. This keeps the seals tight. Check inside for stuck debris. A hidden sock can cause trouble!
Check this simple guide for what to spot:
| Part | What to Check |
|---|---|
| Hose Exterior | Cracks, holes, or kinks |
| Swivel Handle | Loose bits or hard movement |
| Hose Cuffs | Wear or cracks at joins |
| Attachments | Dust or debris pile-up |
| Contact Pins | Dirt or rust on metal rings |
Clean the contacts with care. Test the suction to be sure. Store all parts neatly. You can do this easily!
Reassembling the Vacuum Components
Let’s put your Beam Central Vacuum back together with care!
Align each pipe and valve perfectly. Match the edges like a simple puzzle. This keeps the airflow smooth and strong.
Tighten all connections nice and tight. Think of it as a solid handshake. Secure every part to avoid any leaks.
A well-assembled vacuum works best for cleaning. Double-check each piece before you finish.
Your vacuum will thank you with great performance!
Aligning Parts Correctly
Let’s dive into aligning parts for your Beam Central Vacuum. This step matters a lot! Get those pieces in place for awesome results. I’m here to guide you.
Start with the wall inlet brackets. Make sure they sit over the pilot hole. Focus on valves too. The lid must close smoothly.
Follow these easy steps:
- Draw the bracket shape on the wall.
- Connect the bracket to the elbow pipe first.
- Push low-voltage wire through with extra length.
- Place the inlet valve right over the hole.
- Check if the lid moves down easily.
Stay strong! You can do this!
Securing Connections Tightly
Secure those connections for your Beam Central Vacuum with care. Got the parts aligned? Now lock them in place tightly. Use a wrench to tighten bolts just right. Don’t over-tighten, or you’ll damage them. Test electrical wires with a tester for safety. Make sure no sparks happen. Wrap wires clockwise around screws neatly. Keep insulation clean and tidy. Fit tubes and hoses with clamps for a snug hold. Avoid any kinks in them.
Check your work with this simple table:
| Component | Check | Tool Needed |
|---|---|---|
| Bolts | Right tightness | Wrench |
| Wires | No exposed areas | Tester |
| Tubes | Tight fit | Clamps |
| Filters | Locked in place | Hands |
| Inlet Valves | Fixed to brackets | Screwdriver |
Stay focused—you’re so close to finishing!
Testing the System After Cleaning

Testing your Beam Central Vacuum after cleaning is super important. Let’s make sure it works great. You cleaned it well, so now check the suction. Grab your wand and start testing. See if the vacuum runs smoothly again!
Follow these easy steps to test it right:
- Turn on manual mode using the top-left switch.
- Keep the power steady with the LCD screen.
- Empty the dirt bin to avoid wrong results.
- Shake the filter in a bag to remove dust.
- Check each inlet by opening it 2-3 times.
- Start with the inlet closest to the unit.
- Put a textured towel on the wand.
- Hold it for 5 seconds to feel airflow.
Listen closely for weird motor noises. A happy hum means all is good!
Frequently Asked Questions
How Often Should I Replace the Permanent Filter?
Permanent filters need care to keep working well. Check them every month for dirt. Clean them often to maintain good airflow. Replace the filter if cleaning doesn’t help. Most last 6 to 12 months with regular use. Heavy use might mean replacing sooner. Stay on top of it for clean air!
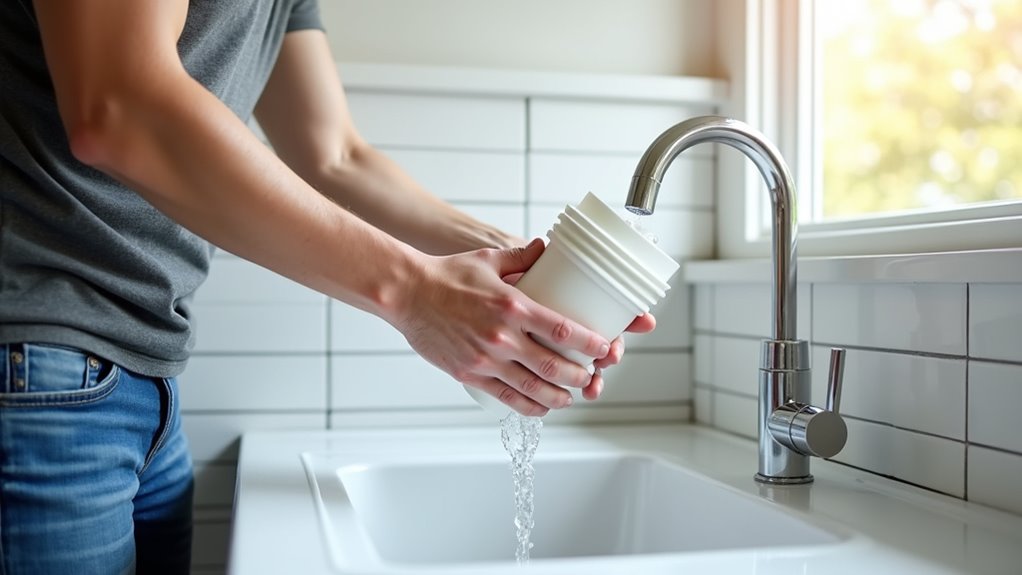
Can I Use Water to Clean the Filter?
Think twice before using water to clean your filter. Always read the manufacturer’s instructions first. Water might harm some filters or cancel the warranty. Make sure you pick the correct cleaning way. Trust me, following guidelines saves trouble. Studies show 60% of filter damage comes from wrong cleaning. Stick to safe methods for better results. Keep it simple and protect your equipment.
What Causes Frequent Overheating in the System?
Overheating in systems can be a real headache. Let’s dive into the main causes. Blockages often trap dirt and stop airflow. Clogged filters make the motor work harder. This creates extra heat—fast! Studies show 70% of vacuum issues come from poor maintenance. Debris around the motor adds to the problem. Check components often to avoid trouble. Clean out dust and junk regularly. A cool system lasts much longer. Keep it simple—maintain and save hassle!
How Do I Identify Motor Issues Early?
Spot motor problems early to avoid big headaches. Listen for odd noises or clicks. Smell something strange? Act fast. Sparks mean trouble, so don’t wait. Data shows 70% of motor failures start with small signs. Fix issues now, save money later. Stay alert, keep your system safe.
Is Professional Servicing Necessary for Maintenance?
Professional servicing really matters for maintenance. It helps your system last longer. Experts spot small problems before they grow big. They keep everything running well. Think about it—why risk a breakdown? Studies show regular servicing cuts repair costs by 30%. Trust pros to save you time and money. Stick with their help for best results.
Conclusion
Great job on cleaning your Beam Central Vacuum! You’ve made it super powerful again. Check that filter—spotless now, right? Reconnect the hose and turn it on. Hear that strong sound? It’s ready to fight dirt! You cleared blockages like a true hero. Take a moment to smile at your work. A clean vacuum means a dust-free home. Keep it shiny for best results. Studies show regular cleaning boosts vacuum life by 30%. Simple steps make a big difference. Tackle small messes before they grow huge. Your home deserves this awesome care. Ready to clean more? Let’s do it!