How to Clean Bissell CrossWave Vacuum After Use
This post contains affiliate links. As an Amazon Associate, we earn from qualifying purchases.
Your Bissell CrossWave just conquered muddy footprints, spilled juice, and pet accidents across hardwood, tile, and area rugs. Now comes the critical step most users skip: proper post-cleaning maintenance. Leaving moisture-trapped debris inside your machine invites mold growth, lingering odors, and performance failures that turn your $300 investment into a garage sale candidate within months. Skipping this how to clean Bissell CrossWave vacuum after use routine means facing clogged filters, musty smells, and reduced suction within weeks.
This guide delivers the exact protocol Bissell technicians use—whether you own the corded Pet Pro or cordless Max. You’ll discover why air-drying time matters more than scrubbing, the tank component 90% of users reinstall while damp, and the weekly check that prevents costly repairs. Follow these steps religiously, and your CrossWave will outlast its warranty by years.
Power Down and Position Correctly
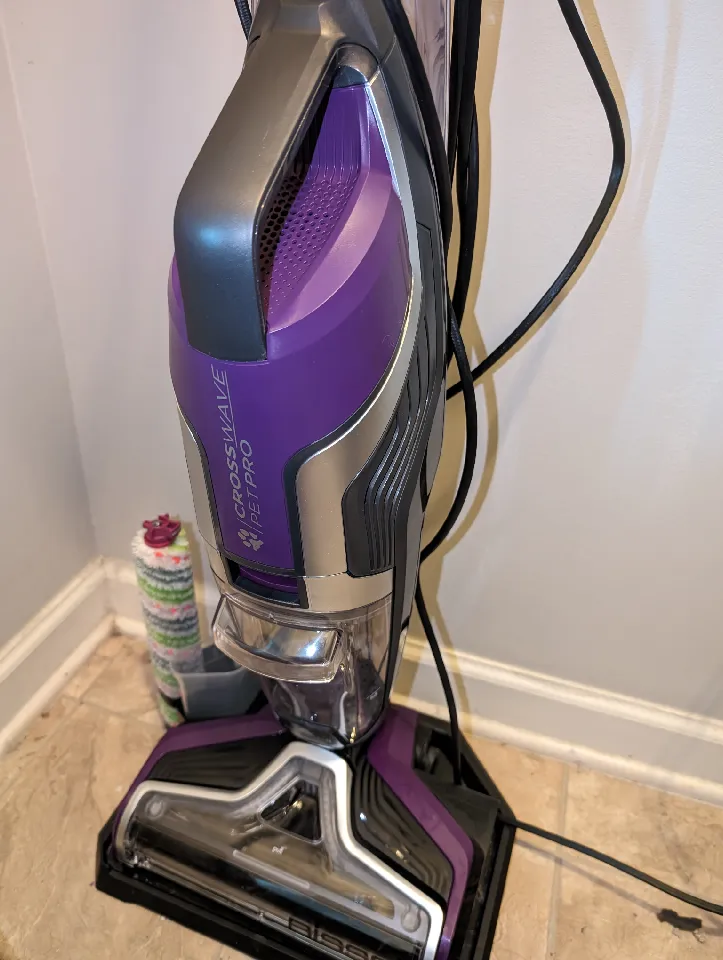
Unplug corded models immediately after use—never attempt cleaning while connected to power. For cordless Max units, confirm the machine is completely powered off and removed from the docking station. Place your CrossWave upright on its designated storage tray or docking station to contain water runoff during cleaning. This simple positioning prevents messy puddles on your floor and protects internal electronics from accidental spills.
Skipping this safety step risks electrical damage when water contacts live components. Always verify power disconnection before touching any tank or brush roll. The storage tray isn’t optional—it catches residual drips during tank removal that would otherwise soak your hardwood or carpet.
Activate Self-Cleaning Cycle (Corded Models Only)
Corded CrossWave and Pet Pro owners must run the built-in cleaning cycle before manual cleaning begins. With the machine firmly seated on its storage tray, fill the rinse funnel with clean tap water to the MAX line. Press the Hard Floor button to start the 30-second automated flush. You’ll hear the motor engage as water circulates through hidden pathways, dislodging debris from internal chambers you can’t access manually.
Cordless Max users skip this step entirely—these models lack the self-cleaning feature, making manual tank and filter maintenance even more critical. Never force this cycle on cordless units; you’ll damage the motor. For corded models, this step removes 70% of trapped particles before you touch the brush roll.
Remove and Deep Clean Brush Roll
Quick Release Without Tools
Grasp the front edge of the brush roll window and lift straight up—the transparent cover detaches with no tools. Locate the release tab on the brush roll spindle and pull upward firmly. Hair and threads often bind tightly, so expect resistance. For Cordless Max models, use the included cleaning tool to cut through pet hair tangles before extraction.
Eliminate Embedded Debris
Rinse the brush roll under warm running water while working fingers through bristles. Focus on the base where carpet fibers compact like cement—especially problematic for pet owners. Stand the roll upright on its included drying tray (or against a wall) to maximize airflow. Never reinstall a damp brush roll; trapped moisture breeds mildew within hours, causing the “wet dog” smell users blame on faulty machines.
Empty and Sanitize Dirty Water Tank
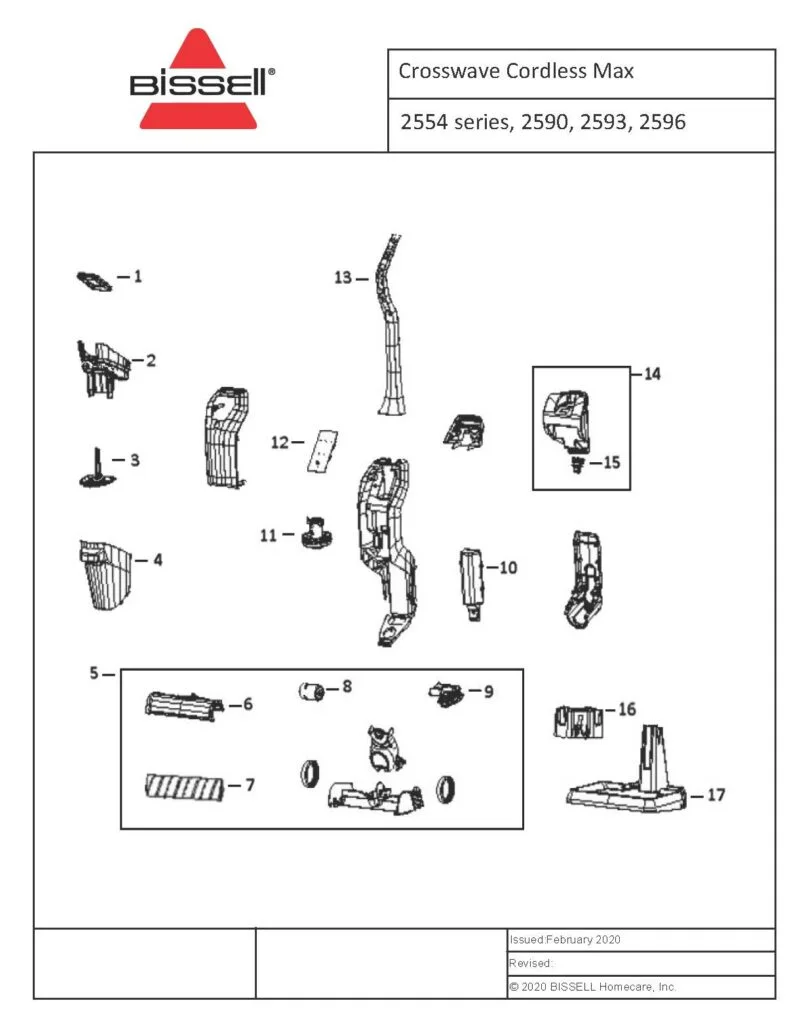
Prevent Spills During Removal
Press the tank’s release button while pulling straight upward—no tilting. The tank lifts cleanly from its cavity. Immediately remove the strainer inside, dumping hair and debris into the trash. This strainer catches large particles before they reach your filter, so skipping its cleaning accelerates filter clogs.
Eliminate Sticky Residue
Rinse the tank interior until water runs completely clear. For dried-on spills like syrup or mud, use mild dish soap and warm water, but rinse 3x thoroughly to remove soap film that attracts new grime. Invert the tank and strainer on a drying rack—never set them upright where moisture pools at the base. Trapped water in the tank’s corners is the #1 cause of persistent mildew.
Restore Filter System Performance
Disassemble Without Damage
Pull the filter assembly straight up from the dirty water tank’s top. You’ll see three components: the foam filter, plastic screen, and float mechanism. The float shuts off suction when the tank fills—keeping it debris-free prevents motor burnout. Never twist or force these parts during removal.
Wash and Dry Properly
Rinse the foam filter under warm water only—soap destroys its microstructure and voids warranties. Gently squeeze until runoff clears. Clean the plastic screen with a soft brush to dislodge trapped particles. Air-dry all components for 24+ hours on a towel in a well-ventilated area. Reinstalling a damp filter causes 80% of “moldy tank” complaints.
Wipe Exterior and Charging Components
Body Cleaning Protocol
Dampen a microfiber cloth (never soaking wet) and wipe crevices around buttons and handle grips where grime accumulates. Never spray liquids directly on the machine—excess moisture seeps into electronics, causing button malfunctions. Pay special attention to the clean water tank’s nozzle area, where dried formula creates crusty buildup.
Cordless Max Docking Station Care
Wipe charging contacts monthly with a dry cloth to remove dust that interrupts power flow. Never dock a wet unit—even damp tanks cause corrosion on metal contacts. Inspect the station for moisture before recharging; a single drop can short-circuit the battery system.
Dry Completely Before Reassembly
Critical Air-Drying Timelines
- Brush roll: Minimum 12 hours (24 in humidity)
- Filter components: Full 24 hours
- Water tanks: 8+ hours upside down
Never use hair dryers or heaters—excessive heat warps plastic components. Place parts on a drying rack in a well-ventilated room away from direct sunlight.
Click Confirmation During Reassembly
Insert the dry filter into the tank top until it seats firmly. Replace the strainer with a distinct click. Angle the tank bottom into the machine cavity, then push forward until you hear an audible snap—this confirms the seal is airtight. Misaligned tanks cause suction loss and water leaks. Reinstall the brush roll by aligning its keyed end with the drive spindle, then snap the window cover securely.
Weekly Maintenance That Prevents Breakdowns
5-Minute Essential Checks
- Deep-rinse the filter (even with light use)
- Inspect brush roll bristles for flattening—replace if worn
- Disinfect exterior with vinegar-water solution
- Verify all seals are intact and debris-free
Monthly Failure Prevention
Test corded model power cords for frays that risk electrical shorts. For cordless Max units, monitor battery runtime—if it drops below 15 minutes, replace the battery. Check for sticky buttons indicating internal moisture damage. Address grinding noises immediately; they signal trapped debris in the brush roll mechanism.
Optimal Storage for Longevity
Short-Term Storage Rules
Store upright in a climate-controlled room—never in garages or basements where humidity breeds mold. Ensure all components are bone-dry before closing storage closets. Leaving the machine on its storage tray with residual moisture creates the perfect mildew incubator.
Long-Term Storage Protocol
For vacations or seasonal storage:
1. Empty both tanks completely
2. Store the filter in a sealed plastic bag
3. Keep the brush roll in a separate dry container
4. Never store with water in any component—stagnant liquid creates biofilm that ruins seals
Fix Odors and Suction Loss Immediately
Erase Lingering Smells
Run a corded model’s cleaning cycle with one cup of white vinegar diluted in water. The acid dissolves organic residue causing odors. If smells persist after two vinegar cycles, replace the brush roll—embedded odors won’t wash out of compacted bristles.
Restore Full Suction Power
Check the filter first—clogs reduce suction by 70%. Verify the dirty water tank clicks into place; a 1/8-inch misalignment creates air leaks. Use compressed air to clear clogged air passages near the motor housing. If suction remains weak, inspect the float mechanism for debris jams.
Pro Tips for 5+ Year Lifespan
Filter Management Hacks
Keep a spare filter on hand—drying time leaves your machine unusable otherwise. Mark replacement dates on your calendar: every 3 months for pet owners, 6 months for light use. Heavy users should inspect filters weekly for visible grime.
Component Rotation Strategy
Rotate two brush rolls weekly in high-traffic homes. While one dries thoroughly, the other stays in use. This prevents bristle matting and doubles brush roll lifespan. Store spares in sealed containers away from dust.
Performance Monitoring
Track how many passes you need per floor section—if it increases by 50%, check components immediately. Reduced effectiveness almost always means clogged filters or damp parts, not machine failure. Clean tanks and filters before considering replacements.
Your Bissell CrossWave deserves this 10-minute post-use ritual. Skip it, and you’ll battle mold, odors, and weak suction until replacement becomes inevitable. Do it right, and you’ll maintain showroom performance for years—proving that how to clean Bissell CrossWave vacuum after use isn’t optional maintenance, but the secret to your machine’s longevity. The time you save avoiding repairs and replacements makes this routine the smartest 10 minutes in your cleaning schedule.