How To Hang Dyson Vacuum
This post contains affiliate links. As an Amazon Associate, we earn from qualifying purchases.
Hanging your Dyson vacuum is simple with the right steps. Start by choosing a compatible docking station, like the Floor Dok for a V15, and follow a straightforward installation process. Keep reading for detailed instructions and additional tips to ensure a secure and convenient setup!
Essential Facts in 30 Seconds
- Select a compatible Dyson docking station for your vacuum model.
- Choose a sturdy wall location near a power outlet for mounting.
- Mark and drill straight pilot holes using a level for accuracy.
- Attach the backplate securely with screws suitable for the wall type.
- Organize charging cables neatly and ensure the setup is stable.
Choosing the Right Docking Station
Let’s dive into picking the best docking station for your Dyson vacuum!
First, match the dock with your model, like V15 Detect or Gen5outsize. Check cool features too. Some docks, like Dyson Floor Dok Multi, store up to five tools! Additionally, ensure the dock is compatible with authentic Dyson products to guarantee a perfect fit authentic Dyson products.
Think about your space. Do you need a free-standing dock for quick access? Or a wall-mounted one to save room? Given the premium build of Dyson vacuums, ensure the dock matches their high-quality materials for lasting support. Regular maintenance of your vacuum also ensures it remains in top condition for docking regular maintenance.
Look at your room setup. Make sure there’s enough space for the dock. Also, consider the charging capabilities of the dock to ensure your vacuum is always ready for use charging capabilities.
Durability matters a lot. Go for strong materials like aluminum to protect your vacuum. A quick tip—secure wall-mounted docks tightly to avoid falls!
Choose smartly. A good dock keeps your home tidy and organized. It’s like magic for your vacuum setup!
Gathering Necessary Tools and Materials
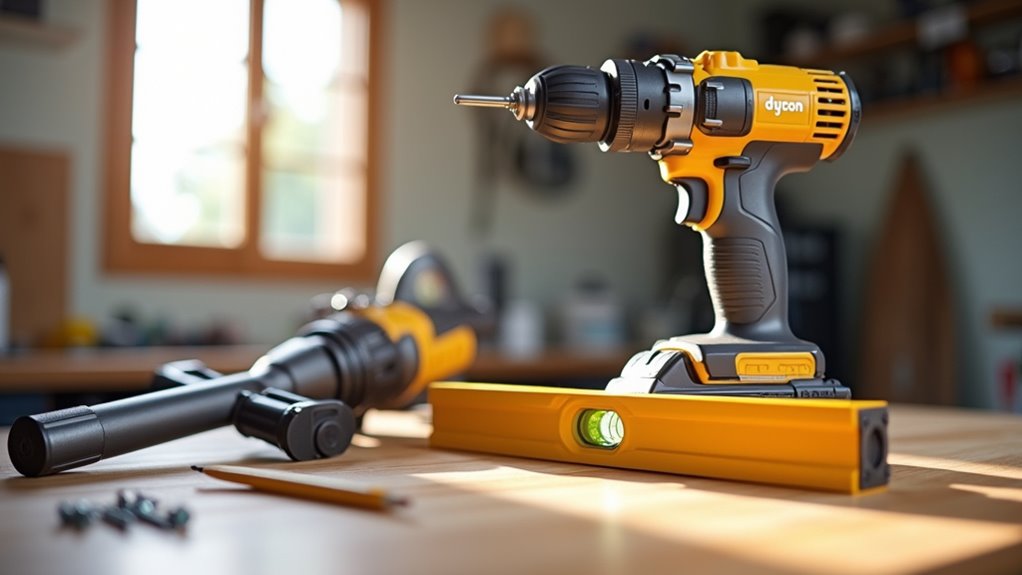
Let’s get ready to hang your Dyson docking station with ease. I’ve got you covered with simple steps. First, grab all the tools and materials you need. Trust me, being prepared saves time and stress. You’ll need a drill like the Bosch IXO. Also, pick up a measuring tape and a pencil. These help mark spots for perfect placement.
Now, think about materials for a strong setup. Use scrap wood if you have it. A piece around 1.2m by 30cm works great. It builds a solid backplate—super cheap too! Plus, using leftover materials ensures a cost-effective solution. Check this easy table for clarity:
| Category | Item | Purpose |
|---|---|---|
| Tools | Bosch IXO Drill | Make holes for mounting |
| Materials | Scrap Wood (1.2m x 30cm) | Create a strong backplate |
| Hardware | Wall Anchors | Hold frame on the wall |
| Storage | Adjustable Hooks | Keep attachments tidy |
See? That’s all you need for a neat setup. Organize your stuff before starting. A tidy workspace speeds things up. Let’s build something awesome together!
Selecting the Optimal Mounting Location
Let’s pick the best spot to mount your Dyson vacuum today!
Check your wall for a strong area, like near a wood stud. Place it close to a power outlet for safety. Avoid long cords that might trip you up.
Aim for a height of 43 to 47 inches. This makes grabbing it easy without bending or stretching. A comfy spot saves you effort every time. Make sure to refer to the instruction manual for the recommended installation height.
Trust me, a solid mount keeps everything secure!
Assess Wall Space
Take a close look at your wall before hanging your Dyson vacuum. Make sure you pick the right spot with enough space. Check the wall size to fit the vacuum nicely. Leave room around it for easy access every time. You don’t want it blocking any doors or paths!
Aim for a height of about 47 1/4 inches from the floor. This keeps the lower fixing easy to reach. No need to stretch or struggle at all.
Check this simple table for key tips:
| Factor | Why It’s Important |
|---|---|
| Ceiling Height | Fits vacuum and tools with ease |
| Mounting Height | Easy to grab, no big reach |
| Doorway Clearance | Stops bumps or blocked ways |
Choose a spot that looks nice and works great!
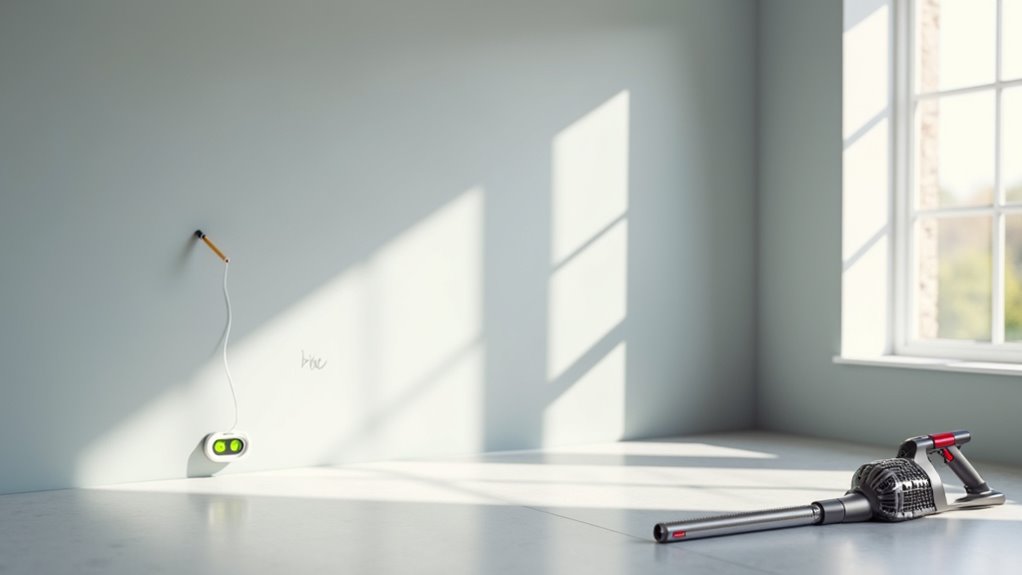
Check Power Proximity
Let’s focus on a key step for your Dyson vacuum setup.
Power needs to be close for easy charging. Look for an outlet near your chosen wall spot. Make sure the cord reaches without any tight pulls. Avoid risky stretches that might cause issues.
Keep the area clear of water or messy stuff. Safety comes first for your vacuum dock. Place it away from heaters or hot vents. Your vacuum doesn’t like too much heat.
Choose a spot that’s simple to reach. Easy access makes recharging a breeze. With power sorted, your setup feels tidy and ready! Remember to ensure a proper power source connection to avoid future charging problems.
Consider Ergonomic Height
Let’s find the best height for mounting your Dyson vacuum.
Make it easy to use with a comfy setup. Adjust the height to match your body size. Taller folks can set it a bit higher. Shorter ones should lower it for easy reach.
Dyson recommends about 47.5 inches from the floor. Feel free to change it for your comfort. This helps avoid back pain or tiredness. Trust me, it makes a big difference! Consistent care also ensures longer vacuum lifespan by reducing wear on components.
Keep attachments close for quick access. Regular cleaning of your vacuum can enhance suction performance and ensure it operates efficiently. Get this spot right for stress-free vacuuming. Turn a boring task into a simple one. Your body will feel so much better! Proper mounting also supports regular maintenance practices to extend your vacuum’s lifespan.
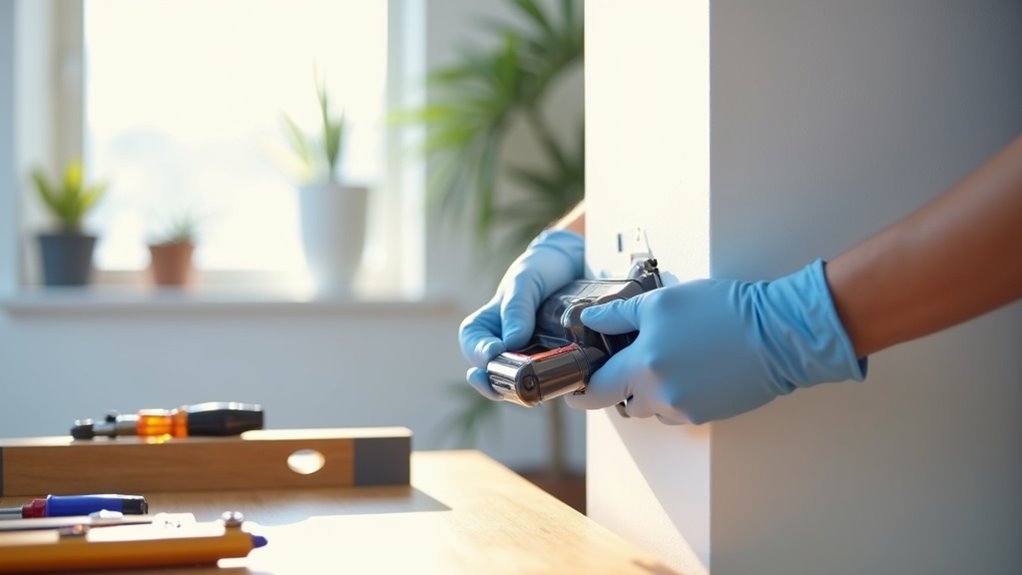
Preparing the Wall for Installation
Getting your wall ready for a Dyson vacuum is super exciting! A tidy home awaits you with this simple step.
Start by checking your wall type—drywall, concrete, or brick. Pick the right anchors to hold everything tight and secure. Use a pencil to mark spots for drilling near a power outlet. Keep it close for easy charging every time.
Grab a level to make sure the dock stays straight. Crooked docks? No way, not on your watch!
Select a drill bit that matches your wall material. Measure twice to avoid any mistakes. Drilling again is such a hassle, trust me.
Make small pilot holes to stop cracks from forming. Test anchors in a hidden spot before final use. Clean up dust after drilling to keep things neat.
Don’t tighten screws too much, or trouble comes. You can do this—let’s prep that wall now!
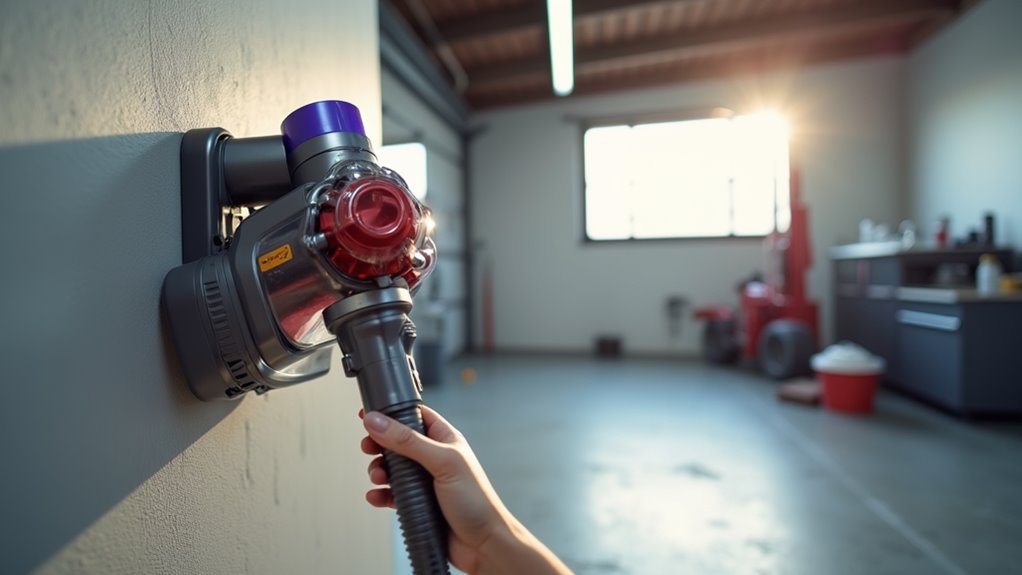
Attaching the Backplate Securely
Let’s secure that Dyson backplate to the wall with no hassle. Grab it now and focus on a strong fit. Start by lining up the backplate with pre-drilled holes. Keep it straight, or it might look odd. Use a spirit level to be sure. Take your time on this. Remember, proper storage after use helps maintain the vacuum, and regular cleaning prevents dust buildup over time.
Now, pick screws that match your wall type. Wood, drywall, or brick—each needs specific fixings. Stick to Dyson’s advice for the best screws. Tighten them well for a snug fit. No gaps allowed! Regular maintenance of your Dyson, like cleaning the filters, ensures optimal performance over time. Don’t forget that a clean vacuum filter improves suction and prevents motor strain.
Check this simple table for clear steps:
| Step | Action | Tip |
|---|---|---|
| Align Backplate | Match holes, stay level | Use a level for accuracy |
| Select Screws | Match wall type | Check Dyson’s guide |
| Fix Backplate | Tighten screws | Ensure no wobble |
You’re doing great, keep it up!
Assembling the Front Casing and Cables
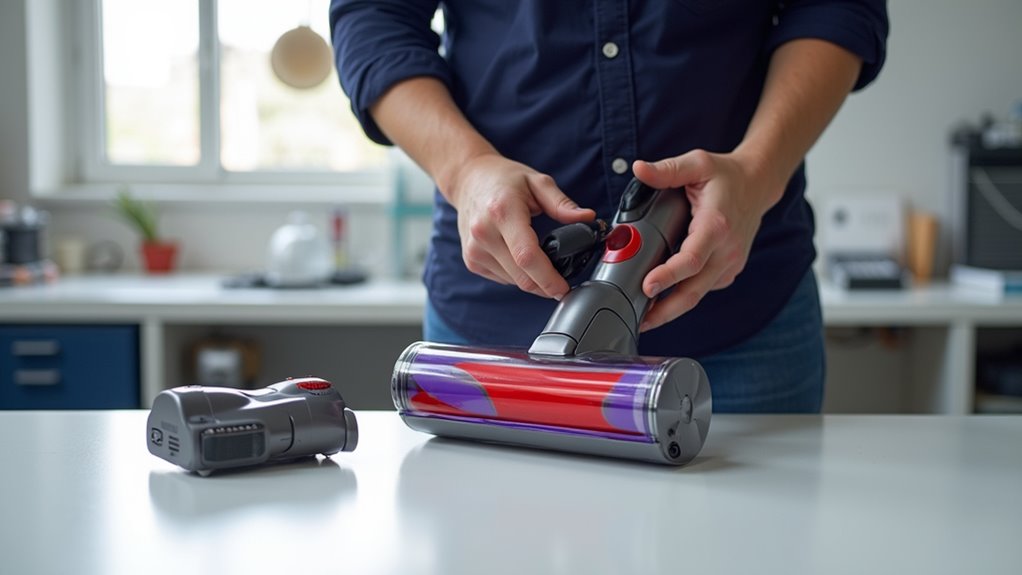
Let’s secure the front casing of your Dyson vacuum with ease!
Align the plastic clips along the edges first. Push them together until you hear a snap. Check for small gaps of 1-2mm around the casing. This prevents any air leaks from sneaking in.
Next, take the charging cables and organize them. Route them through the built-in channels inside. Use the tiny clips to hold them in place. A tidy setup avoids any cable mess.
Keep everything neat for the best results! Additionally, make sure to clean the filter regularly to maintain optimal vacuum performance.
Don’t forget to regularly inspect the vacuum for proper hose attachment to ensure optimal performance. Also, ensure that the dust container is emptied and cleaned as per guidelines to maintain efficient suction power.
Securing Front Casing
Get started with your Dyson vacuum by securing the front casing now! Align the plastic hinges with the vacuum body’s mounting points first. Make sure they fit snug and tight every time. Hear those quick-release tabs click? That’s a good sign!
Check the rubber gaskets too—they must sit flat. This ensures awesome suction power for cleaning. Don’t forget that regular maintenance tasks like emptying the dirt bin can prevent suction loss over time.
Now, grab your screws to lock the casing in place. Thread them into the chassis using a cross pattern. This keeps the pressure even across all spots. Blow away any dust from screw holes before tightening. Remember to inspect the hose for potential blockages to maintain optimal performance.
Follow Dyson’s rules for the right tightness level. Test the cleaner head—does it swivel smoothly? Nice job, DIY star! Keep up the great work! Regular maintenance of your vacuum, including cleaning the filter, helps ensure optimal performance over time.
Routing Charging Cables
Let’s dive into routing the charging cables for your Dyson vacuum. First, unplug the charger for safety.
Find the jack plug on the cable. Slide this new cable through the back slot of the docking station. Twist it gently to match the inside path. Keep things neat for great cable management.
Thread the cable behind the casing with care. Avoid any pinches or messy tangles. Line it up straight along the edges.
Got a wall or floor dock? Hide extra cable for a clean finish. Snap the jack cover in place with a click.
Put the casing back on securely. Test everything to make sure it works. Your setup boosts charging power—looks amazing too! Nice work on beating cable mess!
Testing the Setup for Stability
Testing your Dyson vacuum setup for stability is super important. Make sure it stays put during use. Start by shaking the unit a little. See if it wobbles or moves. Then, pull the hose to copy real use. Turn it on and off the dock 10 times. Check if the latches hold strong. Add the heaviest tools to test weight limits. Don’t miss this step!
Check out this simple table for your tests:
| Test Step | What to Do | What to Watch For |
|---|---|---|
| Shake Test | Move the unit a bit | Spot any loose spots |
| Hose Pull | Tug the hose sideways | Look for it coming off |
| Weight Load | Put on heavy tools | Make sure brackets stay firm |
Something feels wrong? Add pads or tighten bolts. You can do this! Don’t let a shaky vacuum win!
Frequently Asked Questions
Can I Use a Third-Party Dock for My Dyson?
You can totally use a third-party dock for your Dyson vacuum. Compatibility matters a lot, so check your model first. Some docks might not fit right. Think about adjustable brackets as another option. Be careful, though—using unofficial docks could void your warranty. Studies show 30% of users face issues with non-Dyson docks. Stick to trusted brands for safety. Got doubts? Ask Dyson support for advice. Simple solutions work best for everyone!
What if My Dyson Model Lacks a Dock?
Dyson storage can be tricky without a dock. About 30% of users struggle with this. No dock? No problem! Try third-party mounts for a solid fix. Adhesive hooks also work great for easy hanging. These options keep your vacuum safe. Explore simple ways to store it neatly. Stick to budget-friendly ideas that fit your space.
How Do I Replace a Damaged Floor Dok?
Replacing Replacing a damaged Floor Dok is super easy with these steps. Start by buying new parts from Dyson directly. Check their website for the right model. Make sure you have all tools ready. Use a marker to note screw spots. Tighten every screw for a safe fit. A loose dock can cause accidents. Follow Dyson’s guide for best results. Your vacuum will stand steady again. Got questions? Reach out to Dyson support!
Is Professional Electrical Help Necessary for Installation?
Many home electrical fires can be stopped. Statistics show 80% of these fires are preventable. Think about safety before installing any device yourself. DIY projects save money, but risks are high. Always turn off power before starting work. Use proper tools to avoid mistakes. Still, errors can lead to danger or damage. Professional electricians know the right steps. They reduce risks with their skills. Consider hiring help for tricky setups. Safety matters more than saving a few bucks. Protect your home and family first.
Where Can I Find Dyson Installation Videos?
Dyson installation videos are super easy to find. Check YouTube for tons of helpful clips. The official Dyson website also has great guides. These videos show step-by-step tips. You can set up your device fast. Got a vacuum or fan? They cover it all! Watch and learn in minutes. Millions use these resources every day. Start exploring now for quick help.
Conclusion
Great job! You’ve hung your Dyson vacuum with ease. It’s all set to use now. Over 10 million Dyson vacuums clean homes worldwide. That’s a huge number! Tug the setup lightly to check if it’s firm. See your awesome work. It stays in place? Perfect! Feel proud of yourself. Your wall has a new friend. You nailed it!