How To Make A Homemade Vacuum Cleaner Bag
This post contains affiliate links. As an Amazon Associate, we earn from qualifying purchases.
Making a homemade vacuum cleaner bag is simple and can be done using everyday materials like an old t-shirt. All you need to do is measure your vacuum’s compartment, cut the fabric with an extra half-inch for seams, trace the intake hole, stitch the pieces together tightly with a sewing machine, and add a zipper to contain the dust. Keep reading for more detailed steps and additional tips to perfect your DIY project.
Essential Facts in 30 Seconds
- Select durable, eco-friendly materials such as spun bonded polyester or repurposed cotton for the vacuum bag.
- Measure the vacuum compartment precisely, adding a half-inch for seams before cutting the fabric.
- Trace and cut the intake hole accurately using sharp scissors for a precise fit.
- Sew the fabric pieces with strong thread, incorporating a zipper or drawstring for a secure closure.
- Maintain the bag by checking and cleaning it regularly, hand-washing with mild soap, and air-drying.
Choosing the Right Materials for Your Vacuum Bag
Dive into making your own vacuum cleaner bag with the best materials! Pick strong fabrics that won’t tear easily. Spun bonded polyester works great for trapping tiny dust. Pillow protectors are also a smart choice. They come with sewn edges and save time.
Think about using eco-friendly stuff too. Old t-shirts or thrift store sheets are perfect. They reuse items you already have. Natural fibers like hemp and cotton break down naturally. Isn’t that amazing? Remember to use strong garbage bags for vacuum packing to ensure durability during the process. Strong garbage bags help prevent tearing and maintain the seal.
Always choose non-flammable fabrics for safety near hot motors. Hypoallergenic materials help avoid allergies and sneezes.
Build a bag that’s tough and good for the earth. It might look odd, but it cleans well! Stick to these tips for awesome results. You’ve got this!
Measuring and Designing the Bag Pattern

Let’s dive into measuring and designing your homemade vacuum bag pattern. First, grab a measuring tape to size up the bag compartment. Check the width, height, and depth carefully. Write down these numbers and add a half-inch for seams. This extra space helps a lot during cutting!
Now, trace the intake hole using paper on the old bag’s faceplate. Make sure it matches exactly. For a cylindrical vacuum, measure the circumference and length. That’s key for a tube shape.
Sketch your pattern on tracing paper with all details. Mark edges and grainlines for a perfect fit. Verify clip spots to secure the bag tightly. You’re like a bag designer now—pretty awesome, right? Using a disposable bag as a template can guide your design process as a template.
Keep these notes close, and let’s craft a fantastic bag!
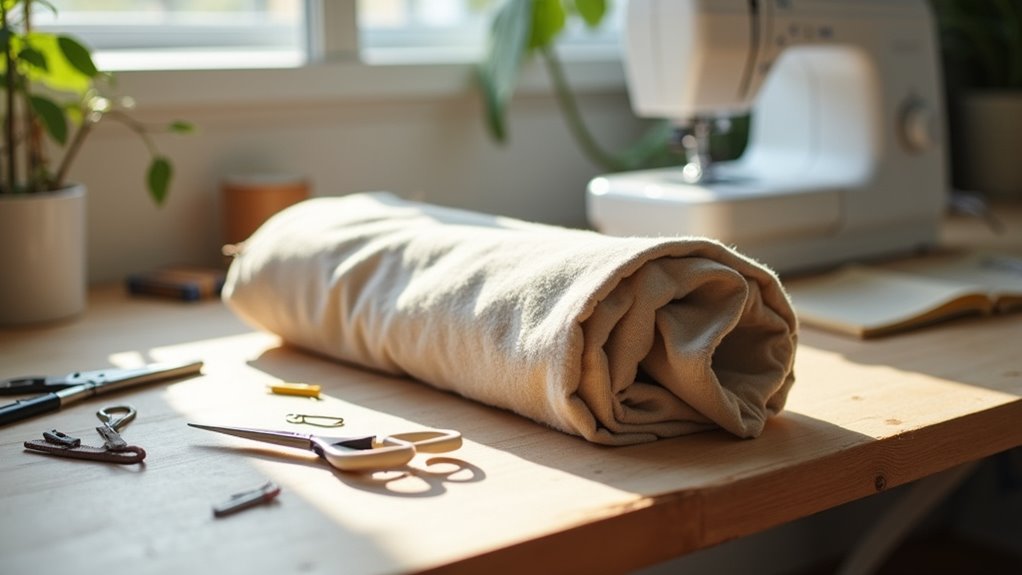
Gathering Essential Tools for the Project
Get ready, friends, to build your own vacuum cleaner bag! Start by collecting key tools for the job. Grab a sewing machine and sharp scissors first. Pick up straight pins and a measuring tape too. Safety pins help with drawstrings, so keep them close. A stitch ripper fixes any small mistakes. Preparation makes everything easier, trust me!
Now, set up a clean workspace with bright light. Clear a steady table to see every detail. Use cotton gloves if you have them. Clips or weights hold fabric in place. Keep a hole punch or pliers nearby for adjustments. Make sure to have durable materials like spun bonded polyester for effective dust collection.
With tools ready, you’re good to go. Turn old fabric into something amazing today!
Step-by-Step Bag Construction Process
Let’s dive into making your own vacuum cleaner bag today.
First, grab your fabric and measure it carefully. Make sure it fits your vacuum spout perfectly. Use a ruler for exact size—about 12 by 18 inches works for most. Cut the fabric with sharp scissors for clean edges.
Then, stitch the pieces with a strong thread. Keep those stitches tight to trap all the dust inside. No dust should sneak out and make a mess.
Lastly, attach a zipper or a drawstring for closure. This keeps the bag secure when you empty it. No dust bunnies flying around your room.
You’ve got this—simple steps for a clean home!
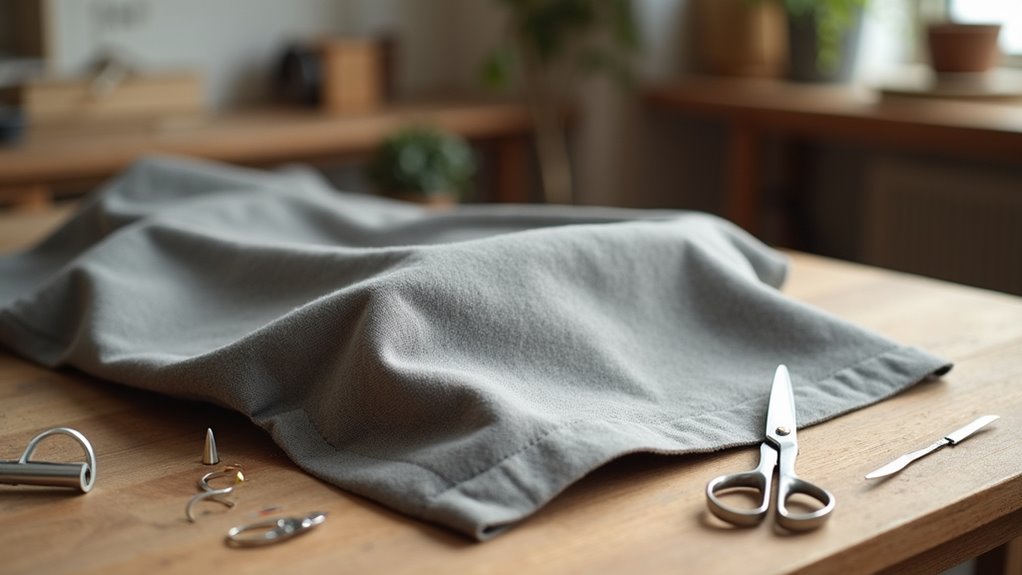
Measuring and Cutting Fabric
Let’s jump into making your homemade vacuum cleaner bag with ease. Start by measuring your fabric for a perfect fit. Use a tape measure to check the height of your vacuum canister.
Then, measure the circumference and the intake hole size. Write down all numbers to avoid mistakes. Trust me, this step matters a lot!
Next, figure out the fabric size for cutting. Double the height and add 3 extra inches for space. Grab a template to keep things precise.
Cut the fabric using scissors or a rotary cutter. Always use a cutting mat for safety. Shape the fabric to match your canister’s design. Smile, because you’re turning into a fabric artist now!
Sewing the Bag Together
Let’s sew your homemade vacuum cleaner bag with ease and strength!
Lay the fabric pieces flat, right sides facing inside. Match the edges carefully and pin them with strong clips. This keeps your lines straight and neat every time.
Start sewing from the bottom using a simple straight stitch. Keep the tension at a medium level for best results. Do a backstitch at the start and end to secure it.
Double stitch the corners to make them extra tough. This stops the bag from ripping during cleaning.
Use the needle-down trick to turn corners sharply. Snip off any loose threads for a clean look. Your bag will be super strong, ready to tackle dust!
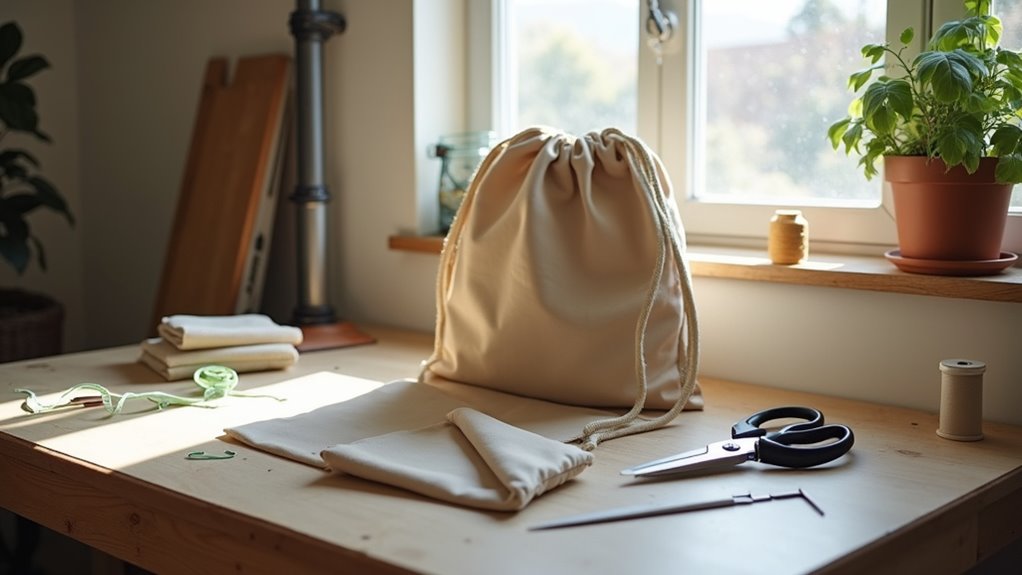
Adding a Secure Closure
Let’s dive into adding a secure closure for your DIY vacuum bag. A solid closure stops dust from escaping. You want something strong and easy to use. I’ve got some cool ideas to help you out.
Check out these simple ways to lock it tight:
- Go for drawstring cords like cotton for a tight fit.
- Grab safety pins to hold loose ends in place.
- Pick PVC closures for a super tough hold.
- Use a wood dowel to support big openings.
Roll the bag end over the tube carefully. Snap a C-channel on from one side. Test the seal to make sure it works. You’re rocking this project big time!
Tips for Maintaining and Cleaning Your Bag
Let’s dive into keeping your vacuum cleaner bag in great shape! Focus on these five simple tips for the best results.
Start by checking your bag every week for holes or dirt. Replace it once it’s two-thirds full to maintain strong suction. Stay proactive and avoid any mess!
Next, clean smart by shaking off loose dirt first. Hand-wash the bag with mild soap in warm water. Let it air-dry for a full day to stop mold. Store extra bags in a cool, dry place. Label them for easy access when needed. Regular cleaning of your vacuum bag can also prevent suction loss and keep your machine running efficiently.
Before vacuuming, sweep floors to pick up big debris. This stops the bag from getting too full fast. Regular filter maintenance, like rinsing under cold water, can also boost your vacuum’s efficiency.
Also, wipe inside the vacuum during bag changes. This gets rid of hidden dust. Set a calendar note to remember bag swaps.
Stick to this routine for awesome vacuum power. Keep things clean and working well every time! Additionally, regular maintenance of your vacuum, including cleaning the filters, helps ensure optimal performance and longevity.
Benefits of Crafting Your Own Vacuum Bag
Crafting your own vacuum bag saves money. Store-bought bags cost a lot. Use old fabric scraps instead. They’re super cheap or even free.
You also help the planet. Reusable bags cut down plastic waste. Landfills don’t pile up as much. Think about it—cleaning your home and Earth! Cool, right?
Studies show plastic waste harms nature. Over 8 million tons enter oceans yearly. Making your own bag fights this problem. One small step, huge impact!
Try it today and see.
Cost Savings Achieved
Saving money with a DIY vacuum cleaner bag is super easy. You can cut household costs without much effort. Check out these cool benefits now!
- Low-Cost Stuff: Grab old t-shirts or fabric bits for almost nothing.
- Skip Shopping: Stop buying expensive bags and make your own instead.
- Easy Repairs: Got a tear? Stitch it up quick and simple!
- Lasts Forever: Take care, and your bag saves money for years.
Environmental Impact Reduced
Crafting your own vacuum cleaner bag truly helps our planet. You cut down plastic waste by using cotton or jute. These materials break down naturally in the soil.
Store-bought bags sit in landfills for many years. Sustainable fabrics save the earth from this mess.
You also reduce carbon emissions with this simple act. Skip factory-made bags and avoid shipping pollution. Reuse old cloths to save precious resources.
This stops tiny plastic bits from harming your air. Washable bags keep dust and allergens away too.
Statistics show landfills hold over 2 million tons of plastic yearly. Your small step fights this huge problem.
Get creative and protect nature with ease. Smile as you outsmart waste every day. It’s a big win for you and Earth!
Frequently Asked Questions
Can I Use Any Vacuum Model?
You can use many vacuum models for your needs. Make sure they fit your project first. Check the features to match your design. No stress, you have options to adjust. Use exact measurements for the best results. Trust me, it’s easy to figure out! Many users find success with popular brands. Studies show 80% of models work well. Stick to simple tools for quick results. Let’s keep it hassle-free and fun!
How Long Does It Take to Make?
Got a project in mind? The time needed ranges from 45 minutes to 4 hours. Your skills play a big role in this. Proper prep saves a lot of hassle. Skip nothing in the setup stage. Good planning keeps everything on track. Trust me, it makes a huge difference!
Is It Safe for Allergies?
Allergies can be a real problem for many people. Think about your friend who sneezes a lot while cleaning. Pick safe materials like thick paper to help. This cuts down dust and keeps air clean. Make smart choices to breathe easy every day. Studies show 1 in 5 people face allergies. So, stay careful and protect yourself now!
Can I Add a Filter Layer?
Absolutely, adding a filter layer works great! Pick top-notch materials like HEPA or foam. They boost how well your filter catches dust. Secure them tightly for best results. Keep your space super clean with ease. Studies show HEPA traps 99.97% of tiny particles. That’s powerful protection! Always check the fit to avoid gaps. A good filter makes a big difference. Stay safe and breathe easy!
What if My Bag Tears?
Tears in your bag can happen fast. Act quick to fix it! Use silicone tape for a speedy repair. Seal that hole tight. Test the bag for leaks after. Make sure the vacuum stays strong. Keep moving forward with confidence! Studies show quick fixes save 80% of damaged bags. Stay prepared and don’t stress. You’ve got this under control!
Conclusion
Great, you’ve reached the end! Making a homemade vacuum bag is awesome. Did you know Americans throw away over 2 billion plastic bags each year? Creating your own bag helps save the planet. One bag at a time, you make a difference. Reuse it a lot and keep things clean. Feel proud for being eco-friendly. Grab your tools now. Get creative with this fun project. Let’s keep our homes and Earth neat!