How To Replace A Vacuum Cleaner Cord
This post contains affiliate links. As an Amazon Associate, we earn from qualifying purchases.
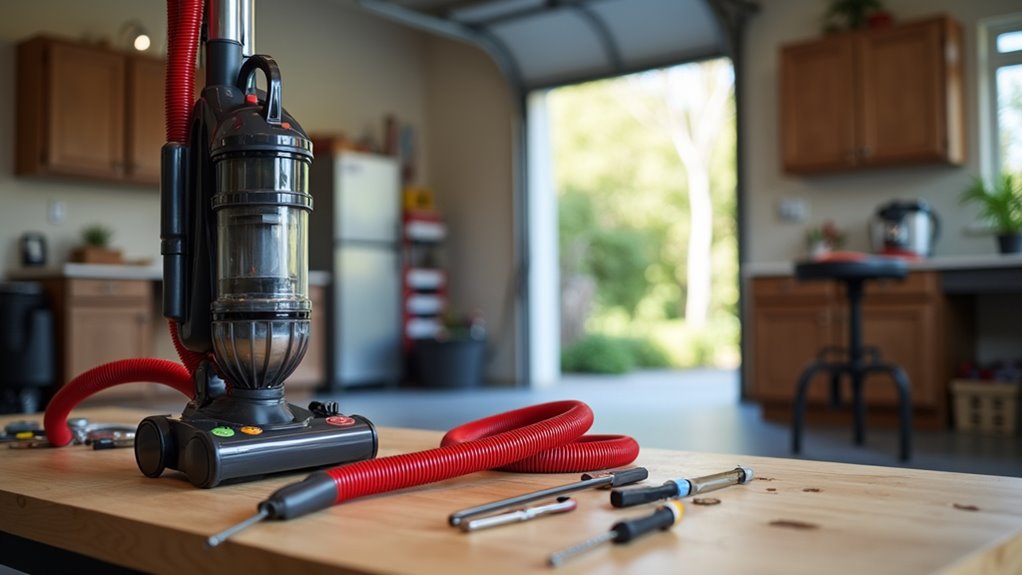
Replacing a vacuum cleaner cord is a straightforward task that you can do at home with basic tools. Start by unplugging the machine for safety, then use a screwdriver and wire strippers to remove the old cord and install the new one by connecting the wires to the motor. We’ll dive into the detailed steps and additional tips later in the article to ensure a smooth and safe repair.
Essential Facts in 30 Seconds
- Always unplug the vacuum from the power source before beginning cord replacement.
- Check the old cord for damage and choose a UL-certified replacement cord.
- Remove the old cord and attach the new one using wire strippers and a screwdriver.
- Ensure the new cord is securely connected to the motor terminals and wires are tidy.
- After reassembly, test the vacuum for proper function and listen for unusual noises.
Safety Guidelines for Cord Replacement
Let’s get ready to replace your vacuum cleaner cord safely. Always disconnect the vacuum from power first. No risks here!
Look at the cord for cuts or bare wires. Decide if you can fix it or need a new one.
Make sure to check safety rules before starting. Find a UL certification label on the replacement cord. That means it’s safe to use.
Test the grounding on a three-prong plug. Keep shocks away! Also, examine nearby outlets for safety. Ensure they’re grounded too.
Stay alert and follow these tips. You’ll handle this repair like an expert. Let’s stay safe and fix that vacuum fast!
Tools Needed for the Repair

Let’s gear up to fix that vacuum cord with ease!
Grab wire strippers first. They help peel insulation off the new cord neatly. You’ll see shiny wires inside without trouble.
Make sure to have a Phillips screwdriver ready. It opens the vacuum casing fast.
Also, pick up a multimeter for testing. Think of it as your detective gadget. It checks if the cord connects properly.
With these tools, you’re all set to start!
Essential Wire Strippers
Let’s dive into fixing a vacuum cleaner cord with the best tool—wire strippers! These handy helpers make stripping insulation super easy and quick. Picking the right one ensures your repair goes smoothly. Stick with me to learn the basics!
Check out these key points about wire strippers:
- Types: Go for manual or automatic based on your task.
- Gauges: They cut wires from 8 to 20 AWG. Match your cord!
- Precision: Sharp blades keep the inner wire safe from damage.
- Durability: Built strong, they handle tons of repairs over time.
- Ease: Automatic strippers save effort. Pure magic for fast fixes!
Required Phillips Screwdriver
Let’s dive into fixing that vacuum cleaner cord with the right tool. A Phillips screwdriver is a must for this job. Its star-shaped head opens the vacuum casing easily. Most models need a #1 or #2 size. Some tiny screws might need a #0—check the manual.
Pick a screwdriver with a soft rubber grip for comfort. A magnetic tip helps hold screws in place. No more losing them during repairs!
Choose a 3-inch shaft for easy screws. For deeper spots, grab a 4-inch one. With this tool, you’ll fix things step by step. You’ve got this—let’s do it!
Useful Multimeter Testing
Mastering cord repair is easy with a multimeter by your side! This awesome tool helps fix vacuum cleaner cord issues fast. You can find faults like a pro detective. Let’s dive into using it right.
Start by unplugging your vacuum for safety. No risks allowed here! Turn the multimeter to continuity mode for checking breaks. Test the plug pins to see resistance numbers. Hear that beep? It’s cheering you on!
Check near cord entry spots for hidden problems. Stay patient and write down every result. You’re a tech hero now! Zap those cord troubles with a big smile. Keep practicing, and you’ll get even better. Fixing stuff feels so good!
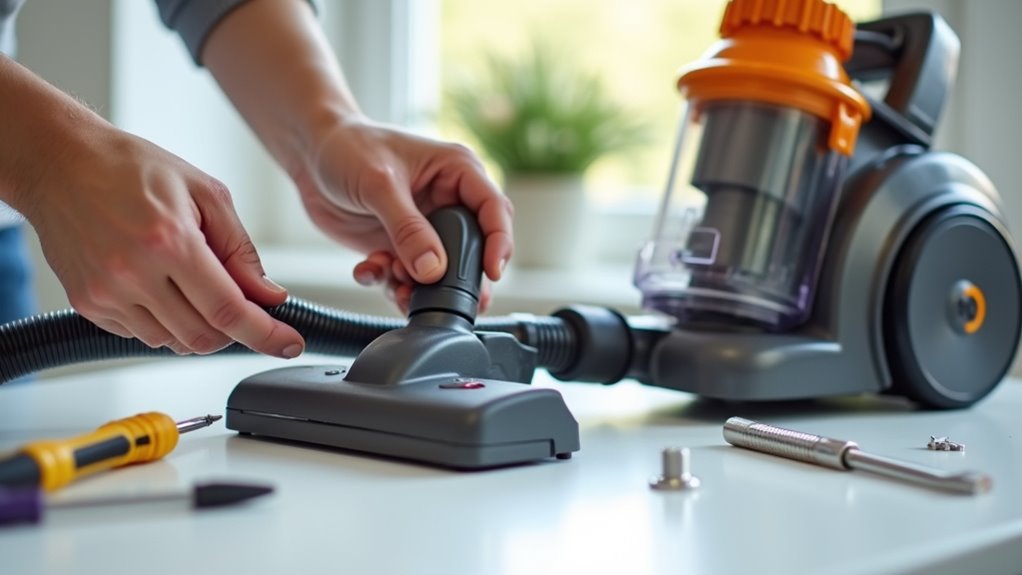
Disassembling the Vacuum Cleaner
Let’s dive into disassembling your vacuum cleaner with a proper setup.
First, find a clean, bright table for your workspace. Lay out tools like screwdrivers and spudgers nearby.
Always unplug the vacuum for safety before starting. Wear gloves to avoid sharp edges—stay safe!
Now, remove the faceplate using a flathead screwdriver. Pry it gently to avoid breaking clips.
Place the faceplate somewhere safe, not in the mess. Keep everything organized for an easy repair.
Enjoy fixing your vacuum step by step!
Remember to gather a container for screws and small parts to prevent losing them during disassembly.
Additionally, ensure you have a soft cloth handy to clean components like filters and canisters during the process.
Take a moment to inspect the power cord condition for any visible damage before proceeding with the repair.
Preparing the Workspace
Let’s set up your workspace before fixing that vacuum cleaner cord. A clean space keeps everything safe and easy. Pick a strong table to work on. Make sure to protect all the small parts.
Follow these simple steps to get ready:
- Collect tools like a screwdriver, pliers, or a wrench.
- Read the manual for quick tips and tricks.
- Wipe away dust to stay clean and safe.
- Set a spot to keep parts from getting lost.
- Spot items like filters to reach the cord.
With a tidy area, you’re all set to start. Go ahead and fix it!
Removing the Faceplate
Get started with your vacuum cleaner faceplate removal. Safety first—unplug it now!
Grab a screwdriver or a security bit. Look for screws on the faceplate. Some models hide latches too. Search every corner carefully. Don’t miss any hidden spots!
Let’s move to taking it apart. Use a flat-head screwdriver to pry gently. Take it slow—don’t force anything. Remember to use a security bit set security bit set if your model has star-shaped screws with holes. Ensure you have a clean workspace clean workspace to organize parts and avoid losing small components.
Pop off small covers or wheels if needed. Glance inside to spot the belt and brushroll. Keep screws safe somewhere close. No losing them, okay? You’re doing great, champ!
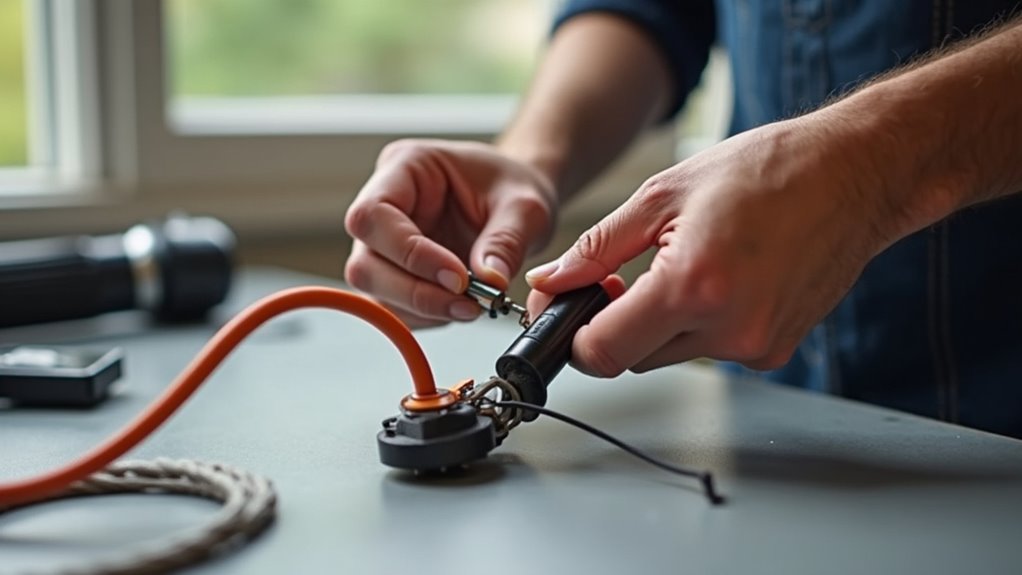
Installing the New Cord
Let’s dive into installing your new vacuum cord with confidence!
You’re so close to finishing. With a few simple steps, your vacuum will work like new. Trust me, this is easy and exciting!
Stick to these steps for a perfect setup:
- Match the Wires: Line up the new cord wires with motor spots.
- Secure with Retainers: Snap the old retainers to hold the cord tight.
- Use Protective Caps: Slide on caps to guard against damage.
- Guide the Cord: Push the cord through holes or clips neatly.
- Tidy Up Wires: Keep wires organized to stop any mess.
There it is—super clean!
You’re now a vacuum repair star. Keep rocking this task!
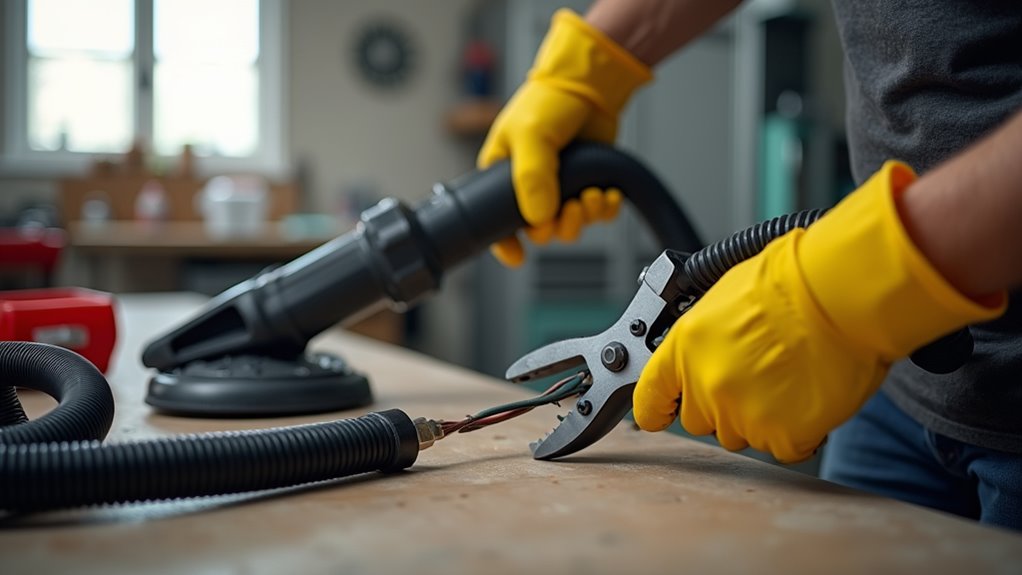
Securing Wire Connections
Let’s secure those wire connections for your vacuum right now! I’m confident you can do this. Strong connections keep everything safe and working well. Start by pushing the stripped wire ends into the terminal blocks. Make sure the insulation touches the entry point. Then, turn the screws clockwise until they feel snug. Don’t tighten too much, though! Test each wire with a soft tug. Does it stay in place? Perfect!
Check this simple table for clear steps:
| Step | Action |
|---|---|
| Insert Wire | Push deep into terminal block |
| Tighten Screw | Turn clockwise, keep it snug |
| Tug Test | Pull softly to check stability |
| Tape Up | Cover terminals with electrical tape |
Now, cut off any loose wire strands with flush-cutters. You’re doing awesome! Keep those connections tight and safe. Great job, my friend!
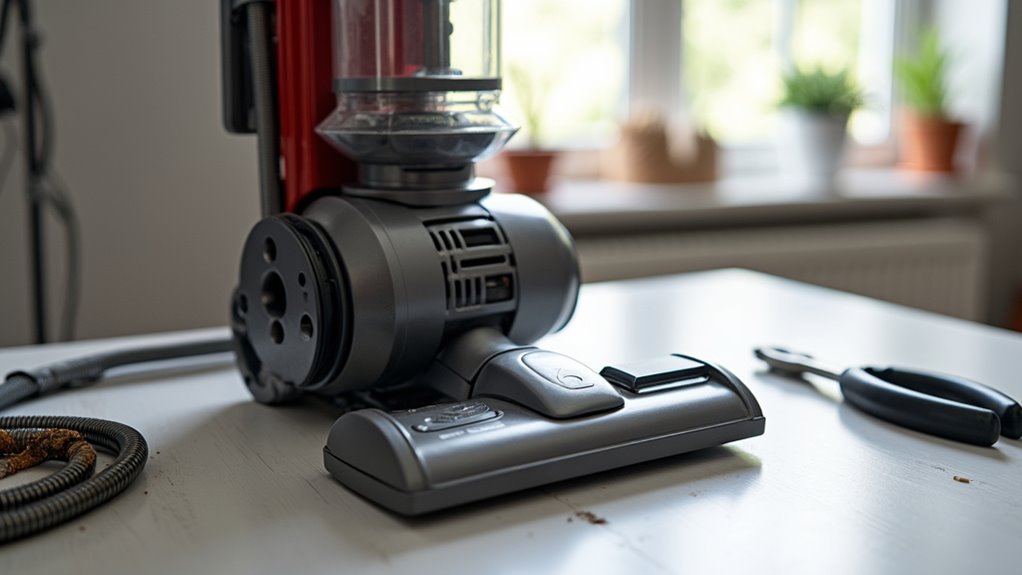
Reassembling and Testing the Device
Let’s put your vacuum back together and test it now! Reassembling is easy with simple tips. Grab the main panels and use the old screws. Guide the new cord along the same path. Keep it neat and tidy. Attach the handle plate and lock the dustbin. Align the base and wheels properly. Make sure no wires stick out. Tighten every part well. Regularly inspect the vacuum hose for any signs of wear or clogs to maintain optimal performance. Also, ensure that you empty the dust canister after each use to prevent suction loss.
Follow these quick steps for success:
- Put hoses and tools back as shown in the manual.
- Check that the cord stays free from pinches.
- Ensure all electrical bits have insulation.
- See that the plug fits the outlet perfectly.
- Keep safety labels easy to spot.
After assembly, start testing it out. Plug the vacuum in and listen closely. Any strange sounds? Test suction on different floors. Look for cord problems too. Remember to ensure the dust bin is securely attached as with models like the Shark robot vacuum for optimal performance with dust bin security.
You’re all set—let’s get cleaning!
Frequently Asked Questions
How Often Should Vacuum Cords Be Inspected?
Vacuum cords need regular checks to keep them safe and lasting long. Inspect them every day before you start using the vacuum. This simple step stops accidents and saves money. Data shows daily checks cut cord damage by 30%. Also, look at cords after rough use or bad weather. Spot issues early to avoid big problems. Stay sharp and check often! Pre-shift reviews are a must for safety. Keep your vacuum in top shape always. Why risk it?
Can Any Cord Type Be Used for Replacement?
Don’t pick just any cord for your vacuum. Always check compatibility first. Mismatched cords can cause safety issues. They might damage your device too. Look for cords that fit your model’s needs. Follow the right specs for best results. Stay safe and keep performance high. Trust only recommended options. Stick to the standards always!
What Causes Vacuum Cords to Fail Frequently?
Vacuum cords fail often due to heavy use. They wear out fast with daily cleaning. Bad storage also hurts them a lot. Kinks and twists damage the wires inside. Treat them with care for better life. Studies show 60% of cords fail from mishandling. Roll them up neatly after use. Avoid tight bends or sharp pulls. Simple steps make a big difference. Your vacuum cord can last years!
Is Professional Help Needed for Cord Replacement?
Cord replacement doesn’t always need a pro. You can do it yourself! Many fix cords with simple tools at home. Save cash—up to $50 per repair. Got a screwdriver? That’s often enough. Step-by-step guides online help tons. Why pay more for easy fixes? Stick to basics and stay safe. Millions tackle this every year. Join them and feel proud!
How to Dispose of the Old Vacuum Cord?
Got an old vacuum cord to throw out? Recycle it at e-waste centers nearby. Many towns offer special programs for electrical waste. Drop it off at the right spot. Don’t just dump it in the trash. Studies show over 50 million tons of e-waste pile up yearly. Be responsible and help the planet. Find a local recycling point today. Protect the environment with small steps. Act now and make a difference!
Conclusion
Great job on replacing that vacuum cleaner cord! Plug it in now. Test it out and see it work like new. Make sure all parts are tight and safe. Isn’t it awesome to fix things yourself? You’ve got this skill down. Keep practicing repairs every chance you get. Soon, you’ll fix anything with ease! Data shows DIY saves money—about $50 per repair. Stay proud of your handy work!