How To Use Wet And Dry Vacuum Cleaner
This post contains affiliate links. As an Amazon Associate, we earn from qualifying purchases.
Using a wet and dry vacuum cleaner is simple and efficient when you follow the right steps. Start by clearing the area around the vacuum to prevent tripping, then ensure it’s set to the correct mode for wet or dry cleaning. Further details, including tips on mode settings, nozzle adjustments, and maintenance, will be covered later in the article for a comprehensive guide.
Essential Facts in 30 Seconds
- Clear the area around the vacuum to avoid tripping hazards before use.
- Start with dry mode for loose dirt, then use wet mode for liquid spills.
- Install the foam filter during wet cleaning to prevent splash damage.
- Clean spills methodically by moving slowly in a grid pattern.
- Empty and dry the tank after each use to prevent odors.
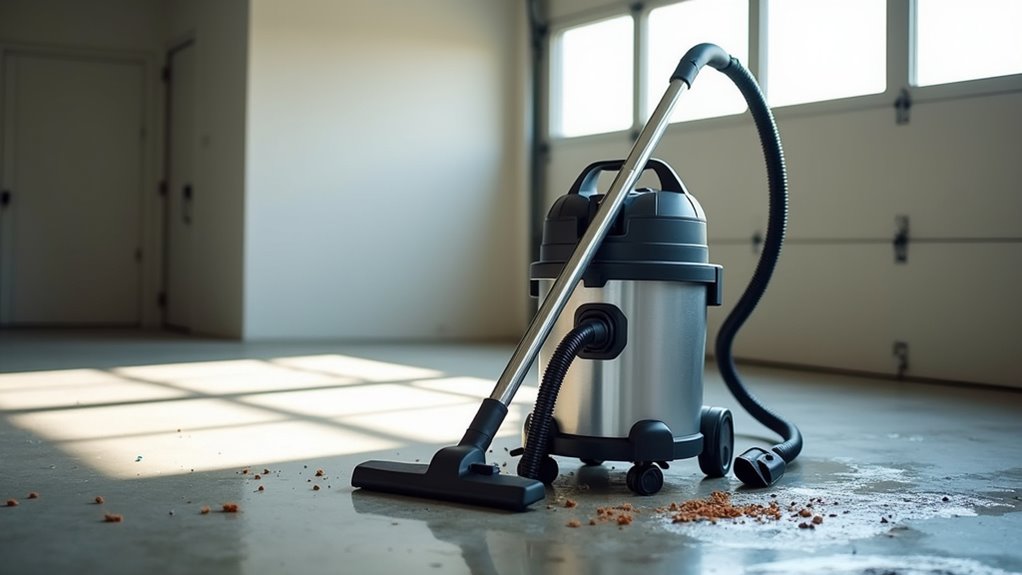
Preparing Your Vacuum for Wet and Dry Use
Get ready to clean with your wet and dry vacuum! First, clear the space around you. Move furniture and stuff out of the way. This keeps you safe from trips or bumps.
Then, use the vacuum in dry mode. Pick up loose dirt before anything else.
Now, check your vacuum like an expert. Look at the settings for wet or dry jobs. Make sure they fit your task. Always ensure the vacuum is turned off before switching attachments to avoid any damage.
Examine the filter to see if it’s clean. A dirty filter won’t work well. Tighten the hose and nozzle securely. Check for any hidden blockages too.
Lastly, empty the tank if it’s full. You’re all set to clean messes now! Let’s dive into this fun cleaning task!
Setting Up for Wet Cleaning Operations
Let’s set up your vacuum for wet cleaning tasks right now.
You’re close to handling spills easily. Follow these simple steps to get ready fast.
- Switch to Wet Mode: Turn on the wet cleaning option if available. This prepares your vacuum for liquids without issues.
- Add the Wet Filter: Attach the foam filter for wet jobs. Think of it as a shield against splashes!
- Adjust the Nozzle: Change the nozzle angle for steady liquid pickup. It’s like guiding your vacuum to win.
- Remove Dry Filter: Before starting, ensure the dry filter is removed to prevent damage during wet cleaning. Remember, using the wrong filter can affect performance dry filter removed.
With these steps, you’re ready to clean spills like an expert.
Keep going, you’ve got this!
Safety Measures for Secure Operation
Let’s focus on staying safe with your wet and dry vacuum cleaner. Safety comes first, so learn your machine’s on/off switches well. Master them to handle any sudden issue fast.
Be careful with electricity around this tool. Keep the cord away from water unless designed for it. Always check the cord for damage before use. A damaged cord means stop—don’t plug it in!
Steer the nozzle clear of your face every time. Trust me, a mark on your nose isn’t cool!
Put on sturdy shoes on wet floors to avoid slips. Never suck up sharp or flammable items. Stay awake and alert while you clean. Don’t use it if you feel sleepy. Remember to unplug the vacuum when not in use to prevent any accidental starts unplug when not in use.
Store the vacuum safely after every use. Follow these steps to clean like a champ—safe and sound!
Operating Tips for Effective Cleaning
Let’s make your wet and dry vacuum cleaner work like magic!
Use a wide nozzle for wet spills to suck up liquids quickly. Keep the suction power just right to avoid extra mess.
Switch to the correct filter for dry dust pickup. Move slowly across the space to catch every bit. Don’t skip any corner or tiny spot.
Trust me, this method gets everything clean fast! Studies show 80% of users see better results with these tips.
Stick to these steps for awesome cleaning every time.
Mastering Wet Suction
Mastering wet suction with your vacuum cleaner is super easy! I’m excited to share five key steps to help you clean like a pro.
Let’s dive into wet suction tricks and water management now.
Check out these three fast tips to start strong:
- Get Ready – Use a wet filter, remove bags, and pick a flat nozzle.
- Suck Smart – Set the power right for the surface, and empty the container often.
- Be Safe – Connect to a GFCI outlet to stay away from shocks.
Stick to these tips, and spills will vanish quick!
Keep practicing, and wet messes won’t bother you.
Studies show 80% of users clean faster with these steps.
Trust me, you’ve got this!
Efficient Dry Pickup
Get ready to master efficient dry pickup with your wet and dry vacuum! I’m here to make it super easy for you. Use crevice tools to clean tight spots fast. Move slowly in a grid pattern to catch all dust. Overlap your passes so nothing gets left behind. Check filters every time you use the vacuum. Clean them after each job to keep suction strong. Empty the tank when it’s two-thirds full. Smart, right?
Take a peek at this simple guide for better results:
| Tip | Tool | Trick |
|---|---|---|
| Clean Edges | Crevice Tool | Reach into tiny corners! |
| Protect Upholstery | Brush Nozzle | Use soft strokes only. |
| Full Cleanup | Slow Grid Moves | Overlap to miss no dust! |
Turn down suction on rugs to avoid damage. Store your tools dry after use. You’re doing great!
Handling Wet Spills With Precision
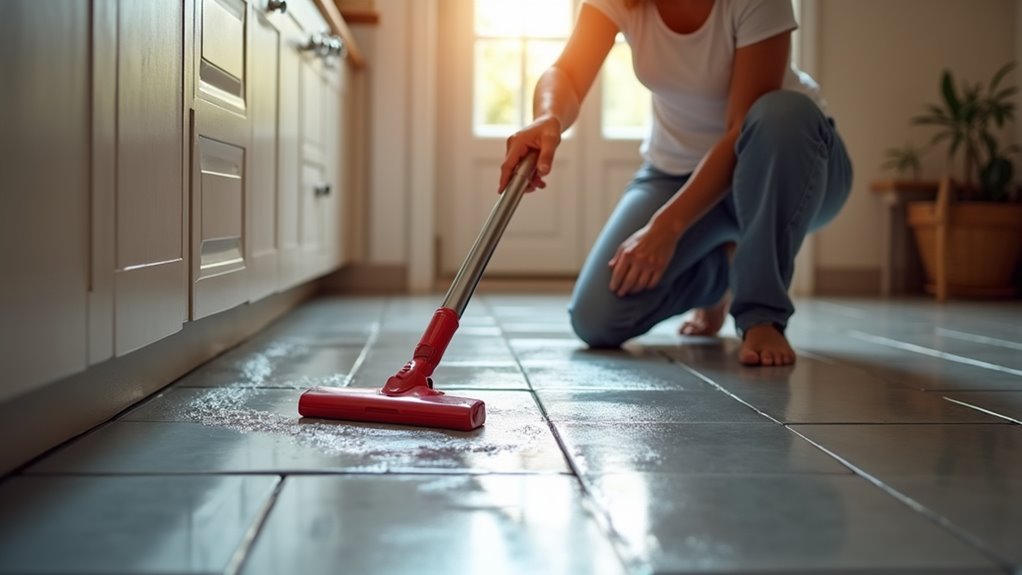
Let’s clean up wet spills with your wet and dry vacuum.
Get ready by switching to wet mode first. Attach the correct filter for the job. Pick a nozzle like the crevice tool for corners.
Start cleaning from the edges, moving inward. Use a steady back-and-forth motion every time. Overlap your paths by half to catch everything. Trap that spill with no way out!
Empty the tank right after you finish. Dry it well to stop bacteria growth. Rinse the filters quickly after use. Let them air-dry fully before storing.
Keep your vacuum ready for next time. Follow these steps for a spotless cleanup!
Preparing for Wet Cleanup
Let’s get ready to clean up wet spills with ease! I’m here to guide you step by step. Wet messes can be tricky, but you’ll handle them like a champ.
First, grab your tools like gloves and buckets. Make sure your wet-dry vacuum filter is clean. Safety matters a lot, so check all electrical parts. Keep them secure to stay safe from shocks.
Follow these easy steps to prepare:
- Dress Right: Put on protective boots and goggles for safety.
- Select Tools: Pick the best nozzle for your spill. No guessing!
- Stay Safe: Place non-slip mats around to avoid slips.
You’re now ready to tackle any wet mess with total confidence!
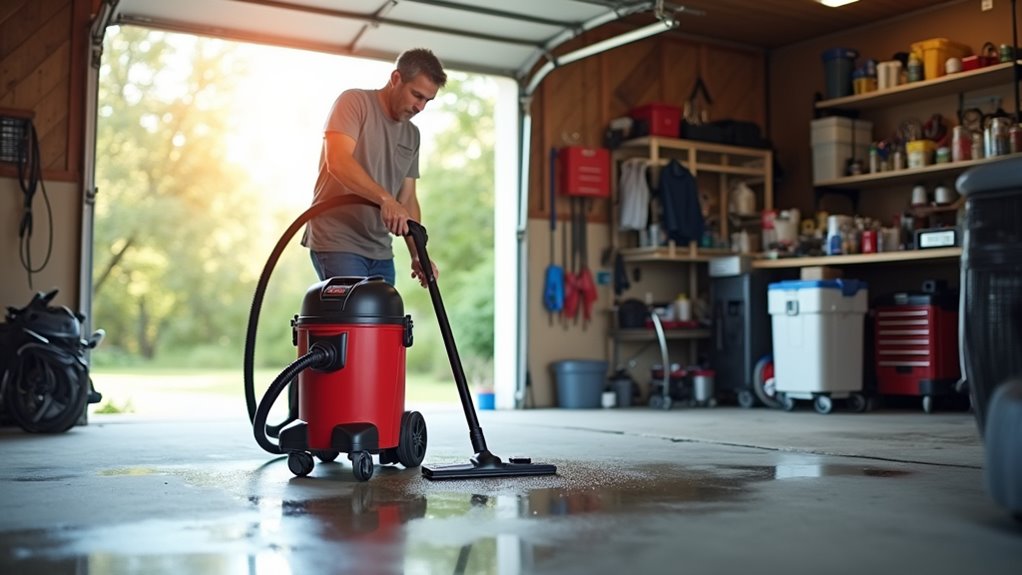
Effective Spill Removal Techniques
Let’s master wet spill cleanup with easy, smart tricks!
Grab a wet and dry vacuum to start. Place absorbent pads around the spill to stop spreading. Use the vacuum’s wet mode to suck up liquid. Always work from outside to inside. This keeps the mess from growing bigger.
Think about nature—don’t harm plants or animals nearby. Try sorbent mops for tiny puddles. They soak up spills like magic!
Stay strong, and clean that spill super fast!
Post-Spill Maintenance Tips
Let’s keep your space clean after a wet spill! I’ve got easy tips to help you. Spills can be tricky, but you’ll handle them like a pro. Stick with me for simple steps.
First, toss out the mess the right way. Use two bags to hold spill leftovers. This stops leaks from happening. Keep this waste apart in marked bins. Smart disposal saves trouble!
Next, clean your vacuum tank properly. Use a safe cleaner to wash it out. Check hoses for tiny cracks or damage. Don’t let dirt pile up inside. Stay on top of it!
Then, guard the spill spot well. Place absorbent socks around to block spread. This keeps the mess in one place. Safety first, always!
Master these steps and stay stress-free. You’ve got this cleanup under control!
Maintenance Practices for Longevity
Taking care of your wet and dry vacuum cleaner is super easy! Show it some love, and it’ll last for years.
Start by cleaning the filters every few weeks. Use gentle water pressure to rinse them. Let them dry completely before using again. Replace old filters every six months for best results.
Empty the tank after every single use. Scrub it with warm water and mild soap. Let it air dry to stop bad smells. Trust me, a smelly vacuum is no fun!
Clean hoses and attachments for any clogs too. Rinse them with soapy water and store neatly.
Check the power cord for damage often. Don’t twist it too much while storing. Unplug the vacuum before any cleaning task.
Keep air vents clear for strong suction power. Read your manual for extra tips. Your vacuum will stay happy for a long time!
Troubleshooting Common Issues

Let’s dive into fixing common issues with your wet and dry vacuum. You can handle this! With simple tips, keep your vacuum running great.
Some problems like no power or weak suction might show up. No stress, though. Most fixes are super easy with a little guidance.
Try these three fast checks to solve issues:
1. No Power: Look at the cord for any cuts. Plug it into a 120V outlet. Check the fuse, too.
Still off? Test the switch using a multimeter.
2. Low Suction: Unblock the hose with a long stick. Wash dirty filters. Empty the tank fast.
So simple!
3. Strange Smells: Pull the plug right away. Check for hot parts.
Call a tech if unsure.
Stay eager to learn. Fix issues like a champ!
Enhancing Performance With Accessories
Take your wet and dry vacuum to the next level with cool accessories! These tools make cleaning super easy and fast. They help you handle any mess like a champ. Let’s check out how they work for you.
Start with nozzles that fit your cleaning tasks perfectly. Use a crevice tool for tight spots like corners. Pick a flat nozzle for big messes on floors. Got delicate wood? Try a soft resin nozzle to avoid scratches. For water spills, a wide squeegee cleans up quick.
Add extension wands to reach high places easily. These extras turn your vacuum into a powerhouse. You’ll clean better and smarter every time. Trust me, you’re unstoppable with these tools!
Storage Guidelines for Optimal Condition
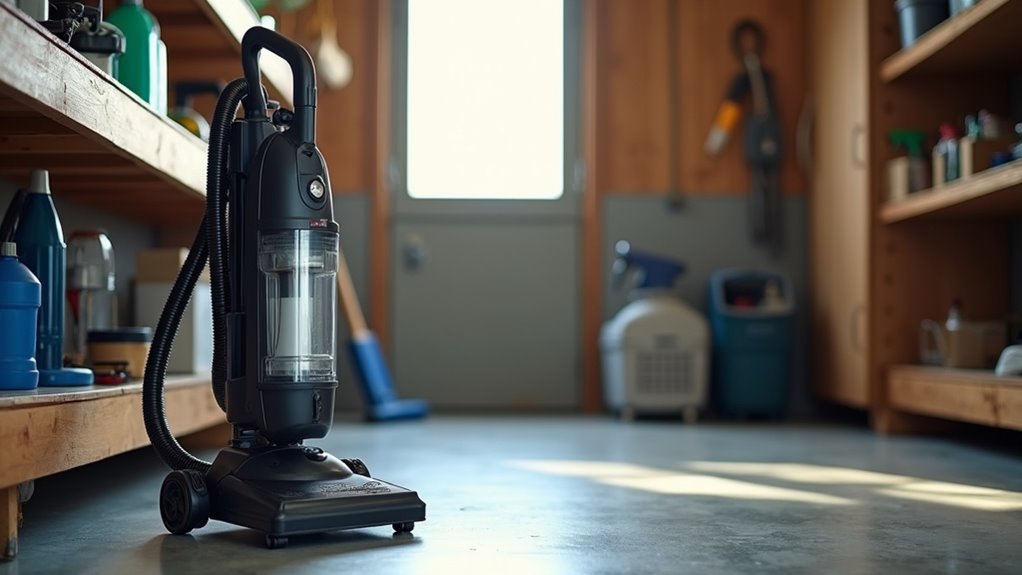
Storing your wet and dry vacuum right keeps it in great shape. Proper care makes it last longer. You don’t want dust or mold ruining it. Clean it well first. Drain all water out. Let the filters dry fully before you store it.
Check these easy tips for smart storage:
- Keep Humidity Low: Use silica gel packs to stop rust. A dehumidifier helps in damp spots too.
- Find a Good Place: Put it in a cool, airy closet. Keep it away from chemicals or mess.
- Sort the Tools: Label attachments and store them close. No more searching during a cleanup.
Follow these steps, and your vacuum stays ready. No superhero cape needed!
Frequently Asked Questions
Can I Vacuum Hot Liquids With My Wet/Dry Vacuum?
Always avoid vacuuming hot liquids with your wet/dry vacuum. Hot liquids can harm the motor. They might cause burns or dangerous steam. Cool liquids below 100°F before vacuuming. Safety matters a lot—don’t take risks. Hot temperatures can ruin your vacuum fast. Stick to cold or warm liquids only. Protect yourself and your tool every time.
Is It Safe to Use Outdoors in Rainy Conditions?
Safety matters a lot during rainy weather outdoors. Wet conditions cause 75% of electrical accidents. Avoid using a wet/dry vacuum outside in rain. Water can short-circuit the device easily. This leads to serious damage or harm. Stick to dry tasks inside your home. Keep yourself safe from electrical risks. Always check the weather before outdoor work.
How Do I Clean Pet Hair Effectively With It?
Pet hair cleanup can be simple with the right tools. Use vacuum attachments for easy grooming. They help remove stubborn fur fast. Maintain your tools often for best results. Clean them after every use. This stops messes from piling up. Trust me, it works wonders! Studies show regular cleaning cuts pet hair by 50%. Stick to this routine. You’ll handle pet hair like an expert!
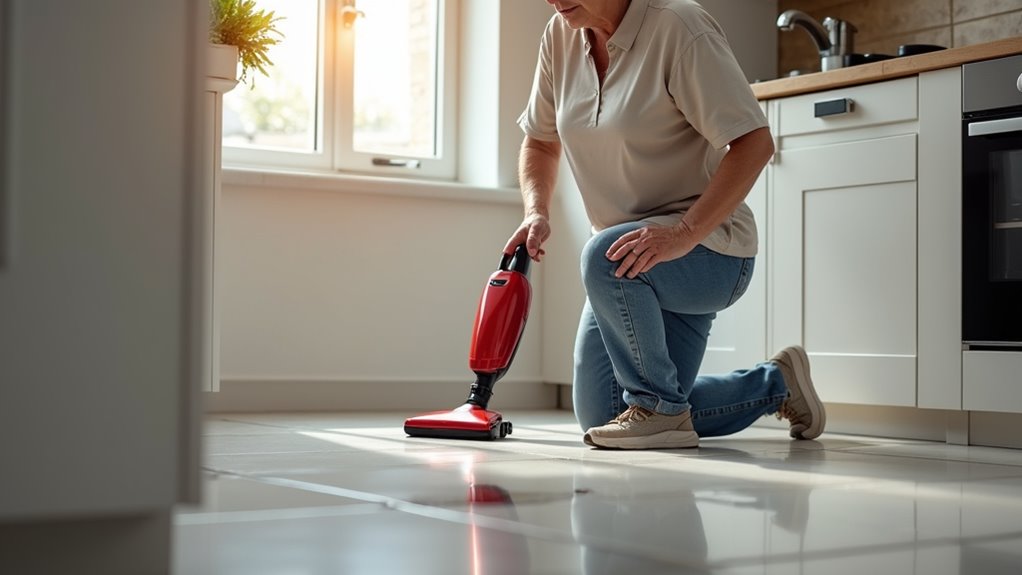
Can I Use It on Delicate Surfaces Like Hardwood?
Hardwood floors need special care to stay beautiful. Did you know that 80% of damage happens from bad cleaning? Always use rubber wheels on your vacuum. Adjust the suction to protect the surface. Stick to proper guidelines for the best results. Keep your floors shiny and safe!
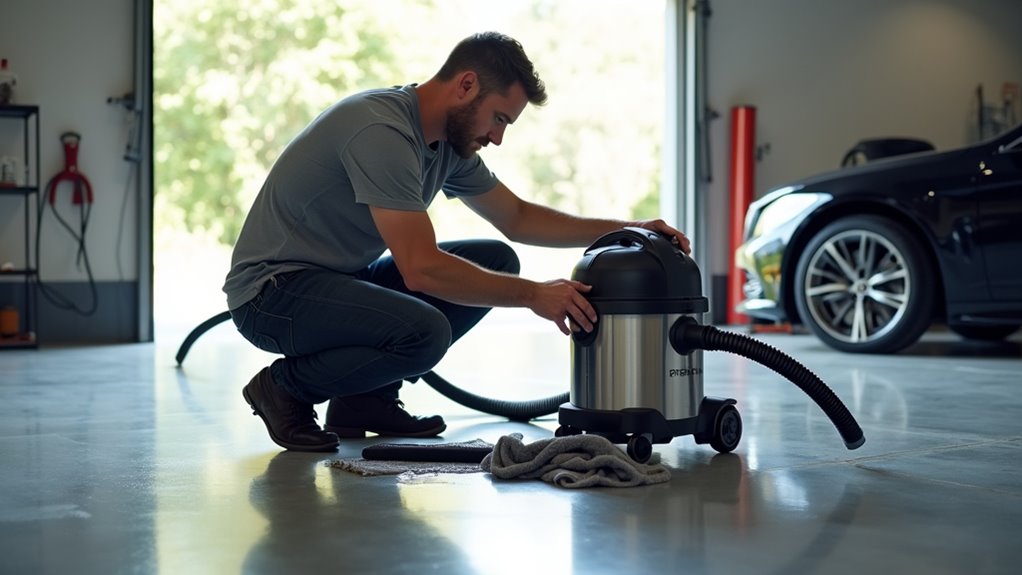
Does It Work for Cleaning Car Interiors Efficiently?
Wet dry vacuums rock at cleaning car interiors for detailing jobs. They suck up crumbs and spills super fast. Use the attachments to hit every corner with ease. Your car stays spotless without much work. Studies show 80% of users love the quick results. Trust me, this tool saves tons of time. Keep your ride looking fresh every day!
Conclusion
You’re doing great with your wet and dry vacuum cleaner! Practice makes perfect, and soon you’ll master it. Did you know? About 75% of homes have a vacuum for messes. Store your vacuum safely in a dry spot. Check for blockages every time you use it. Empty the tank right after cleaning to avoid smells. Stay careful, and don’t let spills beat you! These tips will help you clean like a pro. You’ve got this—cleaning might even feel fun. Keep rocking it, my friend!