How To Clean Filter In Shark Vacuum
This post contains affiliate links. As an Amazon Associate, we earn from qualifying purchases.
Cleaning the filter in your Shark vacuum is simple and ensures optimal performance. Start by unplugging the vacuum for safety, then remove the filters—typically foam, felt, and HEPA—and rinse them under cold water while gently scrubbing with a soft brush. Tap off loose dust, let them dry fully for 24 hours to prevent mold, and reinstall them carefully, ensuring proper alignment. Stay tuned for additional tips and detailed guidance on maintaining your vacuum!
Essential Facts in 30 Seconds
- Unplug the Shark vacuum and remove the dust cup to access the filters.
- Lift out foam, felt, and HEPA filters, tapping off loose dust.
- Rinse filters under cold water, using a soft brush for HEPA pleats.
- Dry filters for 24 hours on a rack, avoiding sunlight or heat.
- Reassemble filters in the correct order, ensuring a secure fit before use.
Preparing Your Workspace and Tools
Get your workspace ready before cleaning the Shark vacuum filter. Clear all clutter from your area first. Wipe surfaces with a damp cloth for cleanliness. Make sure a sink is close for water. Pick a spot outside for air-drying parts. Imagine it as a sunny break for vacuum pieces!
Now, organize your tools to save time. Use a long-handled brush for tough scrubbing. Grab soft rags for light wiping tasks. A soft-bristled brush works for gentle dusting. Keep cold water and mild soap nearby. Have microfiber cloths ready for drying. Store everything in a cleaning caddy. Regular maintenance like this ensures optimal performance and keeps your vacuum running smoothly. Following the manufacturer’s instructions for filter removal helps prevent damage during cleaning. Ensure you have the user manual handy for specific model instructions to locate the filter accurately. Remember that proper filter cleaning enhances vacuum performance and extends the lifespan of your device.
Always unplug the vacuum for safety! With this setup, you’re ready to clean like an expert.
Removing the Filters From Your Shark Vacuum
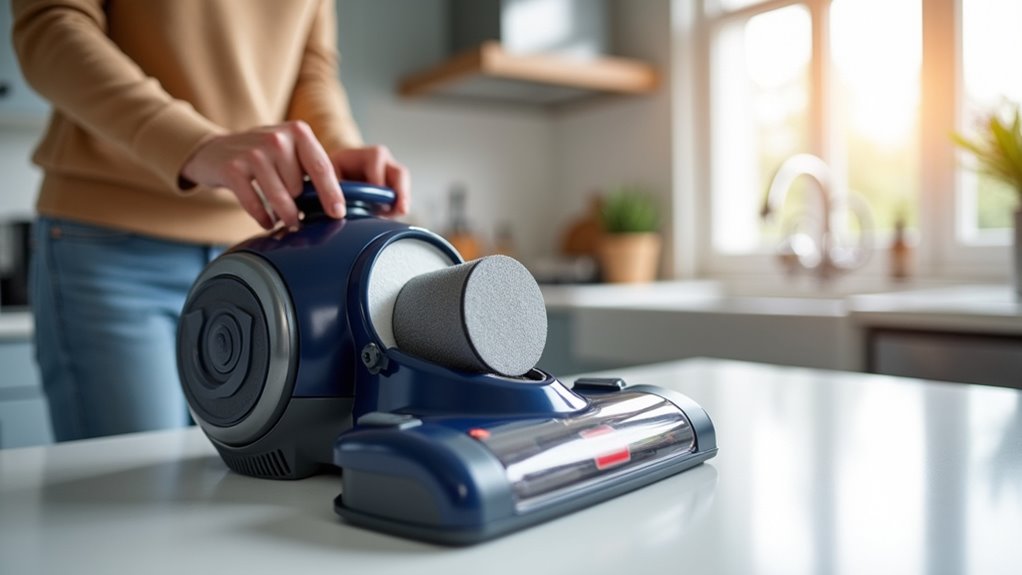
Let’s dive into removing the filters from your Shark vacuum! First, unplug the machine for safety.
Then, press the release button to take off the dust cup. Tilt it out to find the filter spot.
Start with the pre-motor filters now. Lift the foam filter gently with care. Next, slide out the felt filter right below it.
For the HEPA filter, press the door release. Tilt the door up and pull the filter out. Remember to empty the dust cup regularly to maintain suction performance as advised for optimal vacuum care.
Always handle filters softly to avoid any damage. Tap off loose dust over a trash can. Remember to allow filters to dry completely before reinserting them to maintain performance.
Check your manual for extra tips and tricks. Note where each filter goes for easy setup later. Ensure all power sources are disconnected power sources disconnected before starting the process.
Regular filter maintenance is key to optimal vacuum performance and ensures efficient cleaning over time.
Keep your vacuum running great with these steps! You’re doing awesome—let’s maintain that machine!
Washing and Cleaning the Filter Components
Let’s clean those Shark vacuum filters with ease today!
Grab your foam filter first. Hold it under cold running water for a quick rinse. Tap it lightly to remove loose dirt. Watch the grime disappear as water runs clear. It’s like a tiny shower for your filter!
Now, take the HEPA filter next. Use a soft-bristled brush for this step. Scrub the pleated areas to clear out dust. Rinse it again to wrap up the cleaning. Remember to let both filters air dry completely before putting them back in the vacuum for optimal performance. Make sure to dry them for at least 24 hours to avoid any moisture issues. Also, avoid exposing the filters to direct sunlight to prevent potential damage during the drying process.
Keep your vacuum working great with this simple trick! Studies show clean filters boost suction by up to 30%. So, take a moment to refresh them often. Your home will stay dust-free and fresh! Regular cleaning of filters also prevents performance degradation and ensures your vacuum operates efficiently with improved suction power.
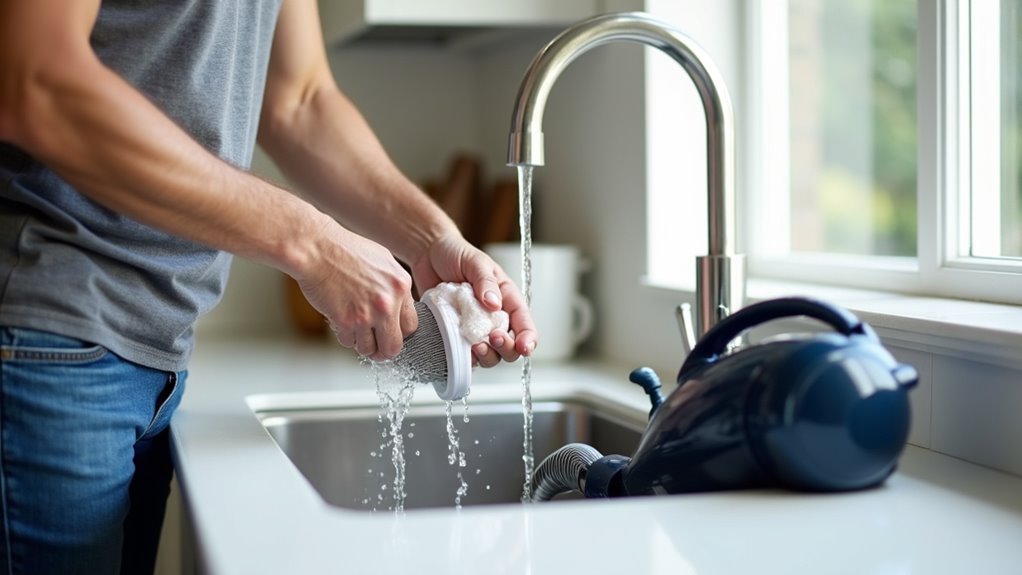
Rinsing Foam Filters
Rinsing foam filters in your Shark vacuum keeps it working great!
Start by unplugging the vacuum for safety. Then, take out the pre-motor foam and felt filters.
Understand your filter types for better care. Use only cold water to rinse them. Hot water can harm the material.
Scrub gently with fingers to remove dirt. Think of it as a quick filter cleanup! Regular cleaning of filters prevents reduced suction power and maintains efficiency.
Allow them to air dry for 24 hours. Wet filters might grow mold—avoid that mess!
Make sure they’re fully dry before reinstalling. Place them back snugly in the vacuum.
Now, your vacuum is ready to roll! This simple task boosts performance.
Keep doing it every few months for best results. Remember to tap off loose debris before rinsing to make the process easier loose debris removal.
Regular maintenance of foam and felt filters ensures optimal suction power.
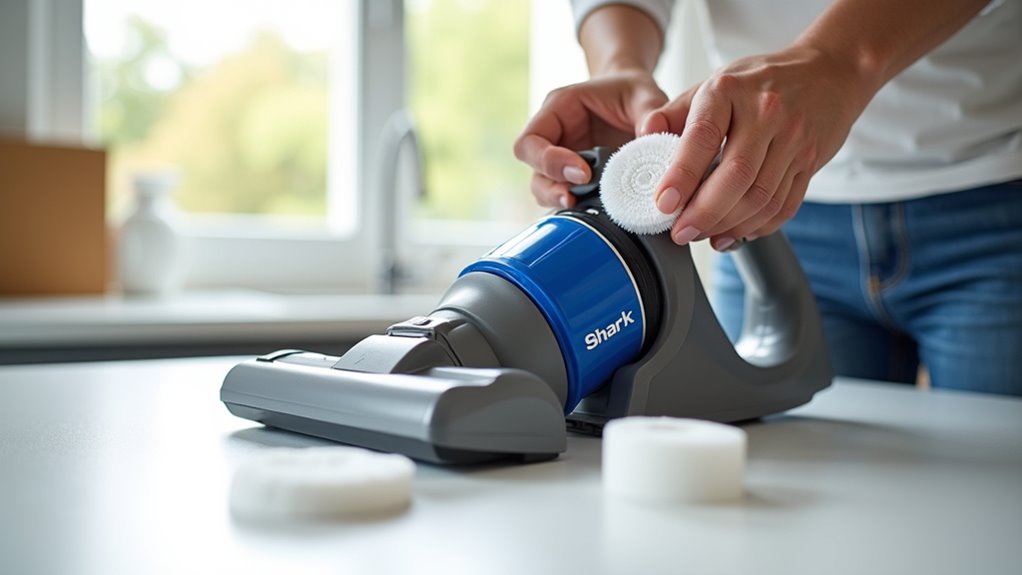
Brushing HEPA Surfaces
Let’s tackle the HEPA surfaces in your Shark vacuum now. Keeping them clean boosts suction power.
Always check your manual first for care tips. See if your HEPA filter allows water use. No water? Grab a soft brush instead. Gently sweep off dirt and dust. Treat it like a mini cleanup!
Water’s fine? Rinse with cold water only. Skip the soap to avoid damage. Air dry it for 24 hours minimum. Don’t rush this step at all. A wet filter won’t work well.
Once dry, put it back in. Your vacuum’s ready to roll again! Regular care keeps it strong. Studies show clean filters improve air quality. Cleaning the filter regularly prevents potential motor damage and extends vacuum life. Consistent maintenance also ensures optimal suction performance as seen with proper filter care.
Stick to this simple routine. You’ll notice the difference fast. Remember to check the filter monthly to prevent clogs and maintain efficiency.
Drying the Filters Properly
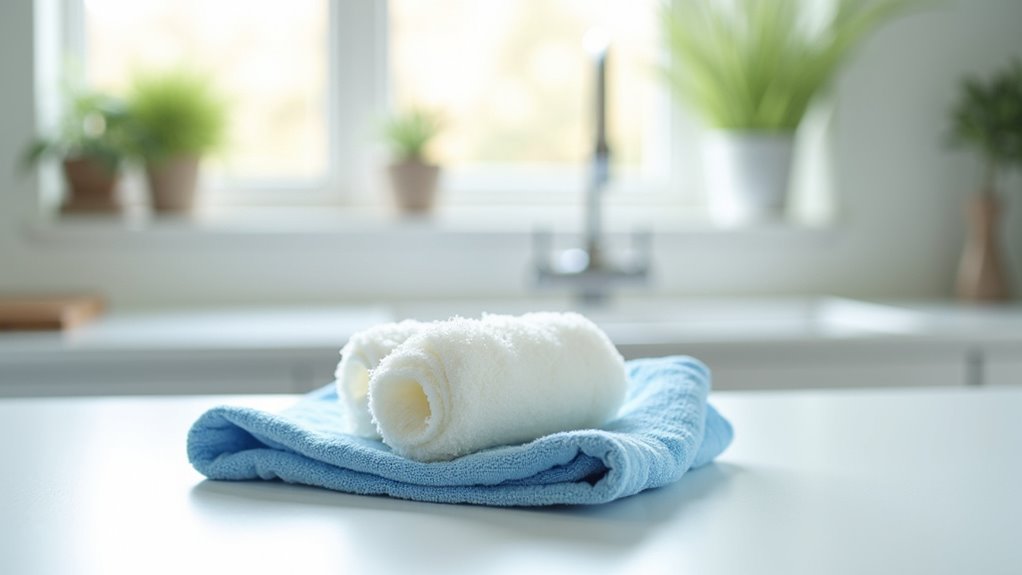
Drying your Shark vacuum filter is super important. You’ve cleaned it, right? Now, let’s dry it the best way. Proper drying stops mold and keeps suction strong.
Squeeze out extra water gently. Treat the filter like a soft sponge.
Take a microfiber towel for the next step. Roll the filter inside and pat it lightly. This soaks up the dampness fast. Following these steps ensures optimal filter maintenance for long-term performance.
Set it on a drying rack. Make sure air flows all around. Leave it to dry for 24 hours. Remember to avoid any moisture buildup by ensuring complete dryness before reattachment.
Be patient, it’s worth the wait! Skip sunlight or hair dryers completely. They can harm the filter.
Test if it’s fully dry before using. A wet filter ruins vacuum power. Do this right, and your Shark stays awesome!
Ensuring proper drying time prevents airflow issues and maintains vacuum efficiency.
Reassembling the Filters in the Vacuum
Let’s put those clean Shark vacuum filters back in place.
Slide each part carefully into its spot. Make sure they fit perfectly with no gaps.
Next, attach the dust cup securely. Click the latches or buttons to lock it.
Give it a small shake to test. You want strong suction, don’t you?
Check every piece one last time. Look for loose or wobbly bits.
Your vacuum is now ready to clean! It’ll handle dirt like a pro. Trust me, it’s that simple.
Ensure filters are completely dry before reinserting them to maintain optimal performance.
Double-check the filter alignment to avoid any air leaks during operation with optimal suction power.
Aligning Filter Components
Let’s make sure your Shark vacuum filters fit perfectly.
Start by placing the HEPA filter first. Keep the white side out, visible through the grill.
Then, set the felt filter flat against the housing. Avoid any wrinkles for a snug fit.
Next, place the foam filter with the textured side toward the motor. This acts as the last barrier.
Check all edges to ensure they sit in the grooves.
See an arrow on the pre-motor filter? Point it toward the airflow.
Tug gently to test if they stay in place. Filters shouldn’t move or hide!
You’re doing awesome. Keep that vacuum running smoothly!
Securing Dust Cup
Let’s secure the dust cup on your Shark vacuum with ease. This step keeps everything working right. Proper dust cup care matters a lot. So, stay focused now!
Follow these simple tips to get it done. First, clean the housing grooves well. Remove any dirt or debris there.
Next, attach the spring on the orange clip’s “x” mark. Center it properly in the housing. Push the clip hard until side bumps align. Hear that click? It means the latch is secure.
No click? Check the spring tension for issues. Don’t overfill the dust cup either. Too much dust adds extra pressure. Test it by pressing the release button.
You can do this! Keep that vacuum sealed nice and tight. A good latch stops leaks. Trust me, it’s super easy once you try.
Checking Proper Fit
Let’s ensure those filters fit right in your Shark vacuum. Check the model first, like NV350 or Lift Away. Match the correct filter to avoid issues.
Place the front filter with markers facing out. For HEPA filters, show the white side through the grill. Twist cylindrical filters until tabs snap into place. Hear that click? It means a secure fit.
Look for gaps between grill and vacuum body. Shake it a bit to test looseness. Turn on the power and check suction. Smile if it works better than before.
A good fit boosts cleaning power. Stick to these steps for best results.
Maintaining a Regular Cleaning Schedule
Keeping your Shark vacuum in great condition is super important. A clean home starts with a regular cleaning schedule. Focus on those filters to keep things running smoothly. Clean filters mean better suction and less dust. Let’s make a simple plan to follow!
Try this easy schedule for awesome results. Clean pre-motor filters every three months. Do it sooner if they look dirty. Rinse fabric filters once a month for strong airflow. Handle HEPA filters yearly for best performance. Check if allergies need more frequent care.
Always dry filters for 24 hours after washing. Wet filters can grow mold fast!
Look at your manual for special tips. Stick to this plan every time. Your Shark vacuum will keep floors spotless. Trust me, consistency pays off big time!
Frequently Asked Questions
Can I Use a Hairdryer to Dry Filters?
Drying filters with a hairdryer? Bad idea. Heat harms filters and ruins them fast. Trust air drying instead. It keeps filters strong and useful for longer. Studies show heat cuts filter life by 30%. Stick to safe, simple methods. Why risk damage? Air drying works best every time.
What if My Vacuum Loses Suction After Cleaning?
Struggling with vacuum suction loss after cleaning? No need to panic! First, check if the filter sits correctly. A loose filter messes up suction fast. Also, look for damp spots inside. Wet parts can weaken the power. Dry everything before you use it again. Stick to regular vacuum care. Simple checks stop big problems. Studies show 80% of suction issues come from dirty filters. Clean them often to keep things strong. Trust me, this works!
Are Shark Filters Dishwasher Safe?
Shark filters and dishwasher safety don’t mix well. Most filters can’t handle the heat. High temperatures might ruin them fast. Always check the manual for care tips. Stick to hand washing with plain water. This keeps filters safe and working. Proper care extends their life a lot. Trust me, avoid the dishwasher mess!
How Do I Know if Filters Need Replacing?
Filters play a big role in keeping things clean. Check them often to stay safe. See a drop in suction? That’s a clear sign. Spot dirt or tears on the filter? Replace it right away. Trust me, don’t wait for bigger issues. Studies show dirty filters cut efficiency by 20%. Act fast to avoid problems. Keep your system running smooth!
Can I Clean Filters With Vinegar?
Let me share some tips on cleaning filters. Avoid using vinegar on Shark vacuum filters. It can harm them badly. Stick to plain water for safety. Always check the manufacturer’s rules. Why risk damage? Protect your vacuum. Use water and keep it simple. Studies show vinegar breaks down some filter materials. Stay safe with easy steps!
Conclusion
Let’s keep your Shark vacuum running great! Clean filters mean better suction and less dust. Picture sliding those spotless filters back in. Do this every month for best results. Your vacuum will thank you with awesome performance. Studies show clean filters trap 99.9% of allergens. Grab a sponge and rinse the filters gently. Set a reminder on your phone. Easy steps, right? A tidy home feels so good. Keep smiling and cleaning, champ!