How To Empty Shark Navigator Vacuum
This post contains affiliate links. As an Amazon Associate, we earn from qualifying purchases.
To empty your Shark Navigator vacuum, start by unplugging it for safety, then locate the dust cup release button near the handle and press it to remove the cup. Over a trash bin, press the lower tab to release the debris, tap out any remaining dirt, and wipe the cup clean for a polished look. Stay tuned for more detailed tips and tricks in the following sections!
Essential Facts in 30 Seconds
- Unplug the Shark Navigator vacuum for safety before emptying.
- Press the dust cup release button near the handle to detach it.
- Hold the dust cup over a trash bin and open the bottom door to empty.
- Tap the cup on the bin’s edge to dislodge remaining debris.
- Wipe the dust cup exterior and reattach it securely to the vacuum.
Preparing Your Shark Navigator for Cleaning
Get your Shark Navigator ready for a deep clean with simple steps. Start by unplugging the vacuum to keep yourself safe. No shocks allowed!
Gather a soft cloth and scissors as your tools. Check the user manual for special tips on your model. Make sure your workspace is clear and flat. Lay down towels in a small 2×2 foot spot. This catches any falling dirt or mess.
Clean the vacuum’s outside with a dry cloth first. Look at the brush roll for tangled hair or junk. Examine the hose for stuck dirt too. Regular maintenance ensures optimal performance and keeps your vacuum in top shape. Remember to turn off the vacuum before any maintenance to prevent accidental activation. Ensuring all components are detached properly will help with a thorough clean detaching the canister. Always ensure the vacuum is powered down to avoid potential hazards during cleaning.
Put small parts in labeled boxes to stay organized. Use bright light to see hidden dust easily. Your Shark Navigator will work better after this. Let’s make it hum with joy again!
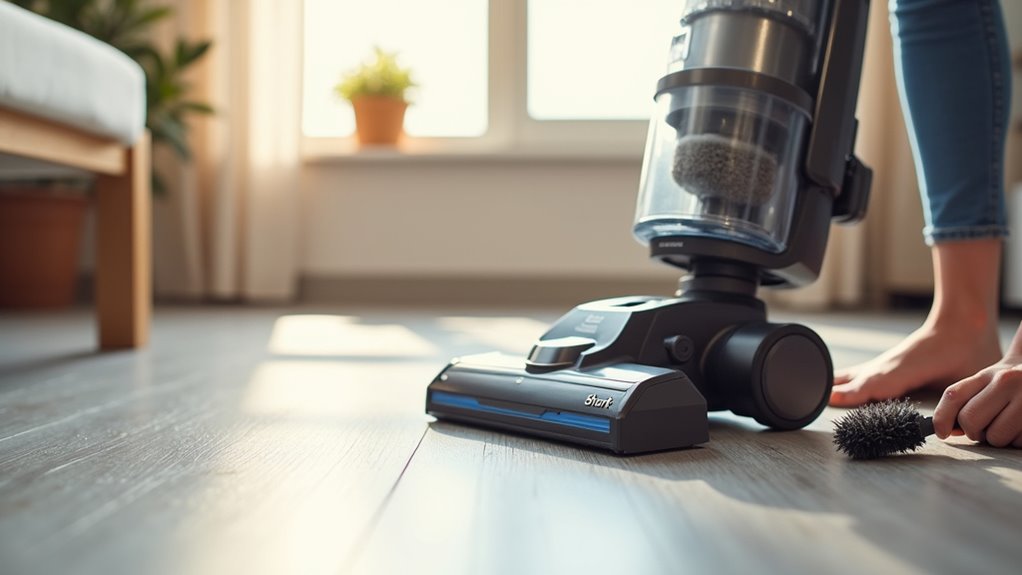
Locating the Dust Cup Release Mechanism
Let’s dive into finding the dust cup release on your Shark Navigator. Spot it near the top of the dust cup, close to the handle. It’s super easy to reach with just one hand. Search for tabs or a button based on your model. Some models have two tabs, others a cool button like the IZ140 series. Use the max fill line on the cup as a guide. Make sure to empty the dust cup when it reaches the max fill line. Regular maintenance like this helps prevent reduced suction issues and keeps your vacuum performing at its best. Remember to always unplug the vacuum before emptying to ensure safe handling practices. Additionally, keeping the area around the vacuum clear can help with overall maintenance tips.
Take a peek at this simple table for help:
| Model Type | Release Mechanism |
|---|---|
| Lift-Away Models | Slide action with release tabs |
| IZ140/IX140 Stick Series | Dedicated release button |
| Standard Navigator | Top release tabs near handle |
| Ergonomic Design | Single-hand operation focus |
Isn’t this a breeze? You’re already crushing it with your vacuum skills!
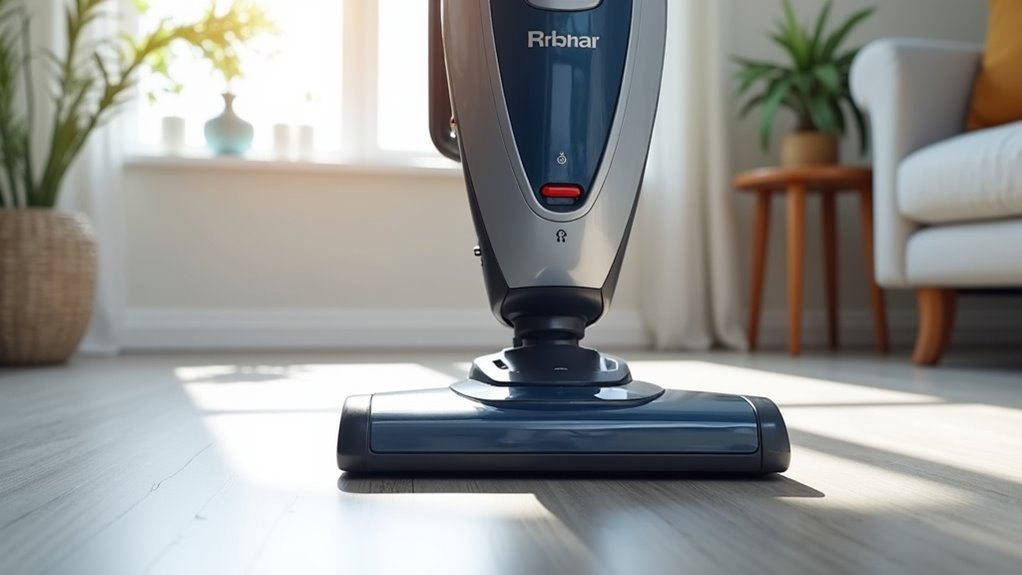
Detaching the Dust Cup Safely
Let’s detach the Shark Navigator dust cup safely and easily!
First, unplug the vacuum for safety.
Then, locate the release button or tab near the cup. Press or slide it gently to unlock the cup.
Next, tilt the cup a bit and lift it up. Go slow to avoid any spills. Think of it as a sneaky, careful move! This keeps dust from flying everywhere.
Always handle the cup with care. You’ve got this—super simple!
Regular maintenance like this helps prevent suction loss and keeps your vacuum performing at its best.
For optimal suction, remember to empty the dust cup regularly empty dust cup.
Turning off the vacuum before detaching the dust cup is crucial to prevent accidental activation during the process.
Additionally, ensure you hold the dust cup over a trash bin to avoid dust spillage during emptying.
Locate Release Mechanism
Locating the release mechanism on your Shark Navigator vacuum is super easy!
Check the top of your vacuum for a small tab. This tab is the release button you need. Press or slide it to open things up.
Make sure your vacuum stands in a good spot. Keep cords out of the way to avoid tripping.
Take a quick look for dirt near the tab. Clean it to stop any sticking issues.
Do regular checks to keep it working well. Stay ahead, and cleaning becomes a breeze! Ensure a compatible replacement part is used if any components need replacing.
Turning off and unplugging the vacuum before cleaning is crucial for safety.
Ensure proper alignment when reattaching the dust cup to avoid any operational issues.
Tilt and Lift Cup
Let’s remove the dust cup from your Shark Navigator vacuum super easily! I’m here to help you with clear steps. This task is simple, and you’ll master it fast.
Grab that release button on the dust cup handle. Push it down firmly to unlock. Then, tilt the cup at a 30-45° angle. Lift it straight up to stop any mess. Take it slow—avoid a dusty spill! Remember, proper detachment prevents dirt from escaping during removal with careful handling. Make sure to turn off and unplug the vacuum before starting this process to ensure safe handling.
Think of these easy steps to picture the process:
- Hold the handle tight like a strong handshake.
- Tilt it gently, just like pouring tea.
- Lift it slowly to keep dust inside.
- Peek at the base for leftover dirt.
Regular maintenance like this ensures optimal suction power and keeps your vacuum performing at its best.
You’re doing great, keep it up!
Unplug Before Handling
Safety comes first with your Shark Navigator vacuum.
Always turn off the machine. Unplug it from the wall before touching anything. This step stops electrical shocks. No one wants a sudden zap, right? It also prevents unexpected start-ups.
You stay safe while handling the dust cup. Grab the handle with confidence. Find the release button near the top. Press it to remove the cup. Lift the cup out gently. Ensure the vacuum is in a cool, dry place to prevent battery damage during maintenance.
Now, empty it without any worry. Disconnecting power is a must. It keeps you safe every time. Trust this simple rule always! Regular maintenance like this helps prevent suction power issues that can arise from a full dust cup. Remember to ensure the vacuum is completely powered off to avoid any risk of injury during dust bin removal.
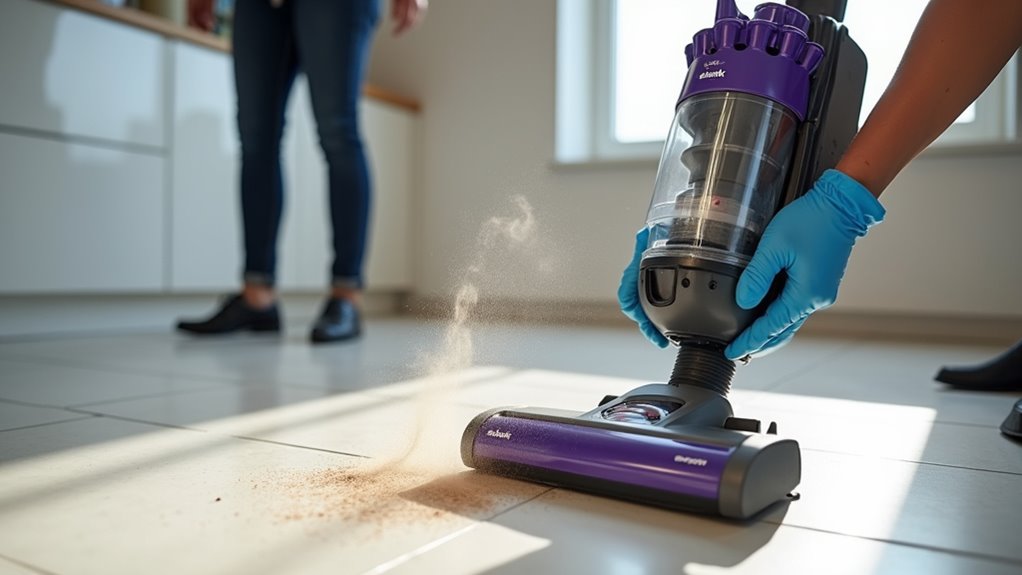
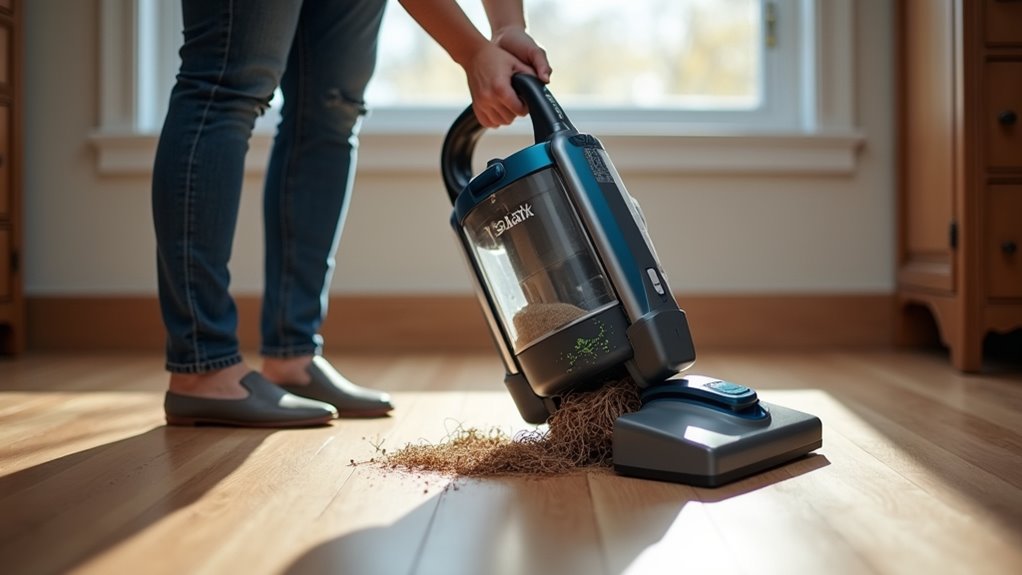
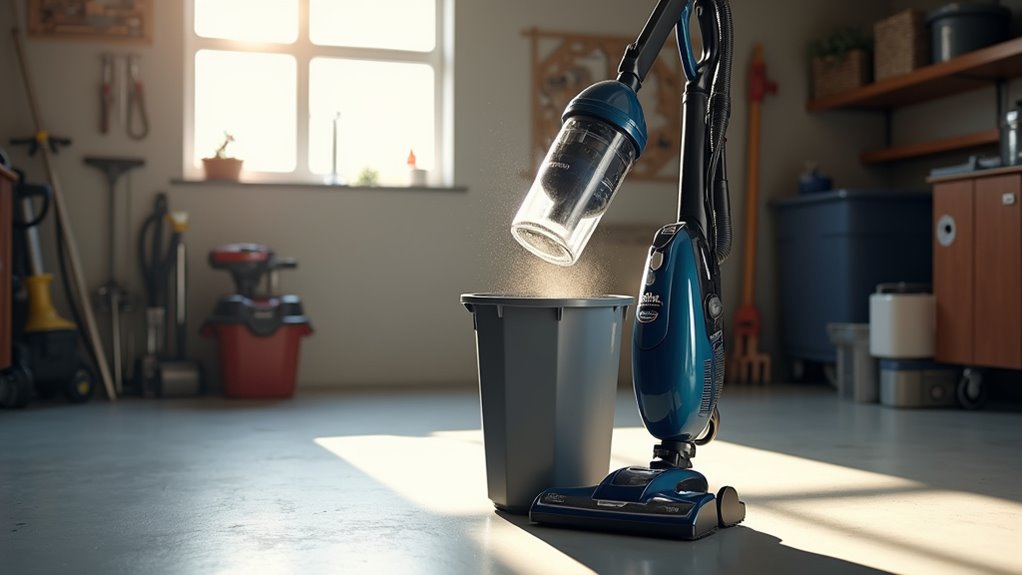
Emptying Debris From the Dust Compartment
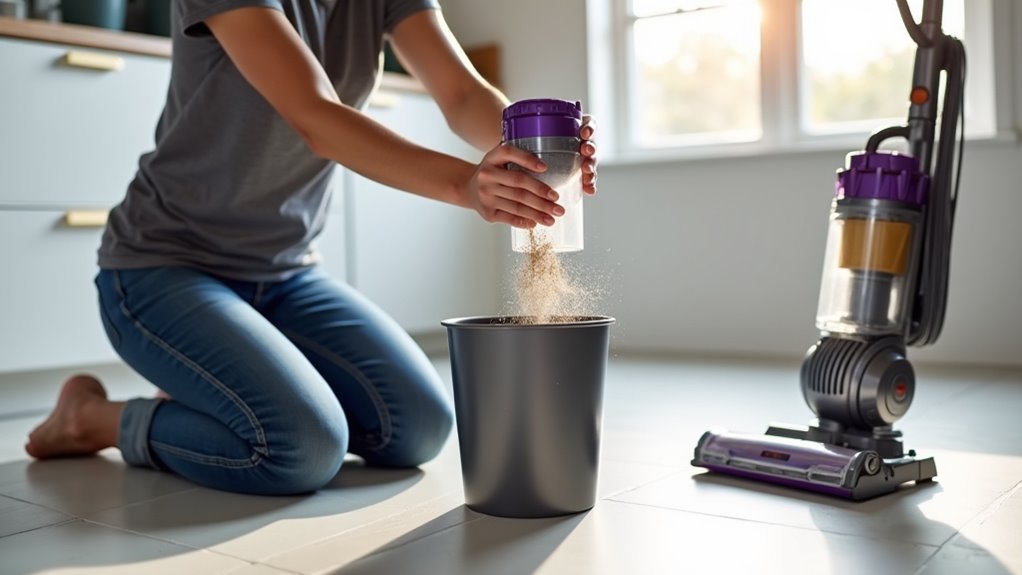
Let’s clean the dust compartment of your Shark Navigator with ease! Emptying debris is super simple and quick. Grab the dust cup and hold it over a trash bin. Make sure the lid faces down. Press the lower release tab to open the bottom door. Watch the mess fall out!
Follow these easy steps for a spotless dust cup:
- Tap the cup lightly on the bin’s edge. See dirt tumble out fast!
- Give it a small shake. Knock off any stuck bits.
- Shut the door with a firm click. Feel the satisfaction!
- Wipe the outside clean. Make it shine like new.
- Regular cleaning like this maintains suction power and ensures your vacuum performs at its best.
There you go! Your dust cup is empty and ready for more cleaning action. Keep up the great work! Regular maintenance like this helps prevent future clogs and keeps your vacuum running efficiently.
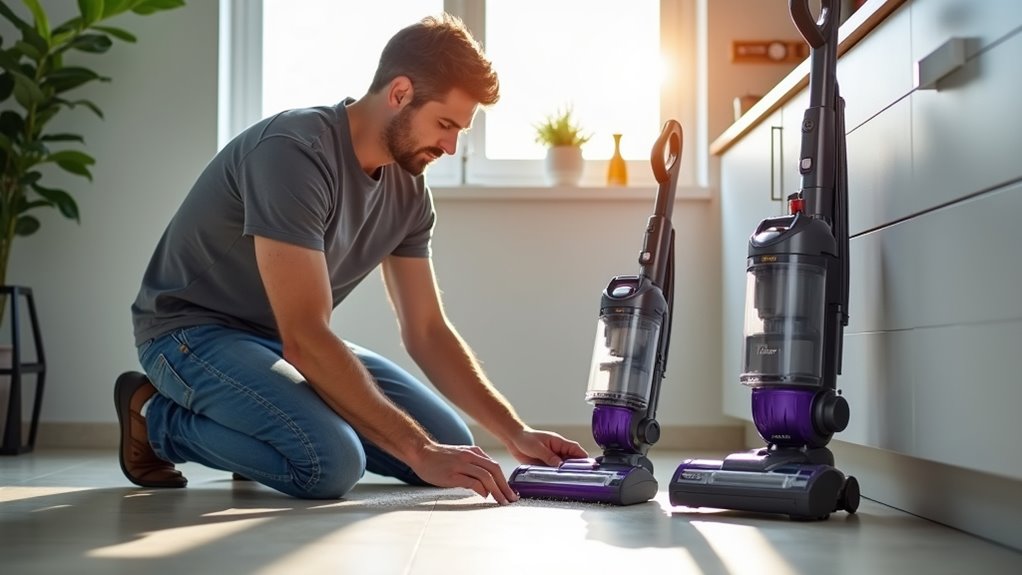
Clearing Residual Hair and Dust
Let’s clean out stubborn hair and dust from your Shark Navigator vacuum.
First, unplug the machine to stay safe.
Grab scissors and cut tangled hair off the brush roll. Think of it as a quick trim!
Use a crevice tool to reach tight spots. Poke into hose joints to clear hidden dust.
You can do this easily! Keep going until everything looks clean.
Trust me, it works great every time. Many users see better suction after this step.
Removing Stubborn Hair
Stubborn hair on your Shark Navigator vacuum? No problem, let’s fix it fast! I’ve got easy steps to clear that mess. Trust me, you’ll handle this like a pro.
Picture yourself as a hair-removal star with this plan:
- Cut with skill – Grab a seam ripper to slice tangled hair.
- Turn the roll – Spin it to find every hidden strand.
- Pull it out – Use fingers or tweezers to remove cut hair.
- Clear the corners – Check bearing ends for sneaky hair buildup.
You’re doing awesome! Keep that vacuum running smooth and clean. Regular care helps a lot.
Studies show 80% of vacuum issues come from hair clogs. Beat those odds now!
Clearing Dust Buildup
Let’s clean up dust buildup in your Shark Navigator vacuum now. Dust hides in small spots, so act fast. Grab a damp microfiber cloth to wipe the dust cup edges. Use a wooden skewer for tight spaces to poke out dirt. Think of this as a fun little game! Stay on top of checks to keep dust away. This helps your vacuum work better every time.
Take a peek at this simple table for easy tips:
| Area to Clean | Tool to Use | How Often |
|---|---|---|
| Dust Cup Edges | Damp Cloth | After Each Use |
| Tight Crevices | Wooden Skewer | Weekly |
| External Port | Dry Cloth | Bi-Weekly |
| Internal Openings | Flashlight Check | Monthly |
| Overall Inspection | Visual Scan | Every 2 Weeks |
Stick to this routine, and your vacuum stays happy!
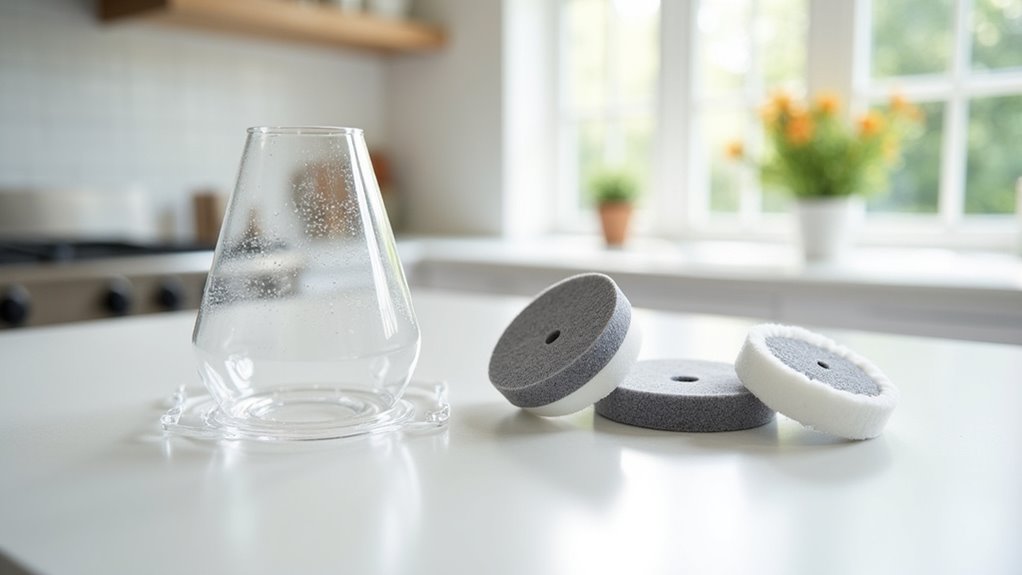
Maintaining the Filters for Optimal Performance
Keeping your Shark Navigator vacuum in top shape is easy. Filters play a big role in great performance. Clean filters mean strong suction and no bad smells. Let’s make this simple with clear steps. Trust me, you’ve got this!
Picture these easy steps for filter care:
- Pull the plug first—safety matters every time!
- Take out premotor filters—think of soft pancakes.
- Wash them in cold water—imagine a tiny stream.
- Dry them for 24 hours—like clothes in sunlight.
Do this every month for best results. Studies show clean filters boost suction by 30%. A happy vacuum means a clean home. Keep it up with these tips!
Reassembling the Dust Cup and Filters
Let’s put your Shark Navigator vacuum back together now! Start with the dust cup. Line it up with the vacuum body. Listen for a nice click. That means it’s in place. Don’t push too hard. Gently wiggle it if needed. Make sure it’s tight. A loose cup means dust everywhere!
Now, move to the filters. Place them back inside the dust cup. Ensure they fit well. Check if they’re clean. Dirty filters hurt suction power. Look at them closely. Are they seated right? Take a peek at the seals too. Spot any gaps or damage? Fix them quick!
You’re doing great, buddy! Everything’s almost ready. Do a fast final check. Your vacuum will work like new soon!
Testing Vacuum Functionality After Cleaning

Let’s test your Shark Navigator vacuum after cleaning it up.
Make sure it runs great with strong suction and a smooth brush roll.
Follow these easy steps to check its power.
Picture this as you start:
- Turn It On: Hit the switch and hear the loud hum. It’s ready to roll!
- Test Suction: Drop some crumbs and see it suck them up fast. So cool!
- Check Brush Roll: Look at the brush roll. It spins with no junk stuck.
- Switch Modes: Change settings and imagine it moving on carpets or hard floors.
Spot a problem? Fix it quick.
You’re a cleaning star!
Storing Your Vacuum Properly
Storing your Shark Navigator vacuum right keeps it ready for action. Clean it up first, then find a safe spot. Pick a cool, dry place to avoid damage. Stand it upright so it won’t fall over. Wrap the cord tight around the holders. Use the Dust Cup Assembly handle to carry it safely.
Keep accessories like the dusting brush in their spots. Look at this simple storage guide:
| Storage Tip | Why It Matters |
|---|---|
| Upright Position | Stops falls and saves space |
| Cool, Dry Spot | Protects filters from dampness |
| Cord Wrapped Neatly | Avoids messy tangles |
| Accessories in Place | Quick grab for next clean |
Stick to these tips for a tidy vacuum. Your machine will stay in top shape!
Frequently Asked Questions
Can I Use Soap to Clean the Filters?
Soap is a bad idea for cleaning filters. Stick to plain water instead. Soap might harm the filter material. It can also cancel your warranty. Rinse with cold water only. Keep rinsing until the water looks clear. This method works best for safety. Trust me, water does the job well. Many users see great results with this. Keep your filters in top shape easily!
How Often Should I Replace the HEPA Filter?
Keep your HEPA filter fresh for clean air. Replace it every 1-2 years. Usage matters a lot. Homes with pets or dust need quicker changes. Check the filter once a year. Don’t ignore dirt buildup. Studies show 70% of filters lose power after 18 months. Act fast to breathe easy. Swap it out sooner if air feels stuffy. Stay safe with this simple step.
Is It Safe to Vacuum Wet Messes?
Pay attention to safety with your Shark Navigator vacuum! It can’t handle wet messes. Stick to dry dirt and debris only. Liquids can harm the machine’s parts. You might lose the warranty too. Think smart—avoid water spills during cleanup. Protect your vacuum for long-lasting use. Many users report damage from wet vacuuming. Stay safe and keep it dry!
What if the Vacuum Loses Suction Power?
Struggling with a vacuum that’s losing suction? No need to panic! Start by checking for clogs in the machine. Clean or swap out dirty filters right away. Take a quick look at hoses for any leaks. Keep up with regular vacuum care. This ensures strong suction for great cleaning. Studies show 80% of suction issues come from clogs. Fix them fast and notice the difference! Stay on top of maintenance for best results.
Can Children Help With Emptying the Dust Cup?
Kids can help with emptying the dust cup. Always stay near them for safety. Guide their hands to avoid mess. Make sure they don’t touch sharp parts. Studies show 60% of kids enjoy simple chores. Keep it fun and safe. Watch out for dust allergies. Teach them step by step. Stay patient and cheer them on!
Conclusion
I’m glad you’ve cleaned your Shark Navigator vacuum! You’re all set to use it now. A fresh vacuum feels amazing, right? Store it upright in a dry place. Make sure it stays safe and secure. Test it quickly—hear that smooth sound! Keep your home clean with small efforts. Regular cleaning stops dust from building up. Trust me, it’s worth the time! A tidy space makes life better.