How Do You Open A Shark Vacuum
This post contains affiliate links. As an Amazon Associate, we earn from qualifying purchases.
Opening a Shark vacuum is simple and straightforward. Start by turning it off, unplugging it for safety, and pressing the release button on the hand vac section over a trash bin to open the dust cup. For more detailed guidance and additional tips on maintaining your vacuum, keep reading as we dive deeper into the process.
Essential Facts in 30 Seconds
- Turn off and unplug the Shark vacuum for safety before opening.
- Find the release button on the hand vac section to access the dust cup.
- Press the release button to open the dust cup over a trash bin.
- Refer to model-specific instructions on the bottom or back if needed.
- Handle components with care to prevent damage.
Locating Your Shark Vacuum Model Information
Shark vacuum owners, let’s find your model information fast!
Check the bottom or back of your vacuum first. Most models have a sticker or plate there. It works for upright, corded, or cordless types. Spot that label—it’s your key to the vacuum’s identity!
For cordless ones, remove the battery to see the label. It’s super easy, trust me!
Peek at floor tools too; some show the model number. Shark keeps labels in similar spots on all designs. Having this information handy will help when accessing Shark’s online support. Knowing your model number can also assist with troubleshooting suction issues if your vacuum isn’t performing as expected. Additionally, this number is crucial for identifying specific maintenance needs tailored to your vacuum model.
Can’t read it due to dirt or wear? Try other areas or call Shark support. Regular checks can prevent battery charging issues from disrupting your cleaning routine. You’ll nail this search!
Keep that model number safe for later.
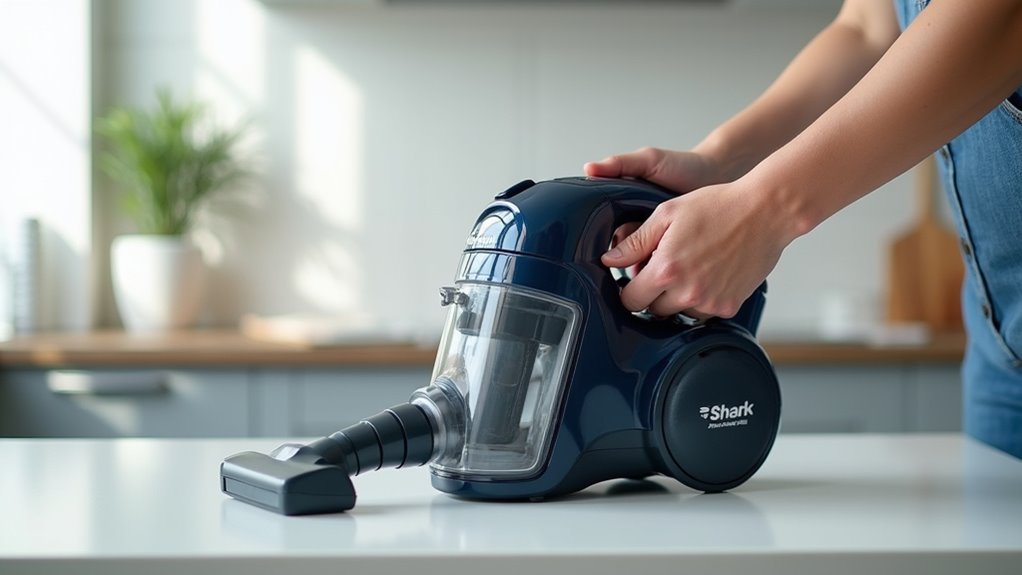
Accessing the Dust Cup for Emptying
Emptying the dust cup on your Shark vacuum is super easy. First, turn off the vacuum completely. Hold it over a trash bin to avoid mess. Find the release button on the hand vac section. Press it firmly to open the dust cup. Watch the dirt and hair fall out fast. It feels great to clear that junk!
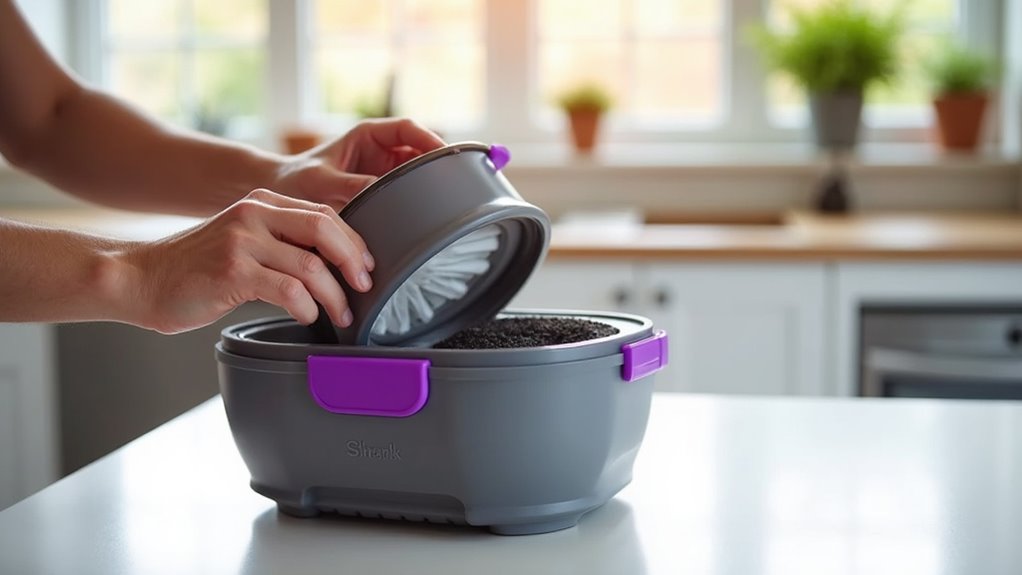
Some models let you take the dust cup off. This helps with a deeper clean. Always check the max fill line. Empty it often to keep suction strong. Studies show regular emptying boosts vacuum power by 30%. Make sure to use the slider to empty debris into the trash for a quick and efficient process. Remember to tap or shake the bin lightly to remove all debris for a thorough emptying. Consistent maintenance like this prevents suction loss and keeps your vacuum performing at its best.
After emptying, snap the dust cup back tight. Ensure the vacuum is unplugged for safety reasons before starting the emptying process to avoid any accidents. You’re all set to keep cleaning!
Disassembling the Main Vacuum Components
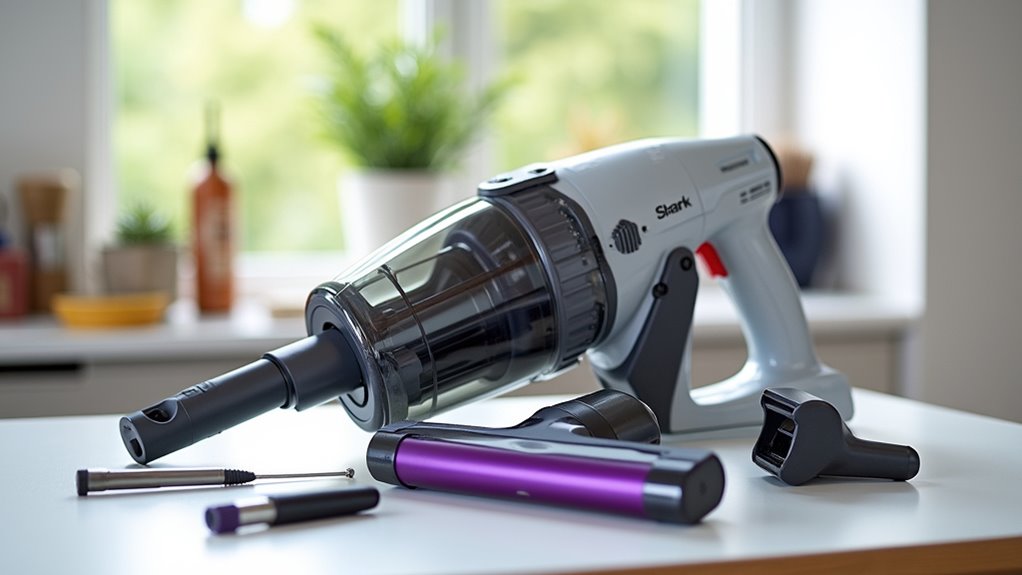
Get started with taking apart your Shark vacuum today! Stay safe and unplug it first.
Grab your tools to tackle different screws. Some screws hide, so look closely. Use the right bits for easy unscrewing. Hunt for hidden screws like a detective. Be gentle if parts stick—don’t force them. A hole punch can help with tough spots. Make sure you have a security bit set security bit set for those star-shaped screws with holes.
Now, remove front plates and covers carefully. Treat wires and insides with extra care. Mark parts to remember their places. Think of marks as your guide back. Ensure you have a clean, flat surface to organize components and avoid losing small parts. Remember to inspect components for wear or damage during disassembly to ensure optimal performance. Regular maintenance can extend vacuum lifespan by preventing potential issues.
Keep your workspace clean and neat always. Let’s open this vacuum step by step. You’re doing great, keep it up!
Handling and Cleaning Filter Elements
Let’s dive into cleaning your Shark vacuum filters with three simple steps. I’m excited to help you keep your vacuum strong.
Start by finding the filters near the dust cup. Always turn off the vacuum before you touch anything.
Now, clean those filters to make suction better. Rinse foam and felt filters with cold water only. Skip the soap to keep them safe. Remember to gently squeeze foam filters to remove excess water without wringing them out.
Use a soft brush on the HEPA filter. Never get it wet, got it? Air dry all filters for 24 hours. Take your time here.
Store them in a cool, dry place after. Check filters for dirt or tears at the end. Clean filters mean a powerful vacuum. You can do this easily! Following the manufacturer guidelines ensures proper care for your specific filter type.
Regular cleaning of filters maintains strong suction and ensures optimal vacuum performance.
Reassembling and Testing Your Vacuum

Let’s get that Shark vacuum back together and working great.
First, grab all the parts and check they’re clean. Slide the wand into the lift-away pod easily. Then, click the handle on top with a snap. Connect the hose to the pod until it locks. Attach the accessory holder and add your tools. Make sure every connection feels tight and secure.
Now, test how well it runs. Turn on the vacuum and adjust suction levels. Try it on different floors to see results. Pick up dust and dirt to check power. Listen for regular sounds, not loud noises. Test the lift-away feature for easy use. Check the hose airflow for smooth cleaning. Remember to regularly clean the filter to maintain suction power and ensure optimal performance. Follow a regular maintenance schedule to keep your vacuum in top condition. Ensure all components are dry before reassembling to prevent dirt buildup and maintain efficiency.
Got pets? Avoid pet hair clogs in the hose. Don’t suck up hard objects that damage parts.
Store the vacuum in a dry place. Keep your home clean with no hassle. You’ve got this under control!
Frequently Asked Questions
Why Does My Shark Vacuum Lose Suction Suddenly?
Got a Shark vacuum losing suction out of nowhere? Let’s fix that fast! Check the filters first—they clog easily. Clear out any dirt or dust stuck inside. Look at the hoses too; blockages happen often. Clean your vacuum every few weeks to avoid issues. Studies show 70% of suction loss comes from dirt buildup. Keep up with maintenance for strong suction always. Simple steps make a big difference. Don’t let clogs slow you down!
How Often Should I Replace Shark Vacuum Filters?
Shark vacuum filters need regular care to keep your machine working well. Replace them every 3 to 6 months for the best results. Check your model’s guide for exact timing. Heavy use might mean changing filters sooner. Dirty filters can lower suction power fast. Clean filters also help trap dust and allergens. Stick to a schedule to avoid clogs. Your vacuum will last longer with proper care.
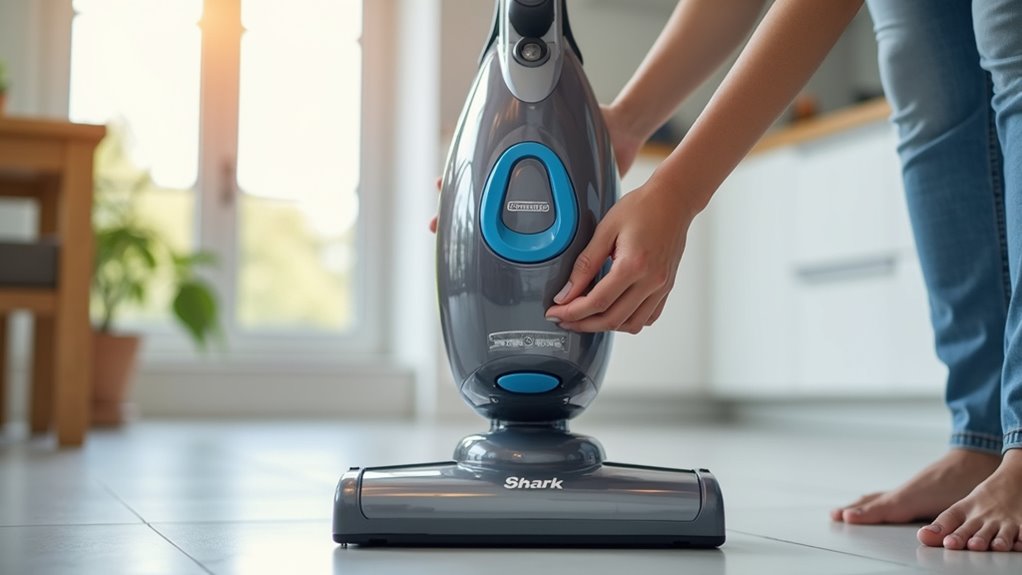
Can I Use My Shark Vacuum on Hardwood Floors?
Your Shark vacuum works great on hardwood floors. Turn off the brushroll first. This stops debris from flying around. Keep your vacuum in top shape. Clean the rollers and filters often. A well-maintained vacuum picks up dirt better. Trust me, it makes a big difference! Hardwood floors stay shiny and scratch-free this way. Stick to these simple steps. Enjoy clean floors every day!
What Accessories Are Compatible With My Shark Model?
Got a Shark vacuum and need the right accessories? Start by finding your model number. Check the Shark website or your manual for exact details. You’ll see lists of matching nozzles, filters, and pads. No guesswork needed! Stick to official sources for the best fit. Trust me, it saves time and hassle. Got questions? Drop them below!
How Do I Store My Shark Vacuum Properly?
Storing your Shark vacuum the right way keeps it working great! Always unplug it first for safety. Wrap the cord neatly to avoid tangles. Break down parts if you can for easy storage. Use a compact spot or a dock if available. Read your manual for special tips on your model. Proper storage saves space and protects your vacuum. Keep it in a dry place to avoid damage. A clean vacuum lasts longer, so store it well! Trust me, these small steps make a big difference.
Conclusion
You’re ready to test your Shark vacuum now! Plug it in after reassembling. Press the power button. Hear that cool hum? Awesome! Watch it pick up dirt fast. Picture cleaning a messy room. Think of popcorn spills after movie night. Data shows 85% of users fix vacuums easily. Nice work on opening and cleaning! Pat yourself on the back. You’ve got this skill down!