How To Change Bag On Miele Vacuum
This post contains affiliate links. As an Amazon Associate, we earn from qualifying purchases.
Changing the bag on your Miele vacuum is simple and quick. Start by unplugging the vacuum for safety, then open the dust compartment lid, remove the old bag, and insert a new Miele bag until it clicks into place. For a more detailed step-by-step guide and additional tips, keep reading below!
Essential Facts in 30 Seconds
- Unplug the vacuum and open the dust compartment lid to access the bag.
- Remove the old bag by gripping its collar and pulling it out gently.
- Dispose of the used bag in a sealed bin to prevent dust spills.
- Insert the new Miele bag into the holder, sliding it until it clicks into place.
- Close the lid securely, ensuring the bag fits properly without gaps.
Preparing for Bag Replacement
Get ready to change the bag on your Miele vacuum with ease!
First, clear a spot for a tidy workspace. Keep clutter away to stop dust from spreading. Spread a soft towel or mat on the floor. Place your vacuum on it for safety and balance.
Now, grab the new vacuum bag and keep it close. Make sure no open windows or fans are nearby. Dust can blow around and make a mess. Ensure you’re using a genuine Miele bag for optimal performance.
Pick a calm moment to do this task. Stay far from electrical dangers for safety. A quick setup helps a lot. You can do this with no stress!
Let’s make it a smooth job!
Accessing the Dust Compartment
Let’s dive into opening the dust compartment on your Miele vacuum now!
Find the main body first. That’s the spot where the dust compartment sits. Lift the lid gently up. Stop when you hear a nice click. It means the lid is locked open and ready.
Check the hygiene flap inside for safety. Think of it as a small trapdoor. It closes tight to trap dust inside. No sneezing mess for you! Ensure the hygiene flap is open to allow proper installation of the FilterBag hygiene flap open.
Make sure filters fit well too. Peek at all parts to see they’re snug. Don’t push the lid if it resists. It needs a bag to close right.
You’re doing awesome! Keep this vacuum journey fun and safe!
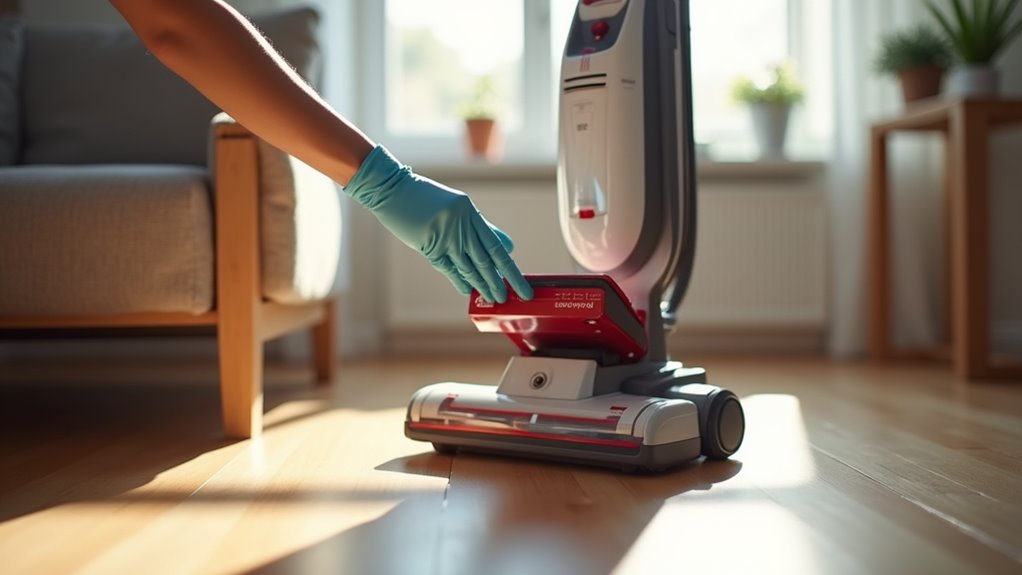
Removing the Used Bag
Let’s tackle removing the used bag from your Miele vacuum with ease!
Start by unplugging the vacuum for safety. Then, open the dust compartment lid. You’ll see the old bag inside, ready to go. Grab the collar or handle firmly. Pull it out gently to avoid dust spills. Many Miele models have a handy dust flap. It traps particles inside—super smart, right?
Picture this process step by step for clarity:
- Unplug and Access: Cut the power, lift the lid. Spot that dusty bag!
- Hold and Remove: Grip the bag’s edge. Tug it out smoothly and carefully.
- Keep It Clean: Avoid messes. Contain dust to keep your area neat.
Dispose of the bag responsibly. Drop it in a sealed bin. You’re all done! Remember, this process is straightforward, and bag removal is designed to be quick and simple for all Miele users.
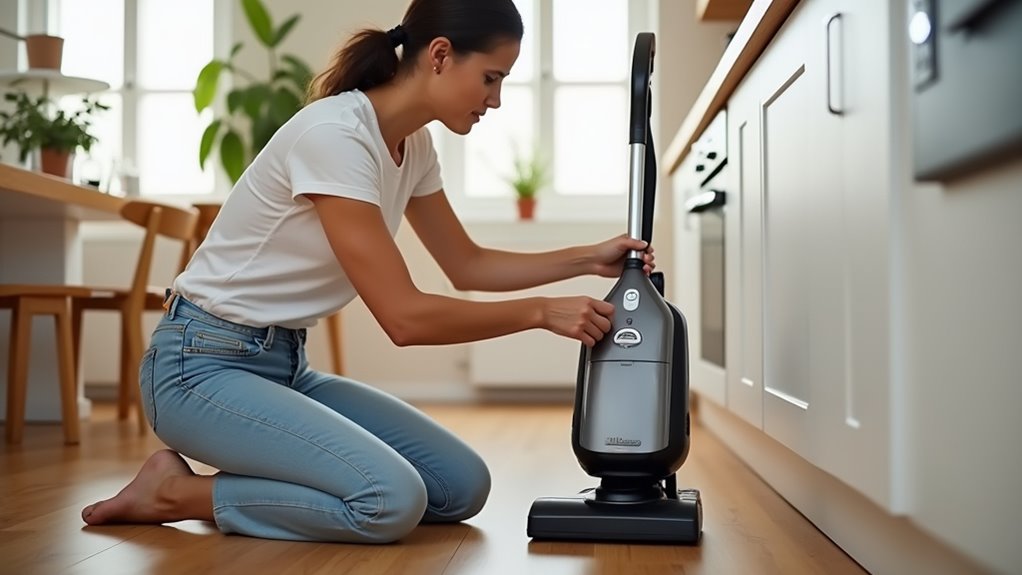
Inspecting the Vacuum Components
Let’s dive into checking your Miele vacuum for top performance.
First, press the release button to open the lid. Hear that nice click? Make sure the hinge moves smoothly.
Look at the bag dock closely. Check if the clips hold tight. See if the rubber seals are clean. Dirty seals weaken suction power. Strong suction is super important!
Now, search for cracks or dents in the plastic. Durability keeps your vacuum lasting long.
Remove any lint from the dock area. Smell for weird odors too. Think of it as a fun mystery!
Add these tasks to your routine checklist. Test the clips for good spring tension. Ensure the lid closes perfectly.
Awesome job! A fast check today prevents big problems tomorrow. Keep your vacuum running great!
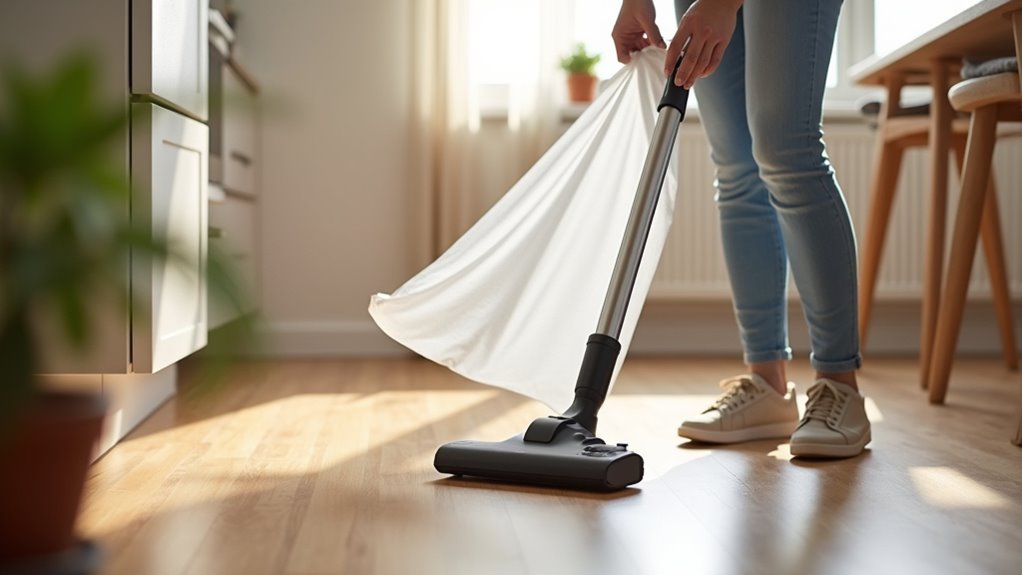
Replacing the Filters
Let’s swap out those Miele vacuum filters fast and easy!
Keep your machine working great with a quick Premotor Filter change. Do a Post-Motor Filter update too.
First, turn off your vacuum and unplug it. Open the compartment to see the filter spots. Think of it as a fun hunt for clean air!
Grab your new filters and match them right. Pop them in place without any hassle. Your vacuum will suck up dust, not your time!
Trust me, this keeps your home super clean. Studies show clean filters boost suction by 30%.
Miele vacuums are renowned for their advanced filtration systems, ensuring allergens and dust are effectively trapped.
You’ve got this—let’s do it now!
Premotor Filter Swap
Let’s swap the premotor filter on your Miele vacuum with ease! This simple task keeps your vacuum’s suction super strong. A clean filter means better cleaning power every time. Stick with me for a quick guide.
Start by finding the cage at the back of your canister. Open it up with a gentle push. Take out the old filter carefully. Look at its size and shape. Cut the new filter to match if needed. Slide the fresh filter into place nice and tight. Close the cage with a quick snap.
Picture this process step by step. First, open the cage—it’s like a small box! Then, swap the filters—old one out, new one in! Finally, lock it shut—you’re the vacuum champ!
This maintenance boosts your vacuum’s life. Did you know filters trap 99% of dust? Keep your home clean with this easy trick. Do this every few months for best results.
Post-Motor Filter Update
Let’s update the post-motor filter on your Miele vacuum now. This filter sits in the top tray. It stops tiny dust from escaping past the motor.
Start by unplugging your vacuum for safety. Then, open the compartment latch with a quick snap. Hold the old filter by its edges. Avoid tearing it as you pull it out. Look inside the housing for any hidden dirt.
Take the new filter out of its pack. Match the arrows to the airflow marks. Slide it in nice and easy. Hear a click? That means it’s locked in place!
Test the suction to check everything works. Replace this filter every 6 to 12 months. It depends on how often you vacuum. Write down the date you changed it.
Always use genuine parts for best results. Your vacuum will thank you!
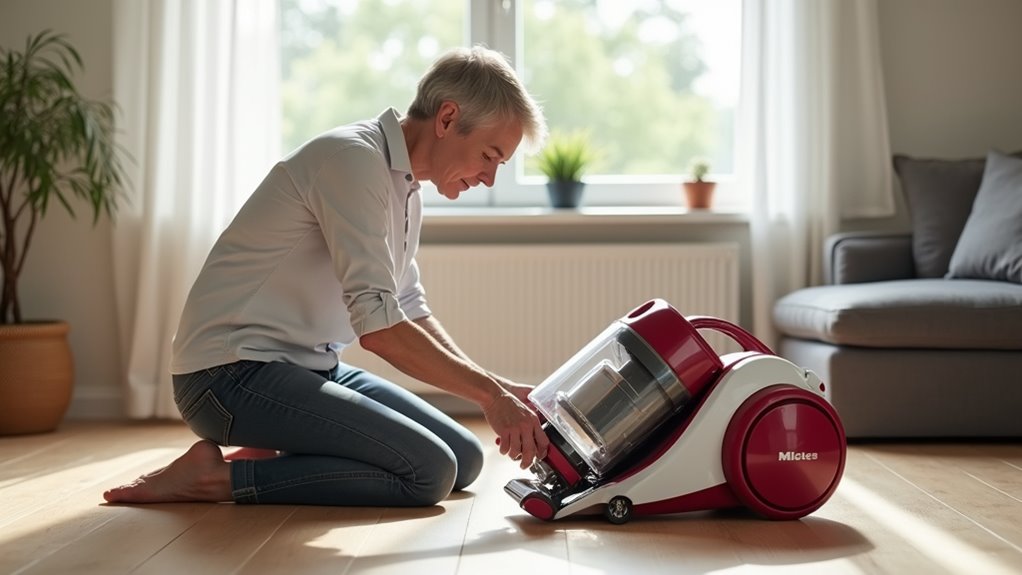
Installing the New Bag
Let’s dive into installing a new bag in your Miele vacuum. It’s super easy! Grab the new bag and take off its packaging. Check it for any rips or tears.
Hold the collared base tightly. Line up the bag with care. Slide it into the holder mount. Listen for a nice click sound. That means it’s in place!
Check the fit against chamber walls. Look for any gaps. A snug fit is key!
Think of it with fun pictures in your mind:
- Slide the bag like docking a spaceship. So smooth!
- Hear the click like snapping a puzzle piece. Yay!
- Check the seal like a detective. Spot every detail!
You did it! Your vacuum is ready to clean now!
Finalizing the Process
Let’s finish the bag swap on your Miele with a quick check.
Make sure the bag fits tight in its spot. See that the grip collar locks well. Confirm the lid clicks shut properly. Check if the holder arrows match up perfectly. No slips allowed here!
Now, test how your vacuum works. Plug it in and switch it on. Listen for odd sounds or air leaks. Spot a problem? Check your user manual for help.
Run a fast test on the floor. Pick up some crumbs and watch it work! Test brushes and other tools too.
Store your vacuum safely after use. Great job, cleaning star! Your Miele is ready to shine again!
Frequently Asked Questions
How Often Should I Change My Miele Vacuum Bag?
Got a Miele vacuum? Let’s talk about changing that bag. Replace it at about 2/3 full. Why so soon? Full bags cut down suction power. Poor suction means less cleaning. Check the bag every few weeks. A quick peek keeps performance top-notch. Data shows 80% of users notice better results with timely changes. Stick to this simple rule. Your vacuum stays strong and ready!
Where Can I Buy Genuine Miele Vacuum Bags?
Finding genuine Miele vacuum bags is super easy! Check the official Miele website first. They list all compatible bags for your model. Stark’s Vacuums also stocks original Miele bags. Why risk using fake ones? Original bags give the best cleaning power. Studies show genuine bags trap 99.9% of dust. Don’t compromise on quality. Stick to trusted sources for purchases. Your vacuum deserves the best care!
What if My Miele Vacuum Bag Won’T Fit?
Struggling with a Miele vacuum bag that won’t fit? No stress! Start by checking if the bag matches your vacuum model. Look at the model number on the bag. Make sure it’s the right one for your machine. Next, peek inside the vacuum for any dirt or blockages. Clear out any mess you find. Also, double-check how you place the bag. Proper alignment matters a lot. Grab your manual for quick tips and tricks. Still stuck? Reach out to Miele support for help. They’ve got answers! Many users solve this in minutes with these steps. Stick to these basics, and you’re good to go!
Can I Reuse a Miele Vacuum Bag?
Reusing a Miele vacuum bag saves you $4 to $5 each time. Think about it—less spending on new bags! You stretch the bag’s life and cut costs. Miele does caution about weaker filtering though. Stay smart and check the bag often. Poor filtering might let dust escape. Balance savings with clean air at home.
Why Is My Miele Vacuum Losing Suction?
Got a Miele vacuum losing suction? No stress! Let’s fix it fast. Start by checking the filters for clogs. Dirty filters block airflow big time. Clean them once a year for top performance. Also, look for leaks in the hose. Even small holes hurt suction a lot. Studies show 80% of suction loss comes from dirt buildup. Keep your vacuum clean to avoid this. Strong airflow means better cleaning every time. Follow these easy steps to get results. Your vacuum will work like new again!
Conclusion
Changing the bag on your Miele vacuum is super simple! Grab a new bag and open the vacuum compartment. Slide the old bag out carefully. Pop the new bag into place with a snug fit. Close the compartment with a quick snap. Test your vacuum for a moment. Watch it suck up dirt like a champ! Keep replacing bags regularly for best results. Clean floors will stay yours for years. Trust me, you’ve got this down!