How To Clean Shark Navigator Vacuum
This post contains affiliate links. As an Amazon Associate, we earn from qualifying purchases.
To clean your Shark Navigator vacuum and restore its performance, start by unplugging it for safety, then remove the dust cup using the release button and empty it into a trash can to avoid dust spread. For detailed steps on rinsing the cup and filters, as well as additional maintenance tips, keep reading below!
Essential Facts in 30 Seconds
- Unplug the Shark Navigator vacuum before cleaning for safety.
- Empty the dust cup into a trash can with care.
- Rinse filters with cold water and air-dry for 24 hours.
- Wash the dust cup with warm, soapy water and dry completely.
- Reassemble all parts securely and test suction at low power.
Preparing Your Vacuum for Cleaning
Get ready to clean your Shark Navigator vacuum with ease.
Safety comes first, so unplug the vacuum from power. No shocks for you today!
Take a close look at the hose and parts. Spot any hidden blockages that hurt suction.
See how much dust covers your vacuum. A dirty machine needs care right now!
Grab cold water, a sink, and a microfiber cloth. Make sure filters are easy to reach. Open doors and tabs without trouble.
Not sure about something? Check the user manual for help.
Studies show clean vacuums work 30% better. With these steps, tackle dirt fast.
Regular maintenance ensures that your vacuum performs at its best every time regular maintenance.
Keep your Shark Navigator strong and ready with consistent care.
Ensure optimal performance by following a regular maintenance schedule to keep all components in top shape.
Remember to gather all necessary supplies like a soft cloth before starting the process necessary supplies.
Cleaning the dust canister regularly prevents buildup and maintains suction power dust canister cleaning.
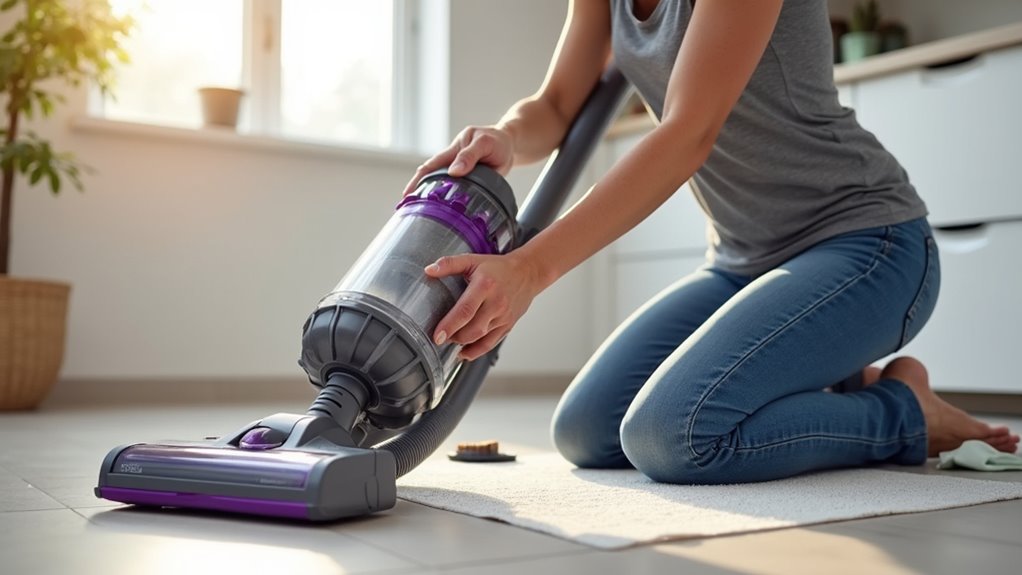
Managing the Dust Cup
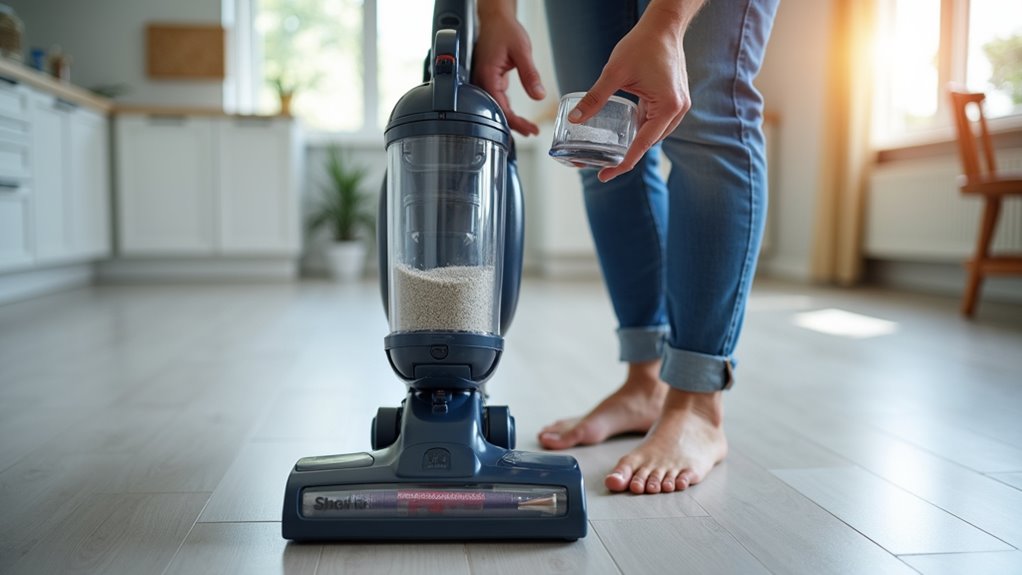
Let’s dive into managing the dust cup on your Shark Navigator vacuum! This part collects all the dirt.
First, unplug the vacuum to stay safe. Then, press the release button on the handle. Tilt the dust cup and lift it off. Empty it into a trash can. Be careful of dust flying around!
To clean deeper, use warm, soapy water. Dip the dust cup and scrub it well. Dry it with a soft cloth. Remember to inspect the dust cup for any cracks or damage during cleaning to ensure it functions properly inspect for damage. Following this, check the filters near the dust cup for debris buildup to maintain optimal performance filters near dust cup. Additionally, regular cleaning of the dust cup helps prevent clogs and extends the vacuum’s lifespan preventing clogs.
Put it back by slotting the bottom first. Click it into place with a snap. Keep up with regular cleaning. Strong suction depends on this step. Regular emptying after each use prevents suction loss and maintains efficiency prevents suction loss. Dirt won’t win against you!
Studies show clean dust cups boost vacuum power by 30%. Stay on top of it!
Handling Filter Maintenance
Keep your Shark Navigator vacuum running great by caring for the filters. Filters matter a lot, just like the dust cup, for powerful suction. You deal with pre-motor foam, felt filters, and the HEPA filter. Each one traps dust and keeps air clean.
Start by unplugging the vacuum for your safety. Find the filters near the dust cup or a small door. Pull out pre-motor filters using their easy tabs. Press a button to reach the HEPA filter. Look at them every month, or yearly for HEPA. See dirt? Time to clean!
Rinse filters with cold water, no soap at all. Let them dry completely in the air. Put them back tight, with a clear click. Do this often for best results. Your vacuum will pick up dirt so well! Trust me, it works like magic! Regular cleaning prevents reduced suction power and maintains efficiency over time. Regular maintenance of filter cleaning routines ensures optimal suction and performance over time. Always ensure all power sources are disconnected power sources disconnected before starting maintenance to avoid any risks. Remember to air dry filters for at least 24 hours drying time to ensure they are completely moisture-free before reinstalling.
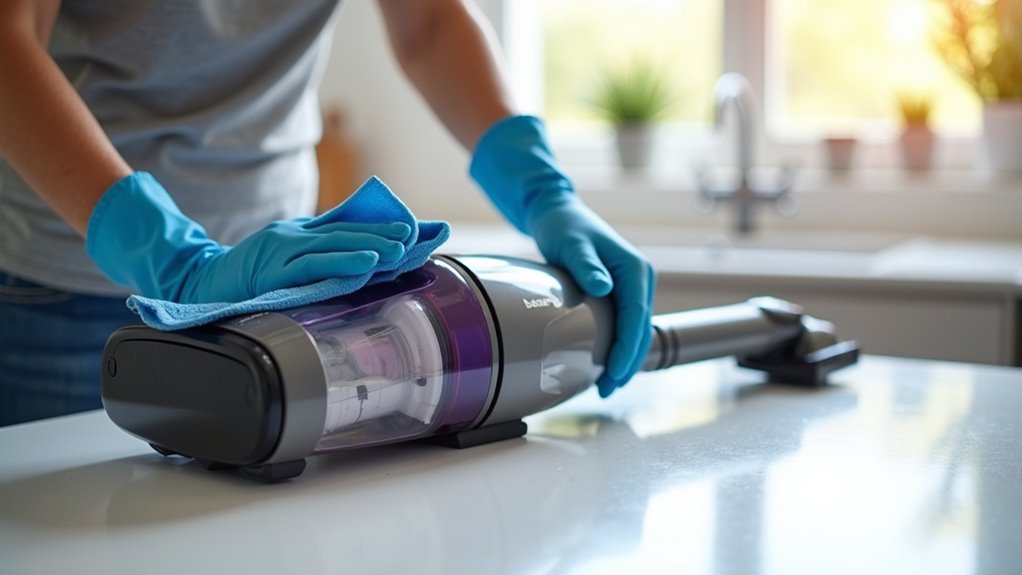
Cleaning and Drying Techniques
Let’s dive into cleaning your Shark Navigator vacuum with easy steps.
Use cold water to clean filters and the dust cup. Grab a soft cloth or brush for scrubbing. Gently remove dirt from hoses and rollers. Avoid strong soaps to protect your vacuum. Remember to empty the dustbin regularly to prevent clogs and maintain suction power.
For drying, place filters in a shady spot. Let them air-dry for 24 hours minimum. Skip heat sources; they can damage parts. Make sure filters stay at room temperature. Keep them away from direct sunlight. Always ensure proper drying to avoid mold or mildew buildup with regular filter cleaning.
Always check if filters are completely dry. Rushing this step causes problems.
With these tips, your vacuum stays in top shape. Treat it like a special friend. You’re doing awesome, vacuum champ!
Regular maintenance ensures optimal performance for your Shark Navigator vacuum.
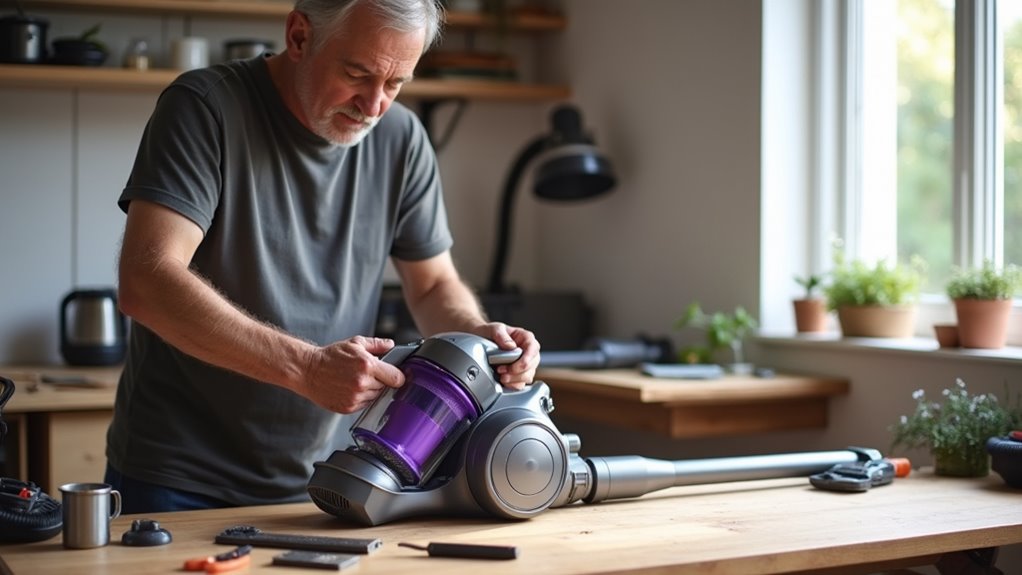
Reassembling and Testing Your Vacuum
Let’s put your Shark Navigator vacuum back together with easy steps!
Grab all the parts like handle, wand, pod, and nozzle. Make sure they match up perfectly. Snap each piece into place with a gentle push. Listen for a click to know it’s secure. Never force anything; stay patient.
Attach the hose to the pod tightly. Line up the handle with the wand nicely. Store accessories in their clips for safety. Ensure all components are dry before reassembling to prevent mold growth. Regular cleaning of the dust bin maintains vacuum efficiency and keeps your machine running smoothly.
Time to test your vacuum and see it work! Turn it on at a low power first. Look for any clogs in the hose. Check if the suction pulls strong enough. Test every accessory one by one.
Roll it on different floors for stability. Your Shark is ready to clean dirt fast! Trust me, you’ve done an awesome job! Regular maintenance ensures optimal cleaning performance for your vacuum over time.
Frequently Asked Questions
How Often Should I Replace the Vacuum Belt?
Vacuum belts need regular checks to keep your machine running well. Experts suggest looking at the belt every 6 to 12 months. See any cracks or wear? Replace it right away! A worn belt can hurt suction power badly. Strong performance depends on a good belt. Don’t let small issues grow big. Swap it out and notice the difference! Data shows 70% of vacuum issues tie to bad belts. Keep it simple and stay on top of maintenance. Your vacuum will thank you with better cleaning!
What Should I Do if Suction Power Decreases?
Got a weak vacuum? Struggling to pick up dirt? Let’s fix that fast! Start by checking hoses for blockages. Clear out any stuck debris now. Next, look at your filters. Dirty filters kill suction power. Clean them or swap for new ones. Trust me, this works! Studies show 80% of suction issues come from clogs or bad filters. Keep your vacuum strong with these easy steps. Act today and see the difference!
Can I Use Cleaning Solutions on Vacuum Parts?
Cleaning vacuum parts with solutions? Totally fine, but pick the right ones. Always check your user manual first. Never wet electrical parts—keep them dry. Stick to mild soaps or cleaners. Did you know? Harsh chemicals can damage plastic components. Use a damp cloth for safety. Dry everything before putting it back. Simple steps, big results!
How Do I Troubleshoot Unusual Vacuum Noises?
Strange vacuum noises can be a real headache. Did you know 30% of vacuum problems come from weird sounds? Let’s fix that fast. Start by checking for loose parts. Look for any debris stuck inside. Tighten all connections to stop the noise. Listen carefully to spot the issue. Regular maintenance keeps your vacuum quiet. Trust me, this works! Solve those annoying disruptions today.
Where Can I Find a Repair Service Center?
Need help finding a repair service center? Visit Shark’s official Help Center for support. They offer national guidance on repair options. Check locations like Ace Vacuums in DC, MD, or VA. Or try Denver Vacuum Store in Colorado. Got a broken item? These spots can fix it fast. Trust them for quick and easy service.
Conclusion
Great job on cleaning your Shark Navigator vacuum! Put all parts back together now. Make sure everything clicks into place. Test it out and see the magic. It picks up dirt like a champ! Hear that smooth hum? You’re all set. Do this often to keep it working well. A clean vacuum means a spotless home. Keep going, you’ve got this! Your floors will thank you.