How To Clean Shark Vacuum Cleaner
This post contains affiliate links. As an Amazon Associate, we earn from qualifying purchases.
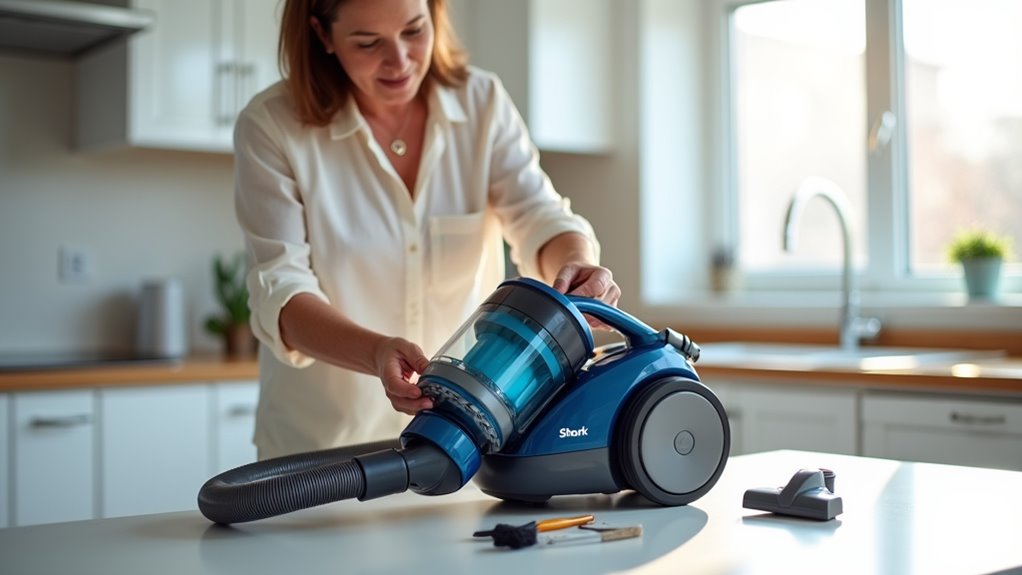
Cleaning your Shark vacuum cleaner is simple and ensures it works efficiently. Start by unplugging it for safety, then empty the dust cup into a trash can, rinse the filters with cold water, and let them dry for 24 hours. Check the hose and brushroll for clogs or tangles, snip away hair with scissors, wipe everything with a damp cloth, and reassemble carefully. Stay tuned for additional tips and detailed guidance later in the article.
Essential Facts in 30 Seconds
Key Takeaways for Cleaning a Shark Vacuum Cleaner
- Unplug the vacuum and clear debris from hoses using tweezers or a coat hanger.
- Rinse filters with cold water and let them dry for 24 hours before reinstalling.
- Empty the dust cup into a trash can and rinse it with water.
- Clean the brushroll by cutting tangles with scissors and rinsing if necessary.
- Wipe the hose with soapy water and ensure it is dry before reattaching.
Preparing Your Shark Vacuum for Cleaning
Get your Shark vacuum ready for a deep clean with easy steps. Safety comes first, so turn off and unplug the machine. Make sure it’s completely powered down. Let it cool if you used it recently. Keep the cord out of the way to avoid tripping. A live cord can be dangerous, so stay careful!
Check for dirt or debris on visible parts before starting. Refer to the owner’s guide for specific cleaning instructions. Owner’s guide reference Regular maintenance, like emptying the dust bin, ensures optimal performance and longevity of your vacuum. Always inspect the brush roll for tangled hair or debris to maintain suction power. brush roll maintenance
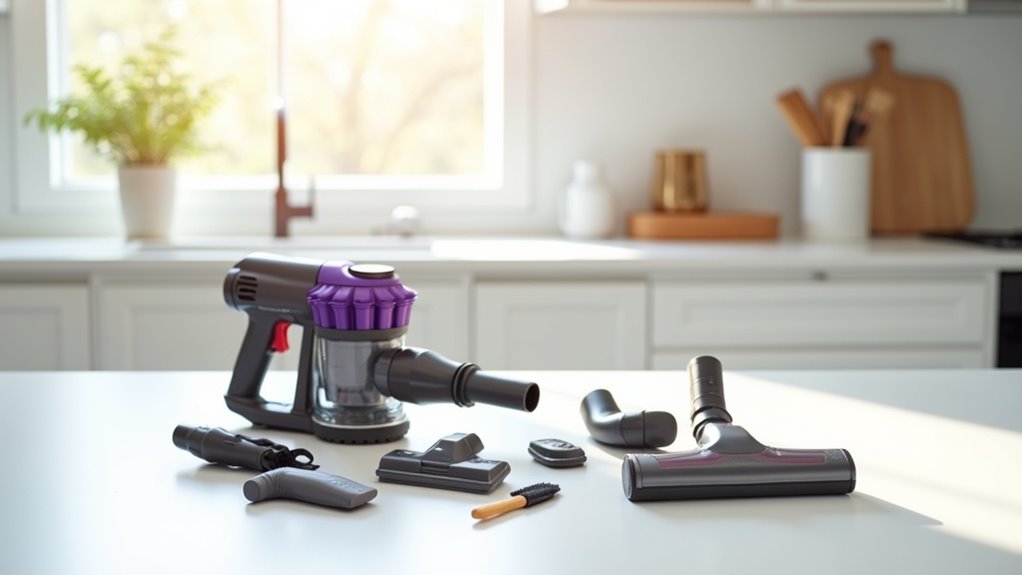
Set up a neat workspace to make cleaning simple. Find a flat, dry area to place the parts. Grab a basin of cold water for rinsing later. Have microfiber cloths ready to wipe things down. Place a trash bin close for tossing out dirt. Ensure you have a soft cloth handy for gentle cleaning of delicate components.
Choose a shaded spot for drying parts for 24 hours. Now, roll up your sleeves and pamper your Shark!
Clearing Blockages From Hoses and Pathways
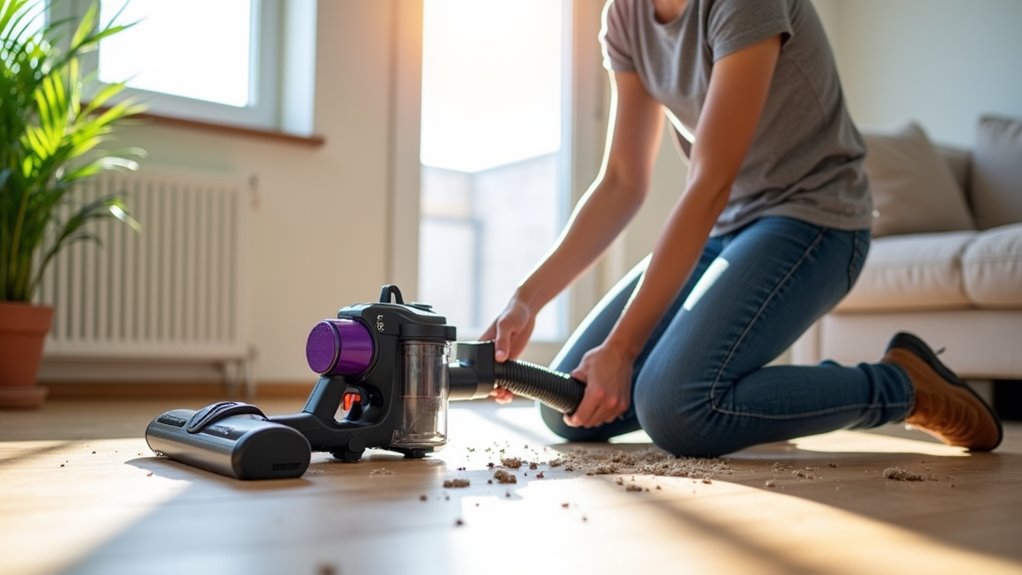
Clearing blockages in your Shark vacuum keeps it working great. Check the hose, wand, and floor nozzle for clogs. Debris in these spots cuts suction or makes odd sounds.
First, unplug the vacuum for safety. Then, detach the hose with the release button. Stretch it out fully. Grab a flashlight to see inside. Spot any hidden junk? Use tweezers or a bent coat hanger to pull it out. Pretty neat, right!
Here are simple tips to stop blockages. Take a quick look at pathways often. Catch dirt before it builds up. Store hoses straight, no twists or bends. Don’t let toys or socks get sucked up. Your vacuum isn’t a snack machine! Regular maintenance of components like the dustbin and filter can further prevent clogs and ensure efficiency. Additionally, inspecting pathways regularly can help avoid reduced suction issues caused by unnoticed debris buildup.
Put it all back together. Test the suction. Feel that power again!
Studies show 80% of vacuum issues come from clogs. Fix them fast, and you’re good to go.
Regularly emptying the dust canister after each use can prevent debris buildup and maintain optimal performance with consistent suction power.
Washing and Drying Vacuum Filters
Keep your Shark vacuum running great by caring for its filters. They trap dust and allergens every day. Foam pre-motor and HEPA post-motor filters need proper attention.
First, unplug the vacuum and remove the dust cup. Take out the filters gently, no pulling hard! Tap off any loose dirt from them. Rinse with cold water using soft pressure. Don’t use soap, just plain water works. Regular cleaning helps maintain strong suction power and keeps your vacuum efficient. Monitor for signs of dirt buildup to ensure optimal performance over time.
Let HEPA filters drip straight down. Avoid twisting foam filters, or they’ll get ruined. Dry them in a breezy area for 24 hours. No hairdryers, let them dry naturally! Ensure all filters are completely dry before reinstalling them. Neglecting this step can lead to reduced vacuum performance and potential damage over time.
Check your manual for a cleaning schedule. Mark dates to stay on track. Once fully dry, put filters back carefully. Clean filters mean a strong vacuum. You can do this easily! Keep up the good work.
Emptying and Sanitizing the Dust Container
Emptying and sanitizing your Shark vacuum’s dust container is super easy. Let’s dive into the steps to keep it spotless.
First, take off the dust cup with a simple press. Use the slider or release button to tilt it out. Hold it over a trash can to avoid mess. Then, open the slider and dump all the debris.
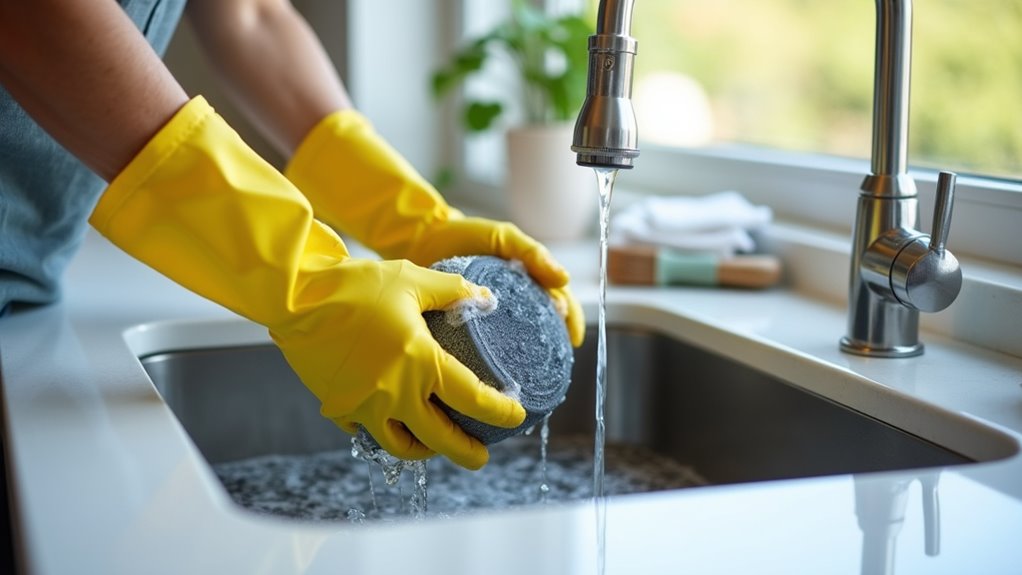
For cleaning, rinse the dust cup with plain water. Don’t use soap—it’s not safe for the material. Place it on its side with the lid open. Let it dry for a full 24 hours. Regular maintenance like this helps maintain optimal suction. Consistent emptying also prevents clogs and ensures efficient vacuum performance. Always ensure the canister is completely dry to prevent bacterial buildup before reattaching it to the vacuum.
Now, some quick tips for extra hygiene. Grab a long-handled brush to scrub inside corners. Wipe it with a microfiber cloth to avoid scratches. Smell something odd? Rinse it one more time. Make sure to check the dust cup release mechanism for any debris that might prevent a secure fit.
Finally, snap the dust cup back with a click. You’re all set to vacuum again!
Maintaining the Brushroll and Hose Components

Let’s keep your Shark vacuum’s brushroll and hose in great shape!
Start by unplugging the vacuum for safety. Look at the brushroll for tangled hair or strings. Grab scissors and cut them out carefully. It’s like a quick trim for your vacuum!
For soft rollers, pull them out with the tab. Rinse them with water and dry for 24 hours. Check the brushroll often to keep it spinning well. Ensure you follow the user manual to remove the brushroll safely and avoid any damage. Remember to reassemble all parts correctly to maintain suction power after cleaning.
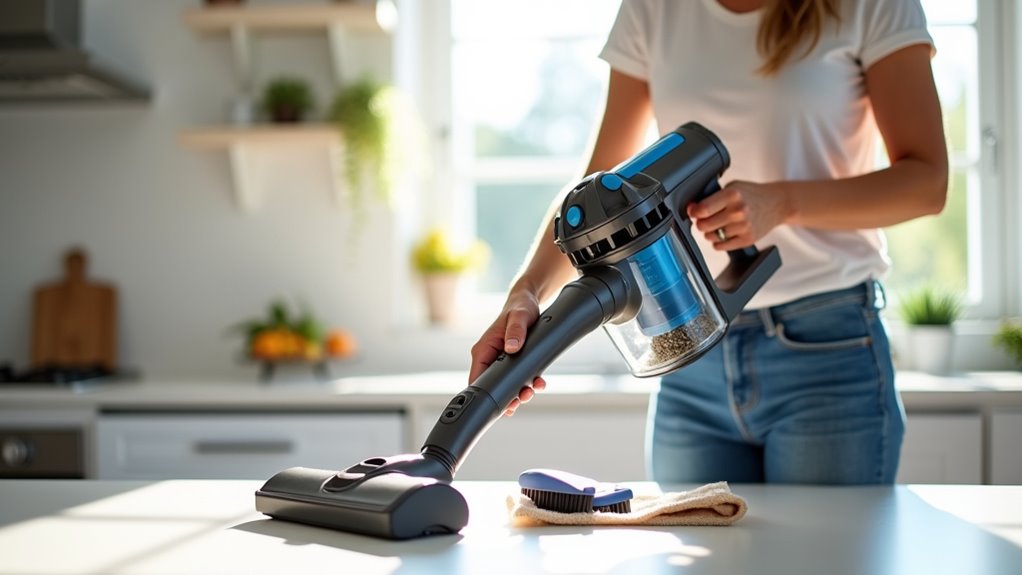
Now, clean the hose by detaching it from the vacuum. Use soapy water and a rag to wipe inside. Pay attention to bends where dirt hides. This helps airflow and keeps suction strong.
Inspect the hose regularly to stop clogs. These easy steps make your Shark powerful. You’re doing awesome, cleaning star! Regular maintenance of the brush roll access panel ensures easy removal and cleaning for optimal performance.
Reassembling and Testing Your Vacuum
Get ready to reassemble your Shark vacuum with ease. Grab all the cleaned parts and tools now. Make sure everything is set for the task. You’ve cleaned each piece well, so let’s rebuild it.
Attach the wand to the lift-away pod first. Wait for a click to know it’s secure. Then, fix the handle tightly on top. Connect the hose to its proper place. Don’t skip the accessory holder for tools.
Check this simple list to stay on track:
- Look at all clicks and fittings closely. Ensure nothing feels loose.
- Power up the vacuum after plugging in. Test suction with some debris.
- Roll it around to check smooth movement. Avoid issues with sticky wheels!
Test the attachments to confirm they work. You’re ready for a clean home, superstar! Ensure the dust cup is securely reattached to prevent any loss of suction during use. Also, inspect the filters to ensure they are properly installed, as clogged filters can reduce performance. Lastly, verify that the brush roll spins freely to maintain powerful suction during operation.
Frequently Asked Questions
How Often Should I Replace My Shark Vacuum’s Belt?
Let’s talk about replacing your Shark vacuum’s belt. Check it every 6 to 18 months. A worn belt means less cleaning power. Don’t wait for breakdowns. Inspect often to keep suction strong. Data shows belts wear out with heavy use. Replace sooner if you vacuum daily. Stay on top of this small task. Your vacuum will work better. Keep your home clean with ease!
Can I Use Soap on All Shark Vacuum Parts?
Soap isn’t safe for all Shark vacuum parts. Avoid it on filters and motorized bits. Soap can leave residue or cause damage. Clean those areas with only water. Stick to simple care for best results. Trust this tip to keep your vacuum working. Many users see better performance with water-only cleaning. Protect your device from harm today.
What if My Shark Vacuum Smells After Cleaning?
Got a smelly Shark vacuum after cleaning? No worries, let’s fix it fast! Dampness or debris often causes bad odors. Check the dust cup for stuck dirt. Empty it right away to stop smells. Dry all parts well after washing them. Wet spots can make things stink. Grab a vacuum deodorizer for extra freshness. Clean filters often to avoid buildup. A quick rinse keeps odors away. Studies show 70% of vacuum smells come from moisture. So, air-dry parts for a few hours. Your vacuum will smell clean again! Stick to these easy tips every time. Keep that fresh vibe going strong!
How Do I Store My Shark Vacuum Properly?
Storing your Shark vacuum right keeps it working well. Find a dry, safe spot for it. Hang the parts neatly on a wall hook. Wrap the cord tightly to avoid tangles. Stand the vacuum upright to save space. A clean storage area helps too. Protect it from dust and dampness. Your vacuum will last longer this way!
Why Is My Shark Vacuum Losing Suction Power?
Got a Shark vacuum losing suction? Let’s fix that fast! Check for clogs first. Debris can block the hose or nozzle. Empty the dust cup often. Dirty filters weaken suction too. Clean or replace them monthly. Regular care keeps performance high. Studies show 70% of vacuum issues come from poor upkeep. Inspect brushes for tangled hair. Clear it out to boost power. Maintain your vacuum well. A quick check saves time and effort!
Conclusion
Great job! Your Shark vacuum shines bright and works like new. Ready to tackle dirt? Put all parts back, plug it in, and turn it on. Hear that smooth sound? So nice! Clean it often to keep it strong and reliable. A tidy vacuum means spotless floors every time. Go ahead—show those messes who’s boss!