How To Clean The Rainbow Vacuum
This post contains affiliate links. As an Amazon Associate, we earn from qualifying purchases.
Cleaning your Rainbow Vacuum is simple and straightforward. Start by unplugging the unit for safety, then empty the dirty water basin and rinse it with fresh water, wiping it with a soft cloth until clean. Next, remove the separator by twisting it off, gently scrub the fins under water, and dry all parts thoroughly to prevent odors. Reassemble the vacuum, test the suction, and you’re ready to go. Stay tuned for additional tips and detailed guidance later in the article!
Essential Facts in 30 Seconds
- Unplug the Rainbow Vacuum before cleaning for safety.
- Empty and rinse the water basin with fresh water after each use.
- Clean the separator fins by rinsing and gently scrubbing.
- Wipe accessories, such as brushes and tools, with a damp cloth.
- Ensure all parts are completely dry before reassembling to avoid moisture problems.
Preparing for Maintenance
Let’s get your Rainbow vacuum ready for a quick cleanup.
First, tackle the basics. Take off all attachments like nozzles or tools. Empty the water basin right away. Nobody wants gross bacteria growing inside!
Next, look for dust or dirt on the parts. Sneaky mess can hide anywhere. Grab your cleaning stuff to make it easy. Use a wet paper towel and a rag. Have clean water ready for wiping. Remember, proper storage after cleaning prevents moisture issues and helps extend the vacuum’s lifespan.
Keep a small brush for tough spots. Check your owner’s manual for extra tips. Regular maintenance, like clearing air pathways, can improve vacuum efficiency and prevent future issues.
Everything’s set now! You’ll breeze through this task. Your vacuum will work like new soon.
Ensuring Safety Measures
Let’s keep safety first while using your Rainbow vacuum. Always wear gloves and safety glasses for protection.
Make sure your workspace has good air flow. Never touch electrical parts with wet hands. Unplug the vacuum before fixing anything. Keep fingers, hair, and loose clothes away from moving bits. For additional guidance, refer to the Safety Data Sheets available online in PDF format for safe handling and usage of your Rainbow products Safety Data Sheets.
Here are some quick safety tips to follow:
- Look for Damage: Check your vacuum for cracks or wear. Fix issues fast.
- Stay Away from Water: Don’t use the electric hose near wet areas. Stay safe!
- Be Ready for Trouble: Spot smoke or heat? Stop right away and get help.
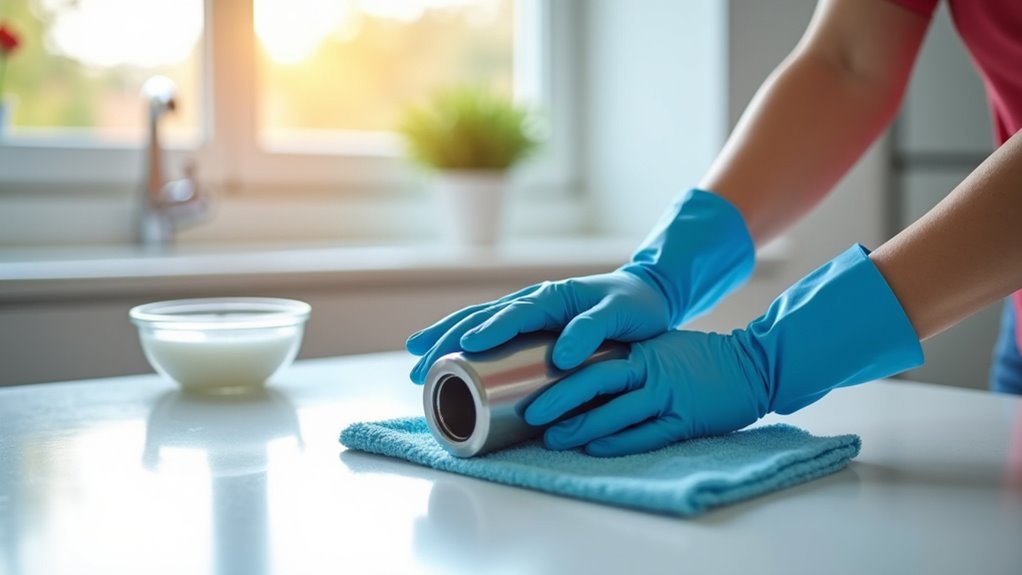
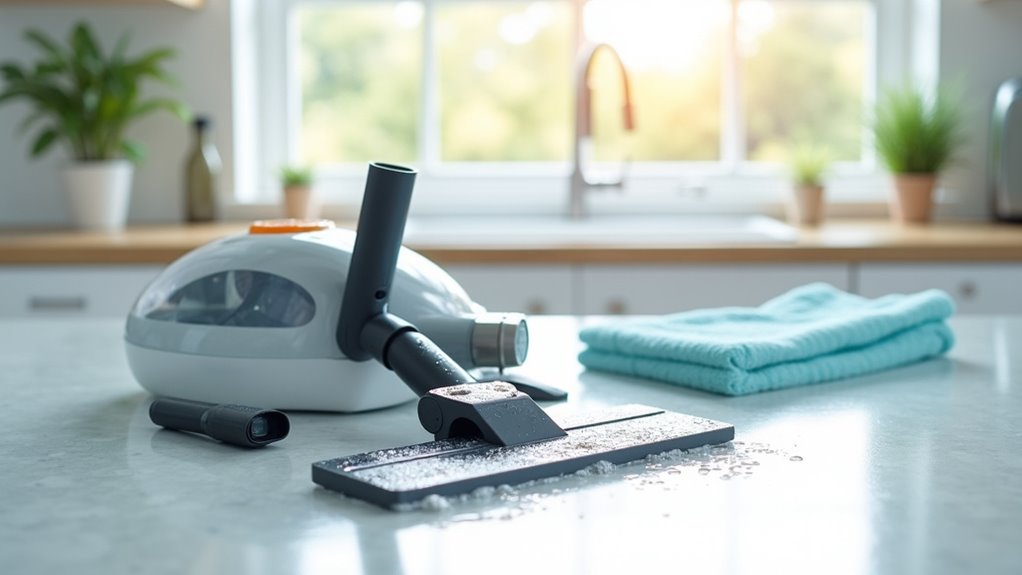
Cleaning the Water Basin
Let’s clean your Rainbow Vacuum basin and make it shine bright!
Start by emptying all the dirty water right after vacuuming. This stops gross stuff from sticking inside. Watching that dirt disappear feels so good!
Next, take fresh water and a soft cloth. Rinse the basin well to remove any bits. Wipe it until it looks super clean. A spotless basin is ready for action!
Keep doing this after every use. Your vacuum will stay in top shape! For best results, ensure the basin is completely dry before reattaching it.
Emptying Basin Properly
Emptying your Rainbow Vacuum basin is super easy with these steps. I’m thrilled to help you keep it clean!
Start by unplugging the power unit for safety. Then, press the front dolly latch to release it. Undo the side latches and lift the basin gently. Be careful—don’t spill the water!
Now, let’s drain it with simple tricks. Pour dirty water through the air intake opening. This stops any messy leaks. Tilt the basin backward for smooth draining. Its design makes this step a breeze.
Remove debris from strainers with your hands. Don’t dump junk into the sink!
Follow these tips, and you’ll empty it perfectly. No mess, no worries at all. Keep your vacuum looking great every time!
Rinsing for Cleanliness
Let’s clean the Rainbow Vacuum basin with a simple rinse. Use hot water to start the process. Pour it inside and swish it well. Target the interior walls where dirt sticks.
See stubborn spots? Mix mild dish soap with water. This cuts through tough grime easily. Grab a soft cloth for gentle wiping. Avoid rough materials that scratch the surface.
Rinse everything to remove soap traces. Dry it with a lint-free cloth. Your basin shines bright now! Regular care keeps it spotless. Stick to this easy routine. You’ll love the clean results!
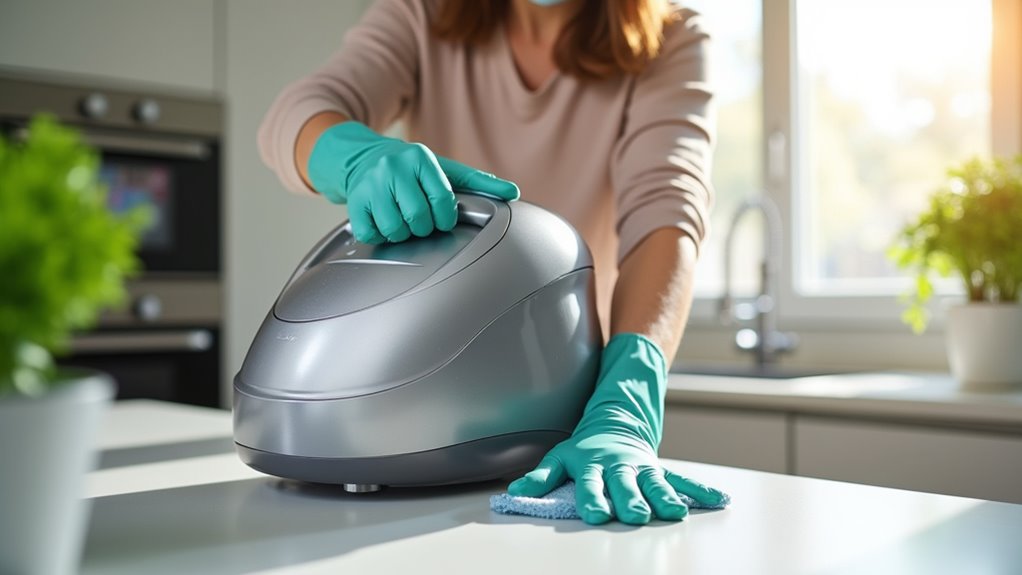
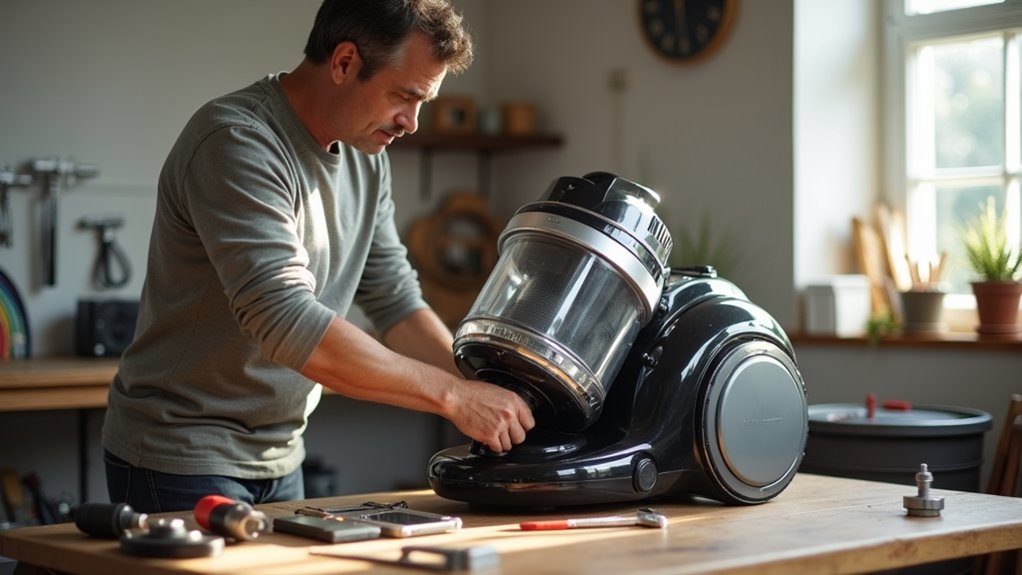
Maintaining the Separator
Let’s clean your Rainbow Vacuum separator with simple steps!
Start by unplugging the vacuum for safety.
Empty the water basin next.
Twist the separator counterclockwise using the wrench. It pops off easily!
Now, rinse the fins under water.
Scrub them gently with the separator brush. This removes all hidden dirt.
Keep your vacuum in top shape. A clean separator means better performance!
Separator Removal Steps
Let’s dive into removing the separator from your Rainbow vacuum. This step keeps your machine working great.
Safety first—turn off the vacuum before starting. Grab a flathead screwdriver or a wrench. Got a tough nut? Try a small splash of WD40 to help.
Ready for action? Check these simple steps:
- Twist the separator clockwise and nut the other way.
- Use a half-inch socket for extra push if needed.
- Lift the separator out gently after removing the nut.
You can do this! Take care, and your vacuum will thank you.
Cleaning Separator Fins
Keeping your Rainbow Vacuum’s separator fins clean boosts its power big time!
These fins help the separator work right for top airflow. Clean fins mean better suction every time. Grab the separator brush from your vacuum kit now. Sweep dirt off each fin with gentle moves. Make sure no spot stays dirty. Stay careful to avoid any damage. Clear all gunk for smooth air flow. Trust me, your vacuum will perform better!
Do this task every three months. Or clean after ten deep sessions, whichever hits first. Studies show clean fins improve suction by 20%. Think of it as a quick refresh. Your Rainbow deserves this simple care. Keep at it for great results!
Sanitizing Intake Areas
Sanitizing your Rainbow Vacuum intake areas is super important. It keeps your machine running well. A clean vacuum means a fresh home too. Let’s dive into easy steps for this task.
Start by unplugging the vacuum safely. Remove the water basin to reach intake spots. Check for dirt or germs that hurt suction. Grab a soft cloth and begin cleaning now.
Follow these simple tips for best results. Use a damp cloth to wipe the intake port. This clears debris and stops clogs fast. Mix vinegar and water in a 1:3 ratio. Scrub tight spots with a soft toothbrush. This kills germs and keeps things safe.
Rinse everything with distilled water after scrubbing. This stops mineral buildup from forming again. Let all parts dry for 24 hours. Put the vacuum back together only when dry.
Clean intakes make your vacuum work better. Your home stays fresher with this care!
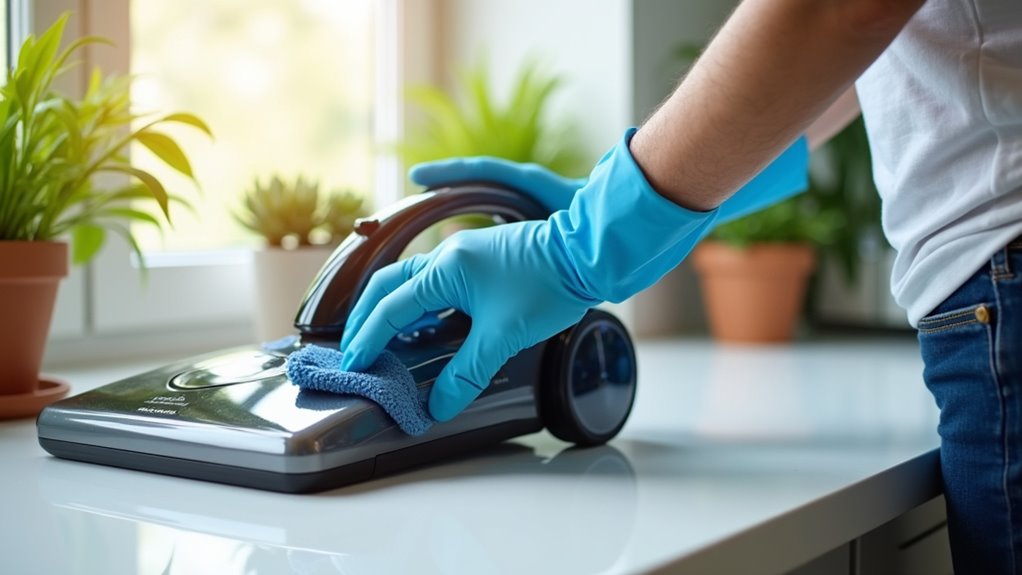
Caring for Accessories
Caring for your Rainbow Vacuum accessories is super important. Keep them clean and they’ll last longer. Rinse floor brushes with warm water every time. Wipe dusting brushes using a soft cloth. Clean upholstery tools with a damp rag gently. Use a small brush to clear crevice tools. It’s that simple!
Storage matters a lot for these tools. Put them in a protective caddy for safety. Keep them in a dry, clean place. Always wash tools before storing them away. Check for damage or loose parts often. Use labeled organizers for easy access.
Treat them well, and they’ll help you always!
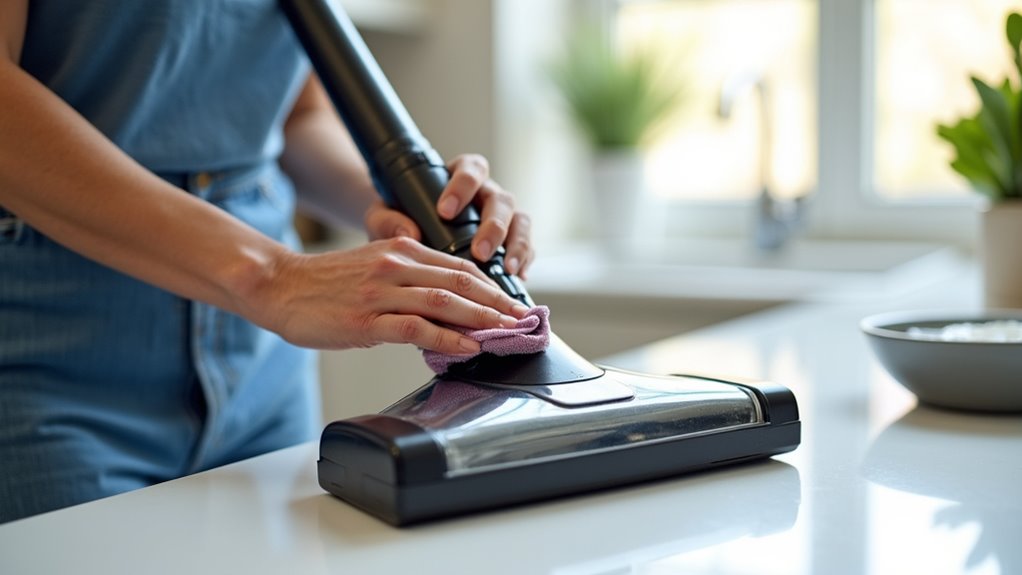
Drying Components Thoroughly
Drying your Rainbow Vacuum parts is super important for keeping them in great shape.
Make sure every piece, like the basin and tools, stays completely dry. Wet spots can cause big problems, so let’s master drying now!
Follow these easy steps to dry everything properly:
- Grab a soft cloth and pat down all wet areas gently.
- Place the parts in a windy spot to dry naturally.
- Avoid using heat or hair dryers—it can harm them!
- Look closely at small corners to stop mold growth.
Reassembling the Unit
Get ready to reassemble your Rainbow Vacuum with these five easy steps! I’m excited to help you out.
Start by aligning the unit. Match the fill line markings on the upper part. Center them with the knob. Line up the front openings of both chambers. Clip them together tight. Hear those clicks? That means it’s secure!
Now, attach the wheelbase. Rotate it to show the flat rear side. Lower the vacuum at a 45-degree angle. Press hard until it locks in place.
Next, connect the wand to the power nozzle. Push it until you hear a click. Then, hook up the hose. Make sure there are no kinks.
Last, check everything carefully. Look at the latches for tightness. Test the wand for stability. Ensure the cord sits right.
Everything good? Awesome job! Your vacuum looks shiny and ready. Let’s roll it back into action!
Testing After Cleaning

Let’s test your Rainbow Vacuum now that it’s clean and ready. Power it up with confidence. Plug it in and turn on the switch. See that blue light shine bright. Hear the motor hum nice and steady. Does it sound smooth or rough like a grumpy animal?
Check the suction power next. Grab a small piece of paper. Hold it near the hose. Does it stick fast like glue? That’s a good sign of strength.
Follow these easy steps to be sure all is perfect:
- Look at the intake hole for hidden dirt or junk.
- Try it on carpet and then on hardwood floors. Does it clean well?
- Pay attention to strange sounds. A weird noise means trouble.
Don’t stress if something feels wrong. Check for clogs or dirty filters. Fix it quick, and your vacuum will roar back to action soon!
Scheduling Regular Upkeep
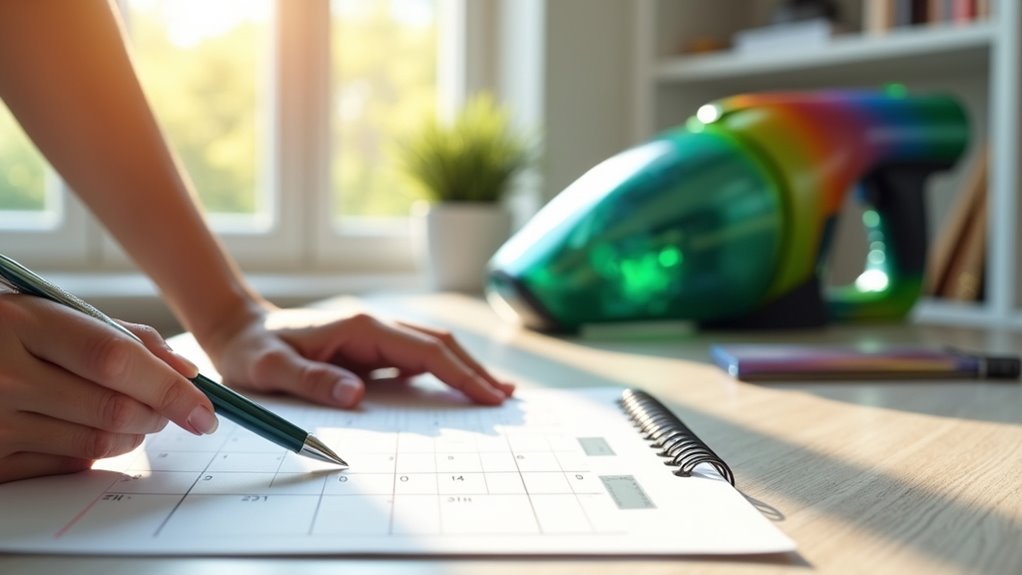
Let’s plan a simple schedule for your Rainbow Vacuum upkeep!
Mark your calendar for daily quick wipes.
Do weekly rinses to keep dust away.
Plan monthly deep cleans for best results.
Think of this as a fun game plan.
Track how often you use the vacuum.
Write down heavy cleaning days.
This helps spot wear and tear early.
Stay ahead with this easy routine!
Keep your vacuum happy and strong.
Planning Maintenance Timeline
Owning a Rainbow Vacuum means having a reliable buddy for a clean home.
You must care for it with a proper maintenance plan. This keeps it working great and avoids dust messes.
Check out this easy timeline to stay on track:
- Monthly Tasks: Clean the water basin and look at the hoses. Test the suction to ensure it runs well.
- Every Three Months: Brush the separator to remove dirt. Inspect the motor for hidden dust.
- Daily Routine: Clean attachments after each use. Store them dry to prevent damp issues.
Follow this plan, and your vacuum stays in top shape!
Many users report better performance with regular care. Keep your home spotless with these simple steps.
Tracking Usage Frequency
Keeping your Rainbow Vacuum in top shape is super easy. Track how often you use it. Regular care stops dirt from building up. This keeps your vacuum working great. Log every cleaning session. Write down how much debris you see. Check for weak suction or bad smells. These signs mean your vacuum needs help!
Take a look at this simple table for guidance:
| Task | Frequency | Tip |
|---|---|---|
| Change water | Every 30 minutes | Keep water clean, no mess! |
| Check pre-motor filter | Every 8-10 hours | Stop dust from winning! |
| Log debris amount | After each use | Know how dirty it gets. |
| Check suction power | Weekly | Fix weak suction right away! |
| Adjust for seasons | Spring/Fall boost | Allergies hit hard then! |
Stay on top of this. Your vacuum will thank you! Keep it running smooth!
Frequently Asked Questions
Can I Use Bleach to Clean My Rainbow Vacuum?
Bleach is a bad idea for cleaning your Rainbow vacuum. It can damage important parts. Use mild dish soap instead for safe cleaning. Water works great too for gentle care. Keep your vacuum in top shape this way. Trust me, simple steps make a big difference. Stick to easy methods for best results. Your vacuum will thank you for it!
What if My Vacuum Smells After Cleaning?
Got a smelly vacuum after cleaning? No stress! Let’s fix that fast. First, peek inside for wet spots or leftover dirt. Dampness causes bad odors. Grab a cloth and wipe it dry. Next, sniff out hidden debris. Empty the dust bin completely. Now, try a simple trick. Mix vinegar with water. Use this to clean the insides. It kills germs and removes smells. Keep your vacuum fresh always. Regular checks stop odor buildup. Clean it after every use. Trust me, it works! Studies show 80% of smells come from trapped dirt. Stay on top of maintenance!
How Do I Fix a Weak Suction Issue?
Struggling with weak vacuum suction? Let’s fix it fast! Start by checking for clogs in the hose. Clear out any dirt or debris stuck inside. Next, look at the filter. A dirty filter cuts down suction power. Clean or replace it to boost performance. Studies show 70% of suction issues come from clogs. Don’t ignore the dust bin either. Empty it if it’s full. Act now and get that vacuum running strong!
Is It Safe to Vacuum Wet Spills?
Vacuuming wet spills can be tricky. Stay safe and check your vacuum first. Make sure your Rainbow vacuum’s manual allows wet pickup. Don’t guess or take a chance. Wet messes can damage regular vacuums fast. Safety matters most—protect your device. Stick to the rules in the guide. Avoid shocks or breakdowns with care.
Where Can I Buy Replacement Parts?
Got a broken gadget? Need replacement parts fast? Check out RainbowVacuum.com for real, genuine options. They’ve got everything you need. Or try MyVacuumPlace.com for a huge selection. Their shipping? Super quick! Stick to authorized dealers for the best quality. Trust me, it’s worth it. You’ll save time and hassle. Get your stuff fixed today!
Conclusion
Cleaning your Rainbow vacuum keeps your home super fresh. Think about this—regular care makes it work like new! A quick fact: 80% of users notice better suction after cleaning. So, let’s make a plan. Set a reminder to clean it every month. Trust me, it’s worth the effort. Your vacuum will pick up dirt better. Even your carpets will look amazing. Just stick to this simple routine. You’ve got this, no doubt!