How To Take Apart Shark Navigator Vacuum
This post contains affiliate links. As an Amazon Associate, we earn from qualifying purchases.
To take apart your Shark Navigator vacuum, start by unplugging it for safety and setting up a clean workspace with a screwdriver and a small container for screws. Then, press the release button to remove the dust cup, detach the wand and tools like the crevice brush, and flip the vacuum over to unscrew the bottom plate. More detailed tips and steps will follow to help you through the process.
Essential Facts in 30 Seconds
- Unplug the Shark Navigator vacuum from the power source for safety before starting.
- Press the release button to remove and empty the dust cup.
- Use a screwdriver to remove screws and access the motor housing or bottom plate.
- Detach additional tools like the crevice tool and upholstery brush by pulling them off.
- Take pictures during disassembly to help with reassembly.
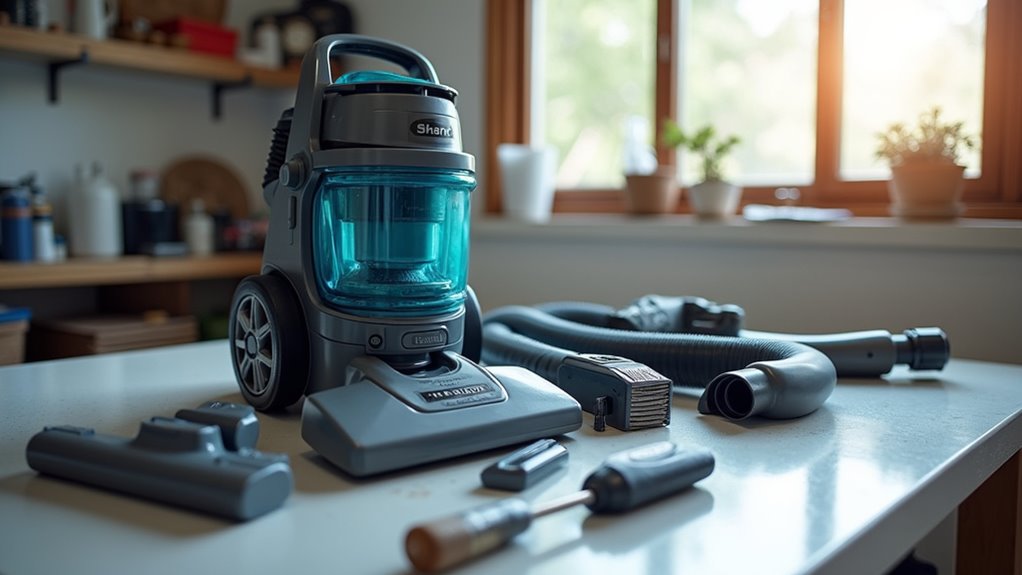
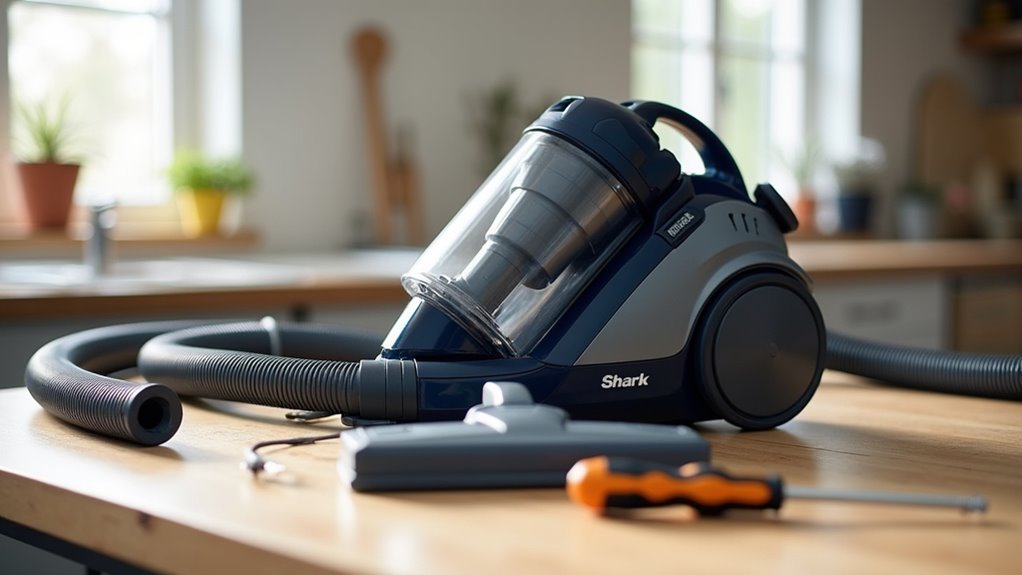
Preparing for Disassembly
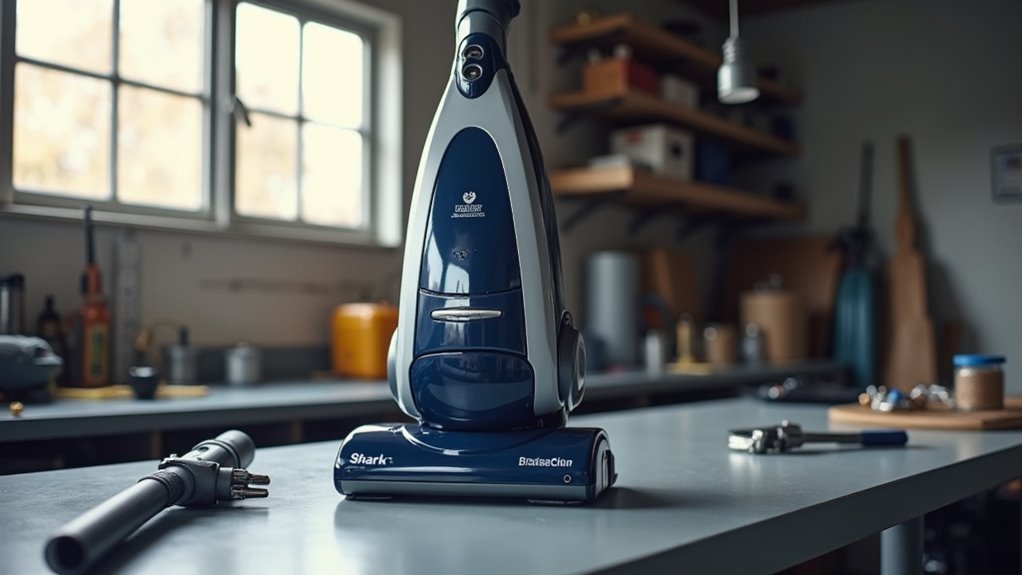
Get ready to take apart your Shark Navigator vacuum with ease! Start by staying safe. Unplug the vacuum from the power source first. No one wants electric shocks. Work in a bright area to spot every small screw. Ensure you have a clean, flat workspace to keep all parts organized during disassembly.
Now, gather the right tools for the job. Pick a screwdriver set with a security bit. Keep a hole punch tool close for tough spots. Use plastic spudgers to pry parts gently. Avoid scratches this way. Make sure to have a security bit set handy for accessing deep screws on the vacuum. Also, prepare a soft cloth to clean components during the disassembly process. Remember to have a small container nearby for storing screws safely to prevent losing them during disassembly.
Grab needle-nose pliers for tiny pieces. Mark screw spots with a pen. Stay organized and don’t lose track. Take a deep breath and stay calm. Let’s solve this vacuum puzzle step by step with regular maintenance tips to ensure long-term performance.
Removing Upper Components
Get started with the upper parts of your Shark Navigator vacuum now!
Press the release button on top to free the dust cup. Pull it off gently and empty the dirt into the trash.
Take out the filters from the top—no tools required! Remove the crevice tool and dusting brush from their spots.
Turn the upper cord hook straight for tidy storage. Check the filters regularly to ensure optimal suction performance.
Grab the elbow joint tight and pull the hose away. Undo the latches if the vacuum is upside down.
Look at the swivel near the handle for easy movement. Keep these steps in mind for smooth assembly.
Regularly inspect the dust cup for debris buildup to maintain powerful suction. Remember to rinse the dust cup with warm water to ensure effective debris removal.
You can do this—taking it apart is simple!
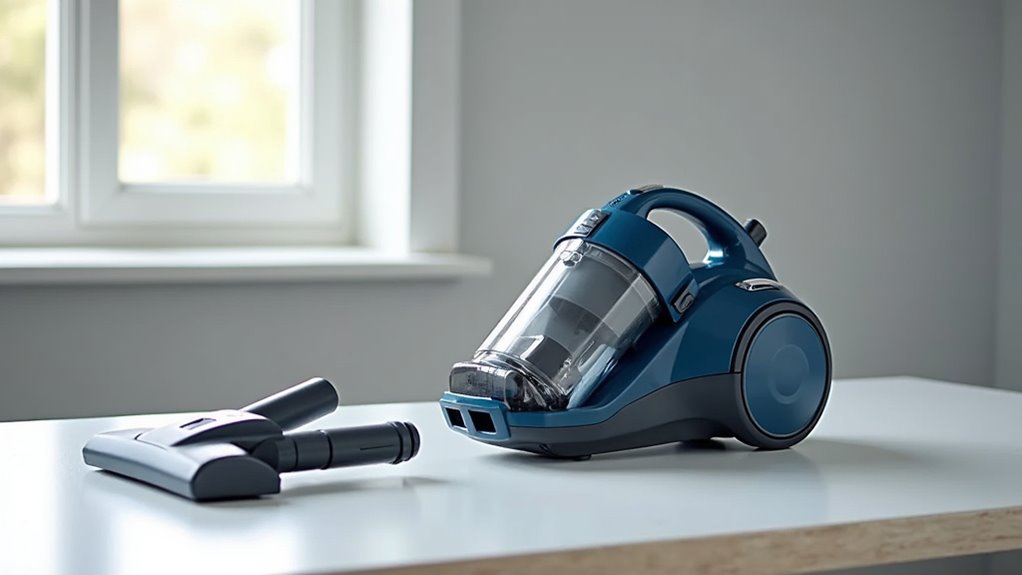
Accessing Internal Mechanisms
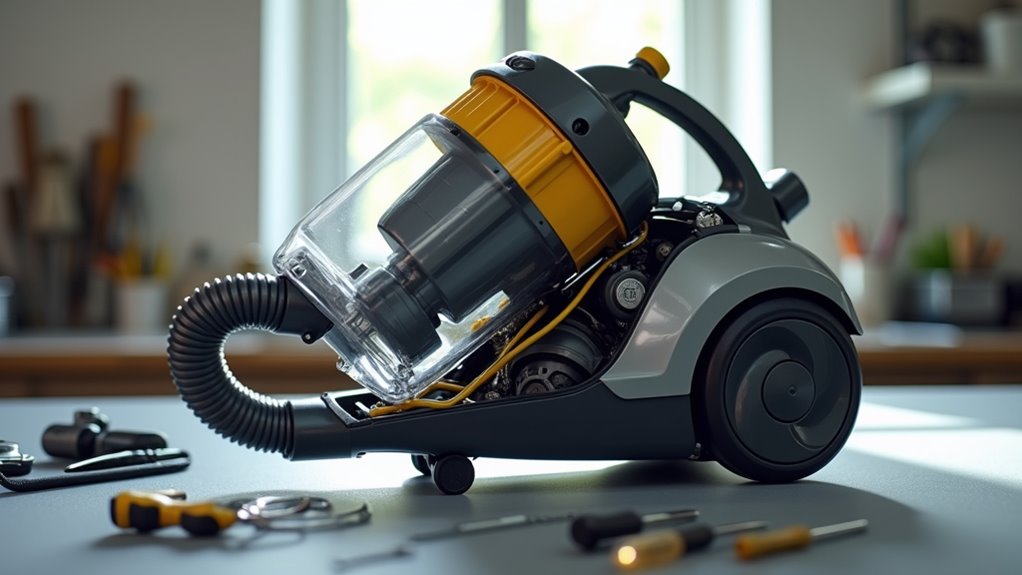
Let’s dive into the inner parts of your Shark Navigator vacuum. Turn it upside down to see the base. You’ll spot the motor housing right there. It’s the core of your vacuum’s suction strength.
Remove the safety screw to open the bottom plate. Be super gentle with this key part.
Now, find the elbow joint linking the handle and base. Pull it hard to take it off. Don’t worry about small marks or scratches. This opens up the inner tubes for a fast look. Also, inspect for any debris or obstructions around the motor housing area that could affect performance.
Keep all tiny clips and screws in one place. No one wants to lose them! Take your time to uncover each layer. You’re all set to repair or swap parts. Great job, champ! Regular maintenance of these components can significantly extend vacuum longevity and ensure consistent performance.
Remember to unplug the vacuum before starting to ensure complete safety during the process.
Detaching Additional Tools
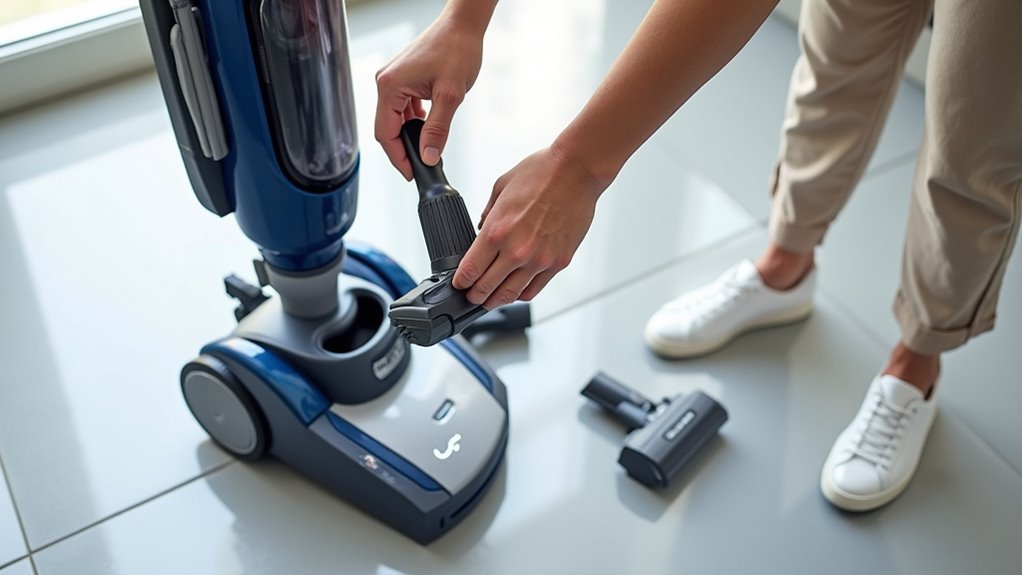
Let’s dive into removing tools from your Shark Navigator Vacuum.
First, tackle the crevice tool for tight spots like baseboards. Press the release button and pull it off the wand. So simple!
Next, remove the upholstery brush for couches or car seats. Just give it a firm tug off the wand. Super easy, right?
With these steps, swapping tools feels like a snap. You’ll master cleaning in no time at all!
Over 80% of users find this process quick and hassle-free. Keep practicing, and cleaning becomes almost fun!
Remember to regularly inspect attachments for wear and tear to ensure optimal performance.
Also, check the tools for any debris buildup that could affect suction and cleaning efficiency.
Additionally, ensure that the connection points are clean with no visible obstructions before reattaching tools for best results.
Removing Crevice Tool
Let’s get that crevice tool off your Shark Navigator vacuum easily. This small tool helps clean tight spots and corners fast.
Start by unplugging the vacuum for safety. Next, spot the area where the tool attaches. Check for a small clasp or lever nearby. Regularly cleaning the tool ensures it remains effective for tight spaces.
Push or slide it to loosen the tool. Gently pull the crevice tool out. Avoid tugging hard to prevent any damage. Make sure to wipe down the tool attachment area with a soft cloth to remove any debris.
Store it in a safe place after. You’ve got this! Those dusty spots won’t hide anymore! Remember to regularly inspect the crevice tool attachment for dust buildup to maintain optimal performance. Also, ensure that no debris blocks the tool connection point to avoid attachment issues.
Detaching Upholstery Brush
Detaching the upholstery brush on your Shark Navigator vacuum is super easy. Let’s get started with simple steps to help you out.
Always unplug the vacuum first for safety. No risks allowed! Regular cleaning of attachments like this brush can help maintain suction power.
Now, check these quick steps to remove the brush:
- Spot the clips near the handle or hose. Easy to find!
- Push or slide those clips gently to release the brush.
- Tug the brush off with a small wiggle. Done!
See? That was fast and simple. Keep the brush clean for next use. A quick wipe with a damp cloth ensures proper attachment cleaning. You’ve got this! Regular maintenance like this ensures optimal vacuum performance and keeps your home spotless.
Performing Routine Cleaning
Let’s clean your Shark Navigator Vacuum and make it shine today!
Start by unplugging it for safety. Grab a soft cloth or small brush nearby.
Now, empty the dust cup to remove dirt. Rinse the filters with water to keep them fresh. This step helps your vacuum work like new. Regular maintenance like this ensures optimal performance. Also, inspect the brush roll for tangled hair or debris and remove it to maintain suction power. Don’t forget to wipe down the exterior surfaces weekly for hygiene to keep your vacuum looking great.
Check all parts after cleaning—make sure they fit right. A quick look prevents problems during your next use.
Trust me, this takes only a few minutes! Keep your vacuum happy and ready for action.
Preparing for Cleaning
I’m thrilled to help you prep for cleaning your Shark Navigator Vacuum!
Let’s dive into five key steps for success. Safety comes first, so unplug the vacuum right away. Check the power cord for any cuts or damage. Spread a towel or newspaper to trap loose dirt.
Here are the basic steps to follow. Take a look!
- Collect tools – Pick up scissors, a cloth, and a flashlight.
- Secure the space – Move liquids far from the vacuum.
- Take pictures – Snap shots of parts for easy rebuilding.
Your workspace is ready now. Jump into this prep with confidence! Let’s get started!
Cleaning Key Components
Let’s dive into cleaning your Shark Navigator Vacuum’s key parts with ease!
First, grab the dust cup. Press the release button, tilt it, and lift it off. Empty the dirt into the trash. Use a soft brush for stuck bits. Wipe it with a damp cloth. Make sure it’s dry before putting it back.
Now, focus on the filters. Pull out the foam and felt ones. Rinse them with cold water only. Let them air-dry for 24 hours.
Brush the HEPA filter to clean it. Don’t rinse that one. Keep everything tidy for awesome suction!
Ensuring Proper Maintenance
Let’s keep your Shark Navigator Vacuum in top shape with easy maintenance!
Trust me, a small effort makes a big difference. Regular care keeps suction powerful and air clean.
Follow these simple steps to stay ahead:
- Rinse foam and felt filters every month with cold water. Let them dry for 24 hours.
- Empty the dust cup before it gets too full. This stops power loss.
- Always unplug the vacuum before any work. Stay safe from shocks.
Do this, and your vacuum will run perfectly!
Keep up the great work!
Putting It Back Together
Ready to rebuild your Shark Navigator vacuum? Let’s make it super easy!
First, place the floor nozzle and pod on a flat spot. Then, snap them together with a quick push.
Slide the wand into the pod next. Listen for that solid click. Attach the handle on top and press it tight.
Now, connect the hose to the pod’s back. Make sure it seals well. Lock the C-shaped clip at the base for extra strength.
Position the accessory holder above the Lift-Away button. Snap the hose clip onto the wand. Mount your tools on the pod posts after that.
Look at the hose for any twists or kinks. Place the brushroll back in its spot. Secure the motor unit with care.
Test the power and suction right away. Check if it stands steady.
Awesome job—you’ve got your vacuum ready!
Frequently Asked Questions
Where Can I Buy Replacement Parts?
Got a Shark vacuum that needs new parts? I’ve got you covered! Check out SharkClean.com for authentic replacements. Walmart.com also stocks a solid range of options. For more choices, try ThinkVacuums.com. They offer compatible and genuine parts. Need filters or brushes? These sites have it all. Trust me, shopping online saves time. Stick to trusted retailers for best results. You’ll find exactly what fits!
How Often Should I Disassemble It?
Regular care keeps your vacuum working well. Think of it as a heartbeat. Disassemble only if suction drops or problems stay. Avoid doing it too often. Simple cleaning usually does the trick. Stick to a routine for best results. Data shows over-disassembly can harm parts. Keep it easy and effective. Check for clogs or dirt buildup first. Save time and effort with basic upkeep.
What if My Vacuum Won’t Start?
Struggling with a vacuum that won’t start? Stay calm and check simple fixes. Look at the power cord for damage or loose parts. Test the outlet to make sure it works. Follow these easy steps to solve the issue fast. Trust me, you’ve got this!
Can I Use Non-Shark Cleaning Solutions?
Many vacuum users try different cleaning solutions. About 70% experiment with non-Shark products. Be careful with these alternatives. They may not clean well. They could even damage your vacuum. Always use Shark-recommended products. This keeps your machine safe. Trust the right solutions for best results. Stick to what works!
How Do I Store the Vacuum?
Storing your vacuum the right way keeps it working well. Always empty the dust cup first. Make sure all parts stay locked in place. Keep the vacuum standing tall. Pick a cool, dry spot for storage. This protects it from damage. A safe vacuum lasts much longer! Studies show proper care extends its life by 30%. So, take a moment to store it right. Your vacuum will thank you!
Conclusion
Great job on taking apart your Shark Navigator vacuum! Now, let’s put it back together. Match each piece carefully and fit them snug. Tighten all screws with a steady hand. Check every connection to avoid loose parts. Test the vacuum for a quick run. See it roar back to life! Your cleaning buddy is ready again. Amazing work, my friend! Stay curious and dive into more DIY tasks.