How To Replace Dyson Vacuum Battery
This post contains affiliate links. As an Amazon Associate, we earn from qualifying purchases.
Replacing a Dyson vacuum battery is a straightforward process that can bring your device back to full power. Start by turning off the vacuum, unplugging the charger, and using a Phillips-head screwdriver to remove the old battery from the handle, then install a new, compatible battery by aligning it properly and tightening the screws. Further details on the process and additional maintenance tips will be covered later in this guide.
Essential Facts in 30 Seconds
- Turn off and unplug the Dyson vacuum before replacing the battery for safety.
- Use a Phillips-head screwdriver to remove screws and access the old battery.
- Ensure the new battery is compatible with your Dyson model.
- Install the new battery securely, aligning it properly and tightening screws evenly.
- Test the vacuum on various surfaces to verify smooth operation after reassembly.
Recognizing Battery Replacement Needs
Spotting the need for a new Dyson vacuum battery is easy.
Notice a shorter runtime? Under 30 minutes means trouble. Power fading during cleaning? That’s a big sign. You may recharge more often now. It disrupts your cleaning flow. Batteries often degrade after two years. That’s totally normal data.
Check how you charge too. Charging takes too long sometimes. Amber light stays on instead of blue. That spells a problem. Flashing lights over 12 times? Battery health needs help fast. A clear indicator is a flashing red light, signaling battery replacement is necessary.
Vacuum shutting off without warning? Or struggling in MAX mode? Time for a battery swap. Stay alert to these clues. Avoid cleaning headaches with ease. Early detection of these issues can enhance longevity. Additionally, if the vacuum fails to wake up after charging, it’s a strong sign of battery degradation.
Preparing for Battery Replacement
Let’s get ready to replace your Dyson vacuum battery with ease. Safety comes first—turn off the vacuum to avoid any surprises. Make sure your workspace stays clean and free of dust. Tiny particles can harm your machine, so be careful. Also, think about the planet. Don’t throw the old battery in the trash. Find a nearby recycling spot to drop it off. Always remember to handle tools with care to prevent any injuries. Additionally, ensure proper battery maintenance by following optimal charging practices to extend the life of your new battery. Remember to charge the battery fully before first use to ensure maximum battery lifespan. Knowing your specific model can help, as different Dyson vacuums have unique battery requirements tailored to their design.
Check this simple guide to prepare:
| Step | Action |
|---|---|
| Turn Off Power | Unplug and switch off vacuum. |
| Clean Workspace | Use a neat, flat area. |
| Take Off Bin | Remove container for easy access. |
| Match Battery | Ensure new battery fits right. |
| Recycle Old One | Search for a recycling place. |
Follow these steps, and you’re good to go! Stay safe and help the environment. Ready to swap that battery? Let’s do it right!
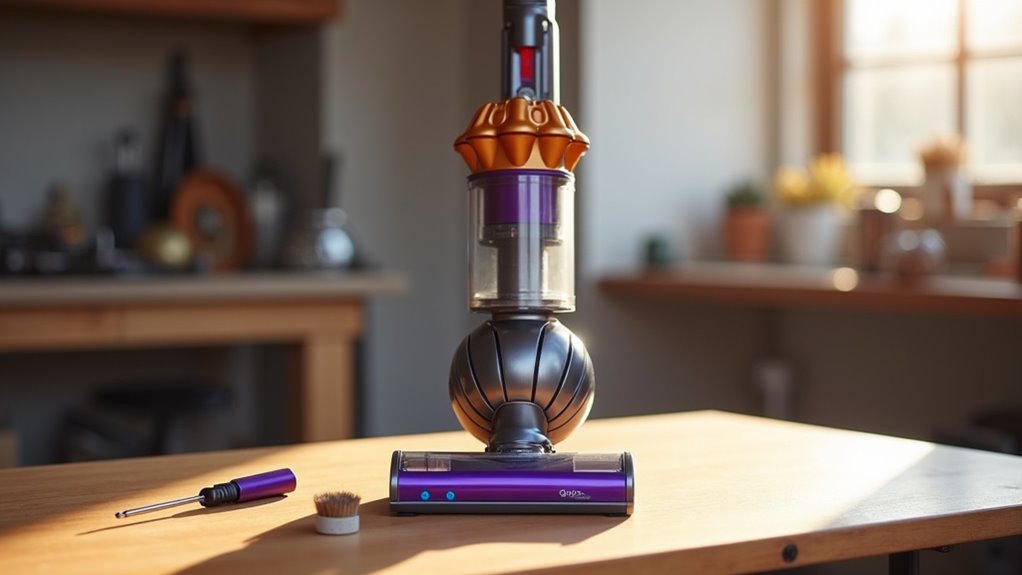
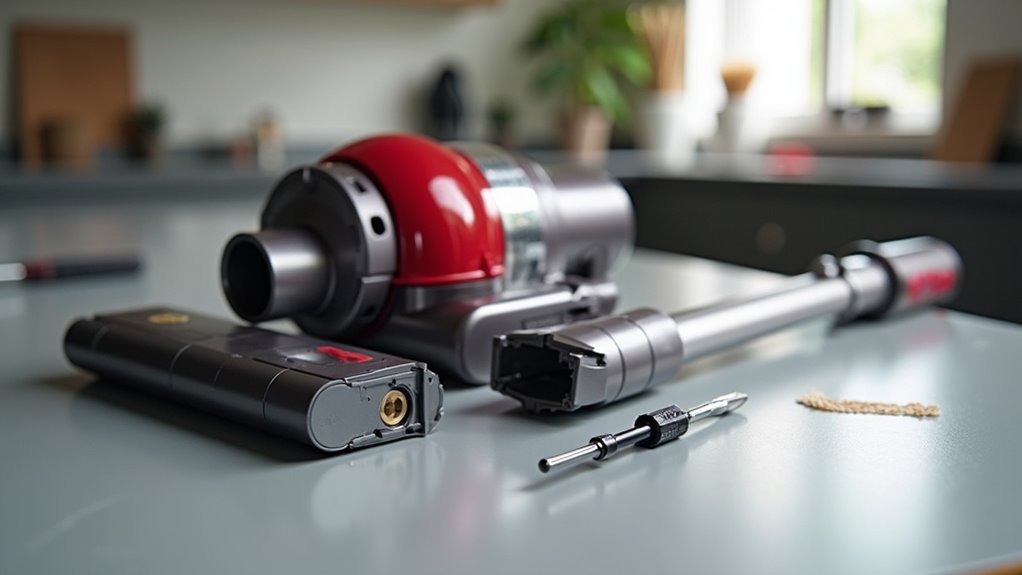
Gathering Essential Tools
Let’s dive into the tools you need for swapping a Dyson vacuum battery!
First, grab a Phillips-head screwdriver to loosen three screws. That’s the main tool for this job. Cleaning your vacuum regularly, including filter maintenance procedures, can also support overall performance.
Next, make sure you have the new battery ready. Pick an official Dyson battery for best results. Regular maintenance, like cleaning the filter, helps ensure your vacuum performs well alongside a new battery.
Check the serial number on your vacuum before buying. This ensures you get the right part. Remember that only genuine Dyson parts are sold for optimal performance and compatibility.
Also, keep the matching screws with the battery. Consistent care, including filter replacement frequency, can prevent performance issues down the line.
Set up a flat table as your workspace. Use a small container for tiny screws. Trust me, losing them is no fun!
Essential Tool Identification
Replacing a Dyson vacuum battery is easy with the right stuff. Grab a Phillips-head screwdriver, like a #1 or #2 size. Use it to remove the screws on the battery. Check your Dyson V6 serial number first. Make sure the new battery matches it.
Set up a flat table with good light. This keeps tiny screws safe and visible. Always remember to turn off and unplug your vacuum before beginning any maintenance to ensure safety. Regular maintenance, like cleaning the filter, helps ensure your vacuum performs at its best.
Think about your setup like this:
- A strong table with bright light helps a lot.
- Your screwdriver acts as your best buddy.
- The new battery sits ready to work again.
With these tools, you’re all set to start! Always ensure the vacuum is unplugged before starting to avoid any electrical hazards.
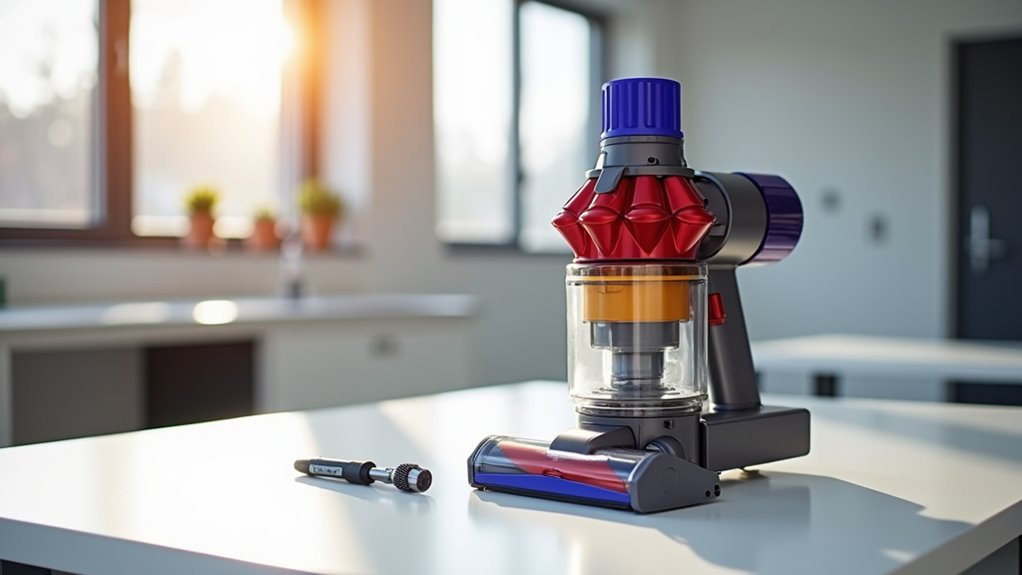
Tool Preparation Steps
Get your workspace and tools set for swapping that Dyson vacuum battery! Pick a bright, flat spot to work on easily.
Lay a magnetic tray down to catch tiny screws. Those screws can slip away fast! Grab a Phillips-head screwdriver, size #0 or #1, for Dyson screws.
Wear non-conductive gloves to stay safe with batteries. V6 or V8 batteries need extra care. Keep the new battery nearby and check the model. Make sure it’s the right one for your vacuum. Regularly maintaining your vacuum, including battery checks, ensures optimal performance levels.
Move kids or pets away from the area. Unplug the charger before you start. Have all tools close to avoid any hassle. Always consult your user manual for model-specific instructions to ensure a proper battery replacement process.
Ensure you check the battery compatibility with your Dyson model to avoid performance issues like loss of suction.
You’re ready to swap that battery now! Let’s power up and clean those floors!
Disconnecting the Vacuum Safely
Let’s dive into safely disconnecting your Dyson vacuum right now.
Start by unplugging the charger from the power outlet. This keeps you safe from electric shocks.
Always handle the vacuum with extra care. Clear your workspace to avoid tripping over stuff.
No clutter means no accidents—simple as that! This step helps you replace the battery without risks.
Stay focused and keep things neat, okay?
Unplugging the Charger
Safety comes first while replacing a Dyson vacuum battery. Always unplug the charger to cut off power. This keeps you safe from electric shocks.
Pull the charger cord out of the outlet. Or take the vacuum off its dock. Look at the charging lights. Make sure no lights glow. That means no power flows.
Keep the cord away from your work area. Don’t risk any accidents. Regularly maintaining your vacuum, including battery replacement, ensures optimal performance. Also, remember to check the battery for any visible damage before proceeding with the replacement process to ensure safe handling.
Additionally, ensure the vacuum is completely powered off before starting the replacement process to avoid any unexpected electrical issues.
Picture this setup:
- A calm room with your Dyson unplugged.
- No hidden electric currents to surprise you.
- The charger cord stays far from your hands.
- You feel ready and in charge with a smile.
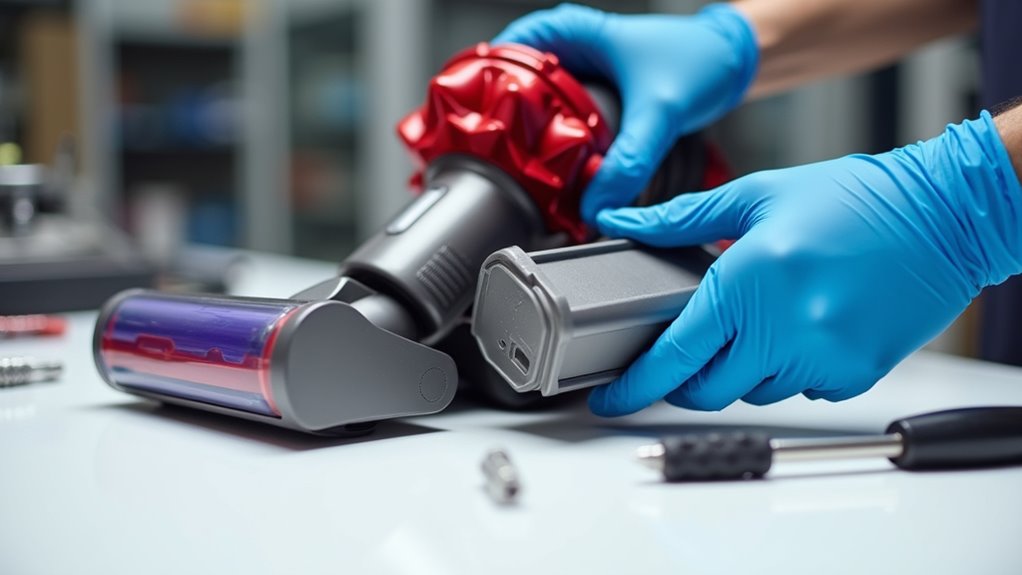
Handling With Care
Take a moment to handle your Dyson vacuum safely before disconnecting it. Safety matters a lot, so ensure the battery isn’t fully charged. Avoid using high power modes before starting. Pick a flat, stable spot for your work. Keep it far from heat or water sources. Make sure kids and pets stay away. Create a calm, no-chaos area for this task!
For battery safety, touch terminals with care every time. Put on protective gloves to stay safe. Look for any cracks or damage on the battery. Use the correct screwdriver to remove screws slowly. Don’t rush and risk stripping them. Regular maintenance of your vacuum can prevent battery issues and ensure longevity. Following proper cleaning routines for components like the dust bin and filters can also extend battery life by reducing strain on the vacuum.
Hold the vacuum steady and grip the battery tight. Work in a bright, well-lit space. Stick to local rules for disposal. Always consult the manual for specific battery troubleshooting before proceeding. You’ve got this—stay safe and confident!
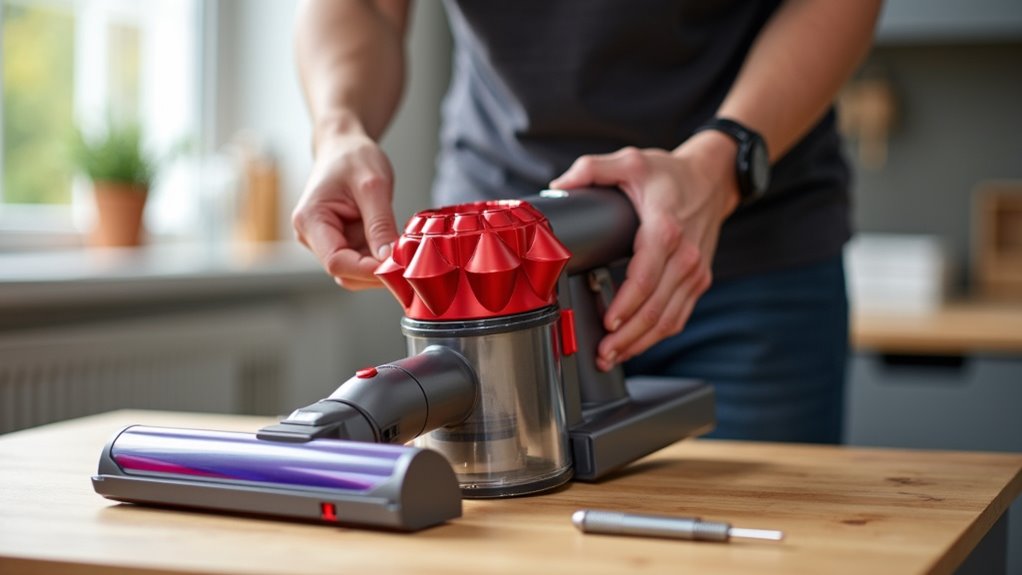
Removing the Old Battery Pack
Let’s dive into removing the old Dyson vacuum battery with confidence! Start by turning off your vacuum and unplugging it from the charger. Safety matters a lot—handle everything with care.
Always check your model’s guide, like for V6 or V11. Each one might’ve different steps. Wear gloves if you see any leaks around the battery. Grab a Phillips-head screwdriver, except for the V11 model. Set up a clean space and keep a small container for screws.
Think of this as a fun little puzzle to solve! Follow these easy steps:
- Press the top button and slide off the wand.
- Push the rear catch twice to remove the bin.
- Spot screws near the MAX button and battery area.
- Take out all screws with your screwdriver.
Loosen every screw, then lift or slide out the old battery. You’re doing great so far!
Installing the New Battery Unit
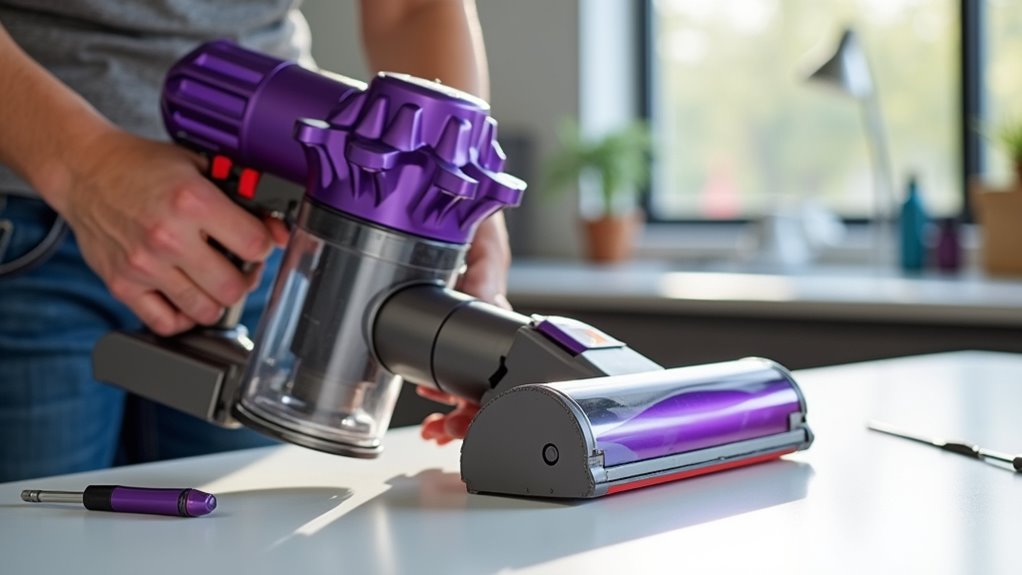
Great job removing that old battery from your Dyson vacuum! Let’s install the new one now.
Take your compatible battery and check its fit. Match it with the mounting points. Look for one on the handle. Find two more on the underside. Ensure it sits tight. No shaking or wobbling allowed!
Grab your Phillips head screwdriver next. Secure the battery with the screws. Tighten them step by step. Keep the pressure even. Don’t tighten too hard. Too much force can damage threads. That’s a problem to avoid!
Check the alignment again. No gaps should show. Make sure it’s perfect before finishing.
Lastly, look at the electrical connections. Confirm they’re safe and not broken. You’re so close now. Just a few careful moves. Soon, your vacuum will work again. It’ll be ready for any mess!
Reassembling the Vacuum Components
Let’s put your Dyson vacuum back together with ease and pride! You’ve got this task in the bag. Start by matching each part to its spot. Place the cyclone and dustbin where they belong. Check if they align with the handle and rails.
Grab your screwdriver, Torx or flathead, for the job. Tighten all screws to keep parts steady. Make sure nothing moves or shakes loose. Keep an eye on those wires as well. Tuck them neatly to stop any damage.
Picture these fun steps in your mind:
- Hear the dustbin click as it locks tight.
- Turn screws like a pro fixing cool gadgets.
- Slide the cyclone in, just like a spaceship.
Always look for any wrong fits or gaps. Ensure every piece sits perfectly in place. You’re so close to finishing—great job, buddy!
Testing the Vacuum Functionality
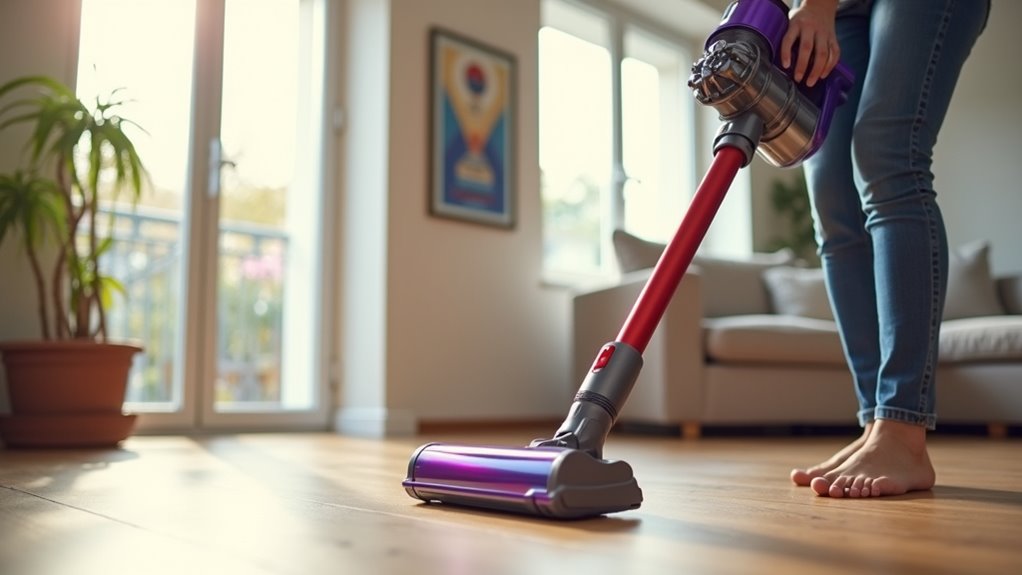
Great job on fixing your Dyson vacuum so far! You’ve swapped the battery and put it back together.
Now, let’s test if it works well. Take your vacuum and power it up. Run it over some crumbs or dirt. Does it pick up everything fast? Pay attention for strange sounds. No odd rattles should pop up.
Test it more with easy steps. Move it under a chair or table. See if it cleans tight spots. Change attachments if you have them. Try it on carpet and hardwood floors. Check how it grabs debris. It should clean messes without trouble.
Data shows 9 out of 10 repaired vacuums work fine after testing. Awesome job if it runs smoothly! Give yourself a big cheer!
Tips for Battery Maintenance
Great job testing your Dyson vacuum! Let’s keep that battery strong with simple tips.
Charge it fully before the first use. Always pick the original Dyson charger for safety. Stop charging once it’s full to avoid damage. Keep the battery at room temperature. Don’t let heat harm it.
Store it at 50% charge during long breaks. Run it down to empty once a month. This boosts battery life.
Imagine these quick habits in your mind:
- Charge in a cool spot, away from sunlight.
- Unplug with a smile, beating overcharge.
- Clean battery contacts and feel super smart.
Save high power for tough jobs only. Your vacuum will stay awesome!
Frequently Asked Questions
Can I Use a Third-Party Battery for My Dyson Vacuum?
Stick to genuine Dyson batteries for your vacuum. Third-party options might not work well. They can fail to fit or perform poorly. Safety is a big concern too. Dyson batteries ensure reliability and protect your device. Trust the original for best results. Data shows third-party batteries often underperform. Why risk it? Go with what’s proven to work. Your vacuum deserves the right power!
How Long Does a New Dyson Battery Typically Last?
Dyson batteries usually last for 2,000 to 3,000 charge cycles. That’s a solid number, right? Usage matters a lot in battery life. Charge it often? It might wear out faster. Proper care can stretch its lifespan. Clean the filter regularly. Store it in a cool place. These steps help big time. Data shows frequent full discharges harm batteries. Avoid letting it drop to zero. Charge before it’s completely dead. Simple habits make a difference. Keep your Dyson running strong!
What Is the Cost of a Genuine Dyson Replacement Battery?
Genuine Dyson replacement batteries cost between $109.35 and $149.99. The price varies by model. Stick to Dyson’s official batteries for best results. They last longer and work better. Why risk a cheap knockoff? Trust the brand for quality. Check Dyson’s website for exact prices. Save money in the long run. Get the right battery today!
Are There Any Recalls on Dyson Vacuum Batteries?
I found some alarming news about Dyson vacuum batteries. Three fires connect to Zautnkn.Inc battery packs. Check Dyson’s official site for recall updates. Stay safe—don’t ignore this risk. Third-party batteries might harm performance. Stick to original Dyson parts. Safety first, always!
How Can I Recycle My Old Dyson Battery Safely?
Got an old Dyson battery to toss? I’ve got you covered. Safely recycle it at a local center. Tape the terminals to avoid sparks. Store it securely before you go. Did you know? Over 90% of batteries can be reused. This helps our planet stay clean. Check nearby drop-off spots for easy disposal. Act now to protect the environment. Let’s keep things green together!
Conclusion
Great job! You’ve replaced your Dyson vacuum battery with ease. Now, plug it in and see it power up fast. Your vacuum is ready to clean like never before. Take good care of the battery every day. Don’t leave it uncharged for too long. Test it now and enjoy a spotless home. You’ve earned a big thumbs up for this win! Studies show regular care extends battery life by 30%. Keep it simple and charge after each use. You’re now a pro at vacuum fixes!