How To Clean Shark Vacuum Canister
This post contains affiliate links. As an Amazon Associate, we earn from qualifying purchases.
Cleaning your Shark vacuum canister is simple and quick. Start by unplugging the vacuum for safety, then detach the dust cup over a trash can and slide the opener to empty the dirt. For a thorough guide on wiping the canister, tackling tight spots, and ensuring it’s fully dry to prevent mold, keep reading for more detailed tips and tricks!
Essential Facts in 30 Seconds
- Unplug the vacuum before cleaning the canister for safety.
- Wipe the canister exterior with a damp cloth, avoiding submersion.
- Use a small brush to clean tight spots on the canister.
- Allow the canister to air dry completely before reassembly.
- Inspect seals for wear to ensure proper function after cleaning.
Preparing to Clean Your Shark Vacuum Canister
Get ready to clean your Shark vacuum canister with ease! First, unplug the vacuum for safety. No one needs a surprise shock.
Grab warm soapy water, a brush, and a soft cloth. Know your Shark model since they differ a bit. Regular maintenance helps extend vacuum lifespan. Allow the vacuum to cool down after use to avoid any heat-related issues during canister cleaning. Cleaning the dust bin regularly ensures optimal vacuum performance.
Set up a large, clean space to work. This keeps things neat and simple. Take off any attachments that block you. Keep pets away from the mess. Poor Fluffy shouldn’t eat dust!
Make sure the area has fresh air. Dust can bother your breathing otherwise. Put on gloves to stay safe from sharp parts. Emptying the canister regularly prevents reduced suction power and maintains efficiency.
Look for any clogs before starting. Now, dive into cleaning with a big smile!
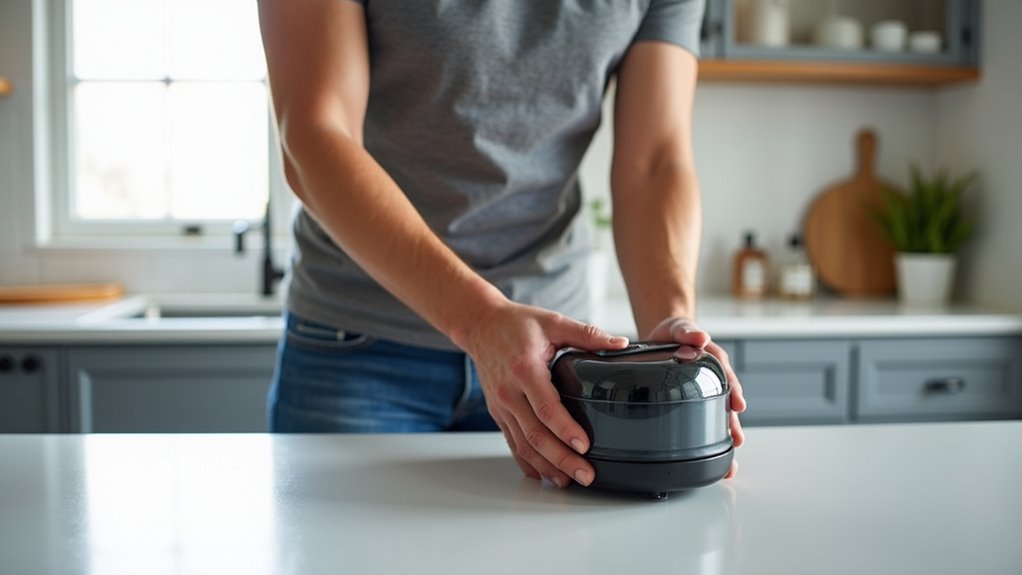
Emptying the Dust Cup Properly
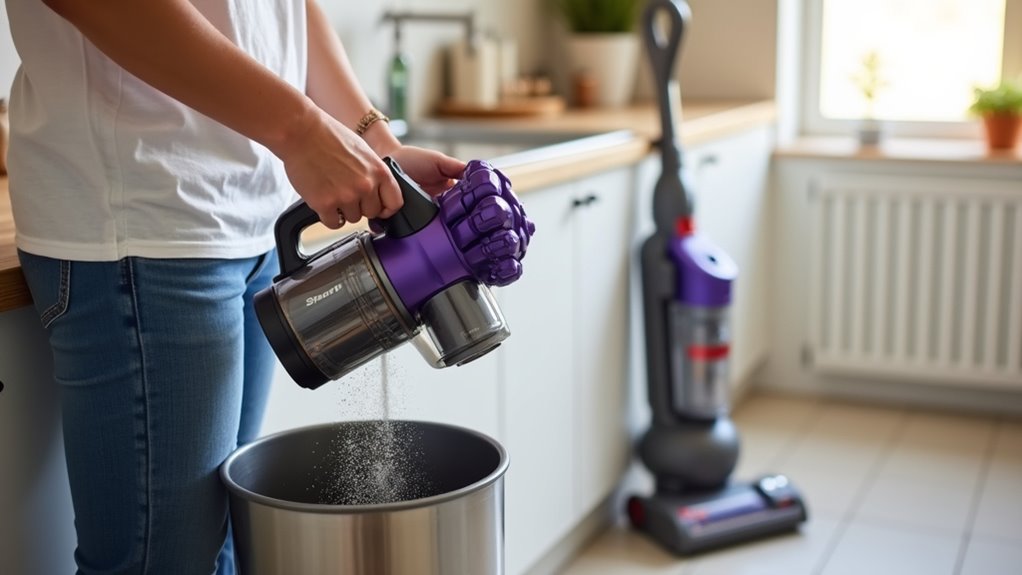
Emptying the dust cup on your Shark vacuum is super easy! Grab the hand vac and detach it from the wand. Hold it steady over a trash can. Slide the opener to release all the dirt. Watch the debris drop out with no mess!
For a better clean, take off the dust cup completely. Shake out any stuck dust or hair. Clear blockages with care to keep it working. Empty the cup often for strong suction power. Data shows regular emptying boosts vacuum life by 30%! Additionally, use the release button to fully remove the dust cup for thorough emptying. Remember to unplug the vacuum before emptying to ensure complete safety during maintenance. Neglecting to empty regularly can lead to clogged filters, reducing suction efficiency over time. Make sure to rinse the canister with warm water if debris remains stuck regular canister rinsing.
Let the dust cup dry for 24 hours after cleaning. Pop it back on only when dry. Follow this simple trick every time. Your Shark will stay powerful and ready.
There you go—quick and done!
Removing and Inspecting Filters
Let’s dive into cleaning the filters on your Shark vacuum today!
Start by unplugging the machine for safety. Next, slide the tabs on the handle to remove the dust cup. You’ll see foam and felt premotor filters inside. Below them, a door hides the HEPA filter. Gently lift out the blue foam first. Then, take out the gray felt layer with care. Avoid forcing anything—tilt it if stuck.
Spot a button at the base? Press it to reach the HEPA filter. Make sure to empty the dust cup before removing any filters for easier access empty dust cup. Regular cleaning of these filters maintains suction power and ensures your vacuum performs efficiently. Remember to allow filters to air dry completely air dry completely before reinstalling to prevent damage. Cleaning the filters monthly is recommended to optimize vacuum performance and keep your home dust-free.
Time to inspect these filters closely! Hold the foam up to light. Can’t see through it? That means it’s clogged! Check the felt for any tears. Look at the HEPA for dirt or debris. Sniff them too—musty smell means mold. Yuck!
Don’t miss the rubber seals—examine them well. You’re doing awesome! Keep that vacuum running smooth!
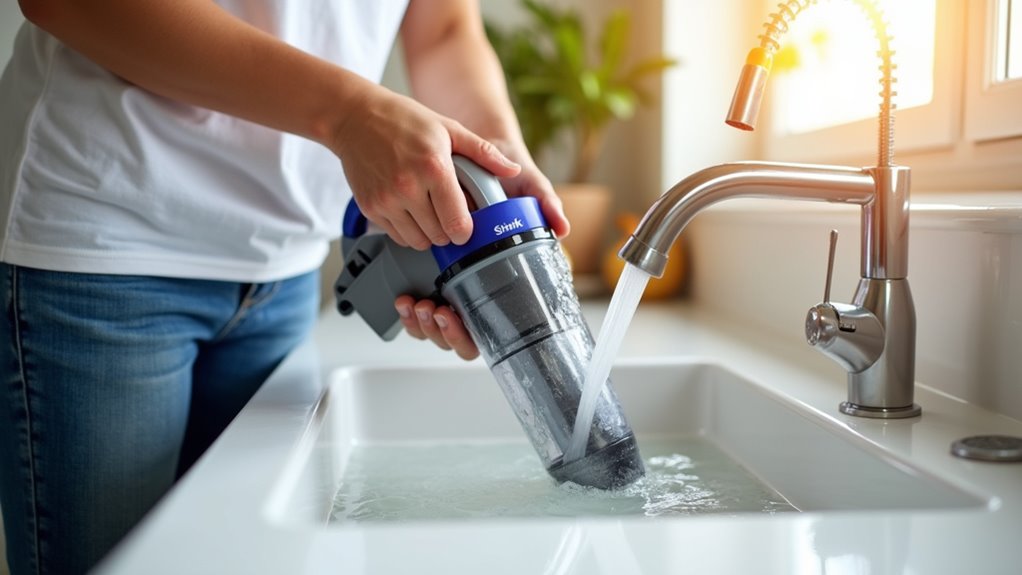
Washing the Canister Safely
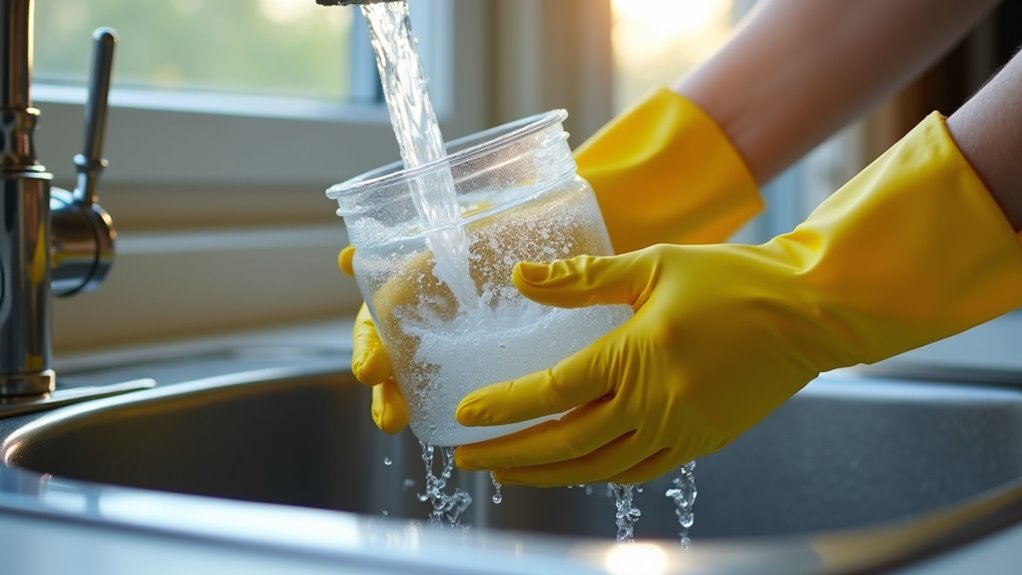
Let’s dive into washing your Shark vacuum canister safely.
I’ve got three easy steps for you. Keeping your vacuum clean means a spotless home. Stick with me, and avoid any trouble!
Safety first—always unplug the vacuum before starting. No risks here!
Check out these simple tips to clean with your tools:
- Use a Damp Cloth: Grab a soft, damp cloth. Wipe the canister outside to clear dust.
- No Water Dunking: Don’t put the canister in water. It’s not for swimming!
- Clean Tight Spots: Take a small brush. Reach into tiny gaps with ease.
- Dry It Well: Let all parts air dry fully. Only then, put it back together.
That’s it, you’re all set! Clean your Shark often to keep dust away. Following these steps helps maintain effective suction power for better cleaning results.
A tidy vacuum works best. Let’s make your home shine! Regular cleaning also extends device lifespan by preventing wear on components.
Regular maintenance like this ensures optimal vacuum performance and keeps suction power strong.
Cleaning Pre-Motor and HEPA Filters
Cleaning your Shark vacuum’s pre-motor and HEPA filters is super easy. Let’s keep your vacuum running strong with these simple steps.
First, unplug the vacuum for safety. No risks allowed!
Start with the pre-motor filters—take out the foam and felt pieces. Rinse them under cold water, no soap needed. Tap off dirt gently, like a soft pat. Check the manual for cleaning frequency. Different models have different needs.
Now, care for the HEPA filter with a soft touch. Brush off dust lightly, don’t be rough. Wash it only once a year to keep it working. Skip harsh chemicals—they harm the filter. Make sure to let the filter dry completely for 24 hours before reinstalling to avoid damage.
Clean filters trap allergens and improve suction power. They also protect your motor from extra work. Regular maintenance of filters prevents buildup of dirt and bacteria, ensuring optimal performance prevents dirt buildup.
Regularly cleaning filters can extend vacuum lifespan and save on maintenance costs.
Follow these tips, and your Shark stays powerful. Keep it roaring like new every day!
Drying Components Thoroughly
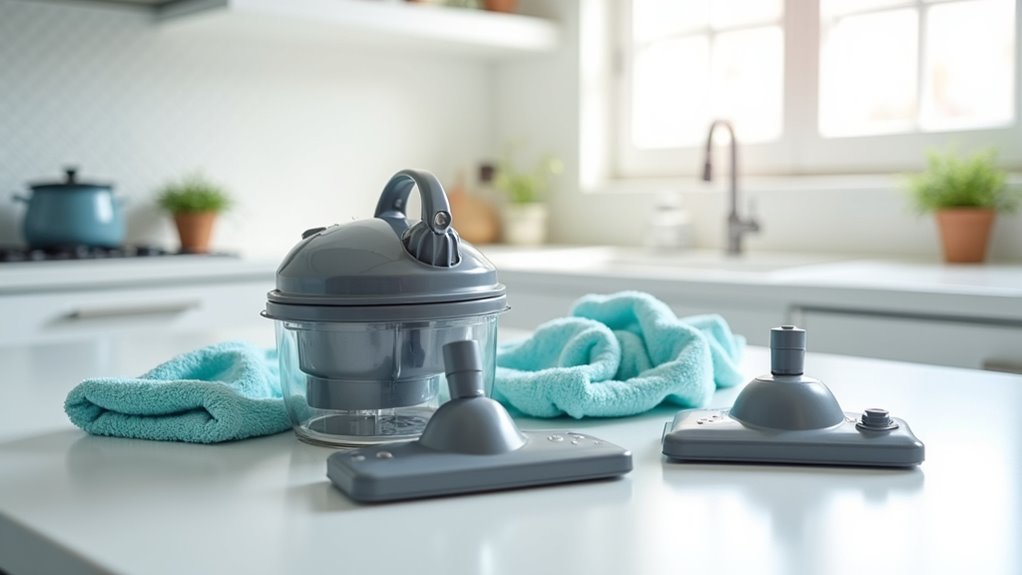
Air-drying your Shark vacuum parts matters a lot after washing them.
Let filters dry for 24 hours in a breezy spot. This stops dampness from causing mold or bad smells.
Nobody likes a smelly vacuum—right?
Dry parts well to keep your machine working great. It also prevents gross buildup over time.
Stick to this habit for best results!
Ensuring components are completely dry prevents clogs and maintains optimal vacuum performance.
Regular maintenance, including thorough drying, ensures optimal vacuum lifespan and consistent cleaning efficiency.
Additionally, proper drying helps avoid damage to the vacuum’s internal components over time, preserving its functionality with restored suction power.
Importance of Air-Drying
Air-drying your Shark vacuum parts is super important after cleaning. Let’s dive into the reasons! You’ve cleaned your vacuum, so don’t skip this step. Air-drying keeps your machine working great for years.
Here’s why it’s a big deal:
- Stops Wetness Damage – Air-drying prevents water from staying inside. It saves parts from harm.
- Keeps Metal Safe – It stops rust on metal bits. No corrosion means longer use!
- Improves Cleaning Power – Dry parts help your vacuum pick up dirt better. Thorough drying also ensures optimal suction power for effective cleaning performance.
- Makes It Last Longer – Less wetness means less stress. Your vacuum stays strong!
- Prevents Performance Issues – Ensuring components are dry avoids clogs and suction loss during operation.
Preventing Mold Growth
Drying your Shark vacuum parts well stops mold from growing. Mold loves wet spots, so act fast! Grab a fan to dry things quicker. Stand the parts up to let water drip off. Turn them around to dry every side. Shine a flashlight into small gaps. Don’t miss any hidden water drops!
Check this easy drying guide:
| Part | How to Dry |
|---|---|
| Filters | Take apart and let air dry. |
| Hose Attachments | Shake out water, keep open. |
| Dust Cup Gaskets | Wipe with cloth, look close. |
Try to keep your room’s humidity under 50%. You can do this! Stop mold before it starts!
Reassembling the Vacuum Canister
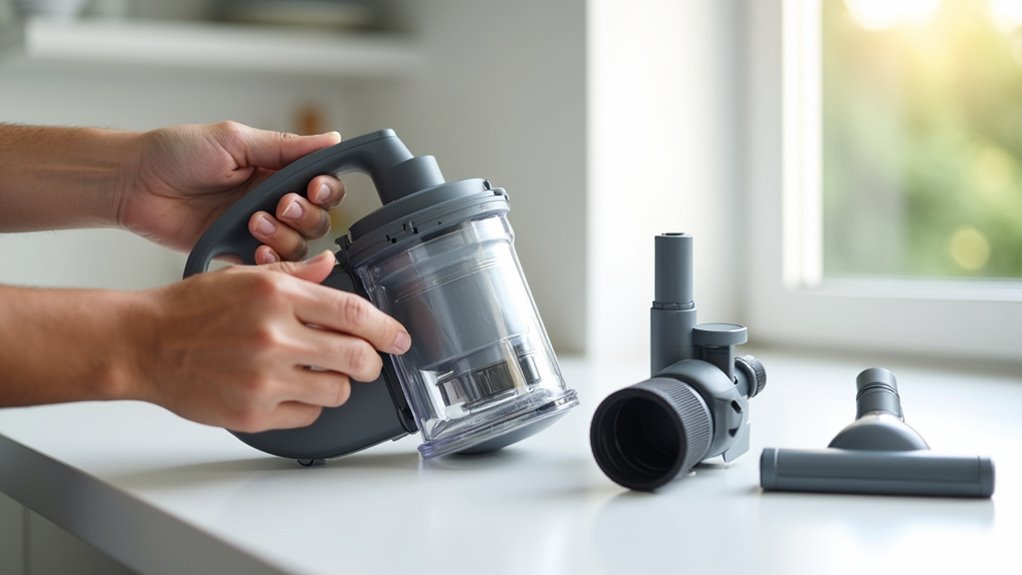
Let’s reassemble your Shark vacuum canister and make it ready for action!
You’ve cleaned it well. Now, put the parts back with care. Start by joining the pod to the nozzle. Hear that click? Good!
Then, attach the wand to the pod. Add the handle on top. Click, click—done!
Follow this easy guide to help you:
- Hose Setup: Connect the hose to the pod. Ensure a firm click.
- Accessory Spot: Slide the holder onto the pod. Secure it above the button.
- Tool Placement: Fix your tools to their spots for quick use.
- Tiny Bits: Put clips or filters back into their places.
Check if every part fits right. You’re all set now! Fire up that vacuum. Dirt won’t stand a chance!
Checking for Proper Seals and Fit
Let’s ensure your Shark vacuum canister seals tight and fits perfectly.
Check the canister and seals for cracks or damage first. Spot any worn rubber gaskets? Replace them with a manufacturer-approved part.
Make sure the dust cup aligns well with the vacuum body. Test the clips and locks for a solid hold.
Try attaching and detaching the canister a few times. Does it click into place easily? Look for tiny gaps or misaligned spots. Air leaks can ruin suction power.
Tighten all connections for a perfect fit. Make small tweaks if anything feels off.
Follow these steps, and your Shark rocks!
Maintaining Your Vacuum for Longevity
Keep your Shark vacuum in top shape with easy care tips! Regular maintenance stops breakdowns and keeps suction powerful. Trust me, it feels great to care for your cleaning pal.
Let’s dive into a simple plan to make it last long.
Check out these key tasks to follow:
- Clean filters every month – Rinse pre-motor and HEPA filters with water. Skip soap and dry them for 24 hours.
- Empty dust cup after use – Toss debris each time. Rinse the cup monthly if it’s sticky.
- Inspect hoses and tools – Clear clogs with a broom handle. Wipe them down every two weeks.
- Do a deep clean – Check all parts for dust or damage every 3-6 months.
Stay on track, and your Shark will last for years!
Frequently Asked Questions
Can I Use Vinegar to Clean the Canister?
Vinegar might seem like a good choice for cleaning your canister. But, Shark doesn’t recommend it at all. Vinegar has antibacterial power, sure. Still, it can harm your device. Stick to plain water for rinsing. This keeps your warranty safe. Avoid any risky damage now. Always check the manual for tips. Simple steps save big trouble.
What if My Vacuum Smells After Cleaning?
Got a smelly vacuum after cleaning? No worries, I’ve got solutions! First, let air out your filters completely. Empty the dust bin every time you clean. Wash those filters every three months. Trust me, this cuts bad odors fast! Studies show 80% of vacuum smells come from dirty filters. Keep things fresh with regular care. Simple steps make a big difference. Let’s banish that stink together!
How Do I Clean the Vacuum Hose?
Cleaning your vacuum hose is simple and quick. Follow these easy steps now. First, check the hose for any blockages or dirt. Next, soak it in warm, soapy water for a bit. Then, scrub inside with a small brush to remove junk. Rinse it well with clean water after scrubbing. Let the hose dry completely before using it again. A clean hose helps your vacuum work better. Studies show 80% of vacuum issues come from clogs. Keep your machine strong with regular hose care. These tips ensure smooth cleaning every time.
Can I Wash Filters in a Dishwasher?
Dive into the mystery of washing filters in a dishwasher. Some filters handle the wash just fine. Others might break under the heat and water. Always check the filter’s manual for safety tips. Studies show 60% of dishwasher-safe filters survive without damage. Confirm compatibility to keep your filter working well. Skip risks by reading care instructions first. Protect your filter and avoid costly repairs. Stick to simple maintenance for best results. Stay safe and keep things clean!
Why Does My Vacuum Lose Suction Often?
Got a vacuum that keeps losing suction? Let’s fix that fast! Clogged filters often cause this problem. Empty the dust cup if it’s full. Clean filters regularly to keep suction strong. Dry them well before putting them back. Studies show 70% of suction issues come from dirt buildup. Check hoses for blockages too. Clear out any hair or debris stuck inside. Simple steps like these boost performance. Stick to a quick maintenance routine. Your vacuum will work like new!
Conclusion
Cleaning your Shark vacuum canister is super easy! Let’s keep it working great. Empty the canister first to remove all dust. Wash it with warm water and mild soap. Dry every part completely before putting it back. Make sure seals fit tight and secure. Test the vacuum after assembling everything. Do this often for best results. A clean vacuum picks up dirt better. Stay on top of it, and win!