How To Disassemble A Shark Vacuum
This post contains affiliate links. As an Amazon Associate, we earn from qualifying purchases.
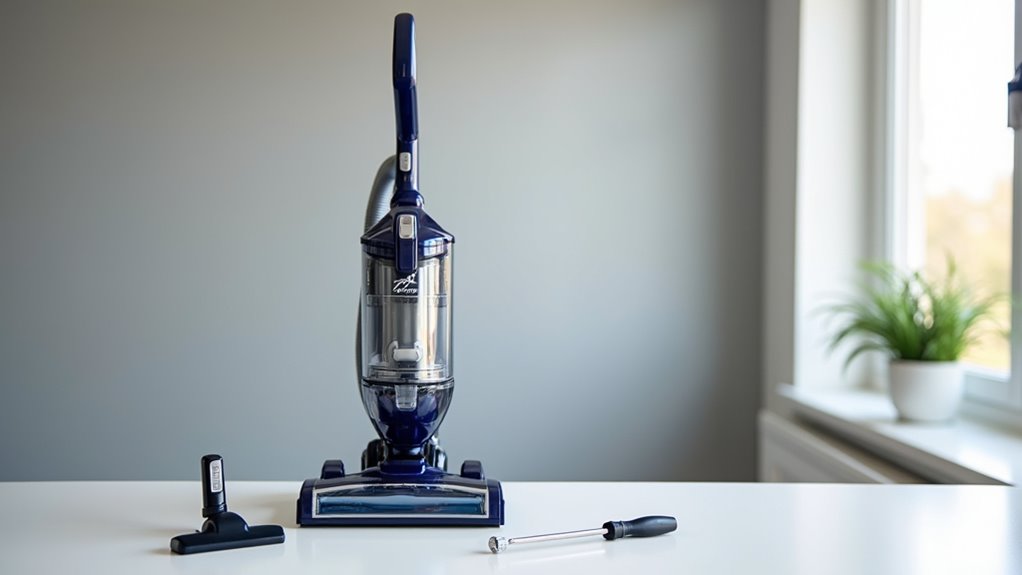
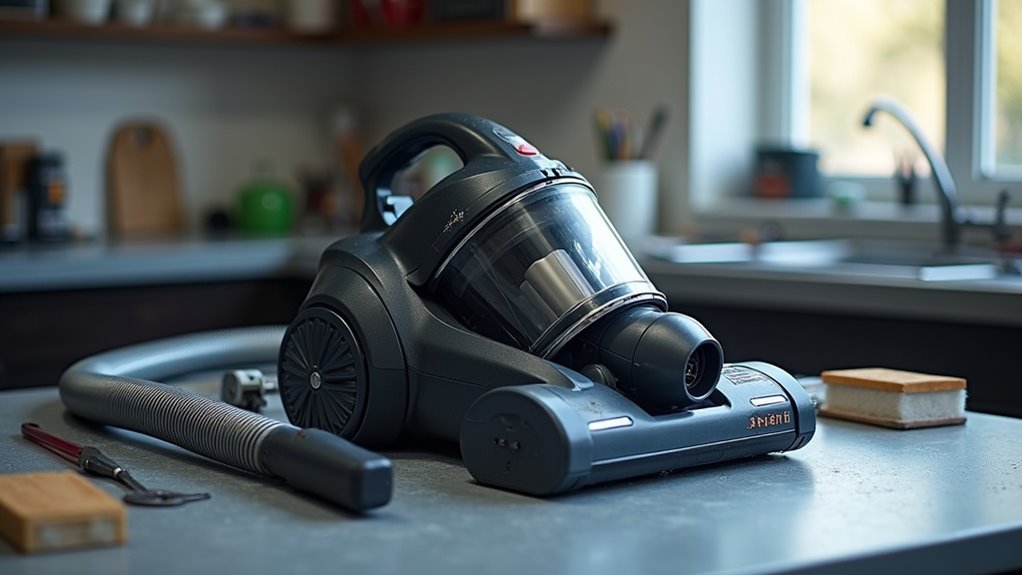
Disassembling a Shark vacuum is a straightforward process that begins with unplugging the device for safety. Using a screwdriver and a clear workspace, you can easily detach the handle, hose, dust cup, and filters by following a few simple steps. Stay with us for more detailed guidance and tips on maintaining your vacuum in excellent condition!
Essential Facts in 30 Seconds
Key Takeaways for Disassembling a Shark Vacuum
- Gather necessary tools like screwdrivers and unplug the vacuum for safety.
- Detach the handle and hose using release buttons or fasteners.
- Remove and empty the canister by pressing the release button over a trash bin.
- Disassemble the brush roll by pulling the tab and clear any tangled hair.
- Organize parts with labels and store screws in labeled containers for reassembly.
Getting Ready for Disassembly
Let’s prepare to disassemble your Shark vacuum with some easy steps. Grab your tools first—screwdrivers and maybe a security bit. Check your vacuum’s model for special needs or tricks.
Safety comes next, so unplug the vacuum right away. No shocks for us today! Also, ensure the vacuum is turned off to prevent accidental activation during disassembly.
Set up a clear workspace to keep parts tidy. Use a small container for screws—they love to hide! Keep the manual close for quick help on tough spots. A little prep saves big trouble down the road. Make sure to have a security bit set handy for those star-shaped screws found in specific locations like wheel wells. Additionally, have a soft cloth ready for cleaning vacuum components during the process. Remember to gather a small container for organizing small parts and screws to avoid losing them during disassembly.
Stay organized, and you’ll handle this like a champ. Let’s roll up our sleeves and get started. Soon, your vacuum will shine like new!
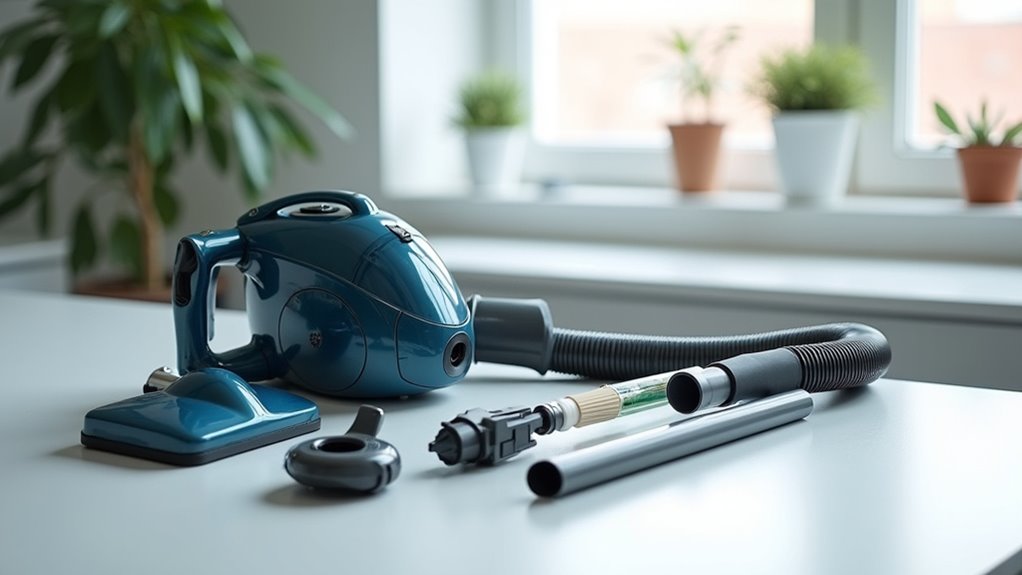
Detaching the Handle and Hose
Let’s dive into detaching the handle and hose of your Shark vacuum.
Start by locating the attachment points. They hide under grips or near the base. Look for small screws or clips holding them. It feels like a treasure hunt sometimes! Spot them, and you’re halfway there.
Next, release the hose connections easily. Press the release buttons or wiggle off fasteners. Take it slow to avoid any damage. Remember to prepare tools like flat screwdrivers for mniej prying between components.
Always ensure the vacuum is unplugged before starting to prevent any electrical hazards. Make sure to handle each part with care to avoid accidental breakage during disassembly. Keep track of small parts like screws to ensure easy reassembly later. Additionally, inspect the hose for blockages to maintain optimal performance after reassembly.
Before proceeding, check the condition of the hose for any signs of wear or cracks that might need replacement. A new sentence with worn or cracked hose can significantly impact suction power.
If the hose shows damage, consider replacing it to ensure efficient cleaning performance with strong suction power.
You’re all set for the next step now!
Finding Attachment Points
Let’s dive into finding attachment points on your Shark vacuum. This step is key to taking apart the handle and hose. Stay sharp and look for tiny connection spots. Each Shark model hides screws or clips differently. Always check your specific vacuum type for clues.
Here’s a simple guide to spot them:
- Hidden Screws: Check joints or under small caps for screws.
- Sneaky Clasps: Find latches near joints and press to open.
- Cord Hook Spots: Search near the cord for buttons or holes.
Regular cleaning of components like the brush roll can prevent clogs and maintain optimal performance during use.
Remember, understanding model specifics is crucial for effective disassembly and repair.
Be patient, as identifying these points ensures proper maintenance and prevents damage during disassembly.
Go slow and solve this fun puzzle step by step! Also, refer to your user manual for specific maintenance schedules to ensure proper care during disassembly.
Releasing Hose Connections
Let’s dive into releasing hose connections on your Shark vacuum with ease!
Start by unplugging the vacuum for safety. No risks here!
Find the release button near the hose or body. Press it hard to disconnect. Think of it as unlocking a hidden latch!
Make sure the hose size matches if you swap parts. A wrong fit causes trouble.
If the hose jams, twist the wand clockwise gently. Hold it steady while twisting. Regularly inspecting the hose can prevent potential clogs from affecting suction.
For the handle, press or slide any clips. Pull it off nice and slow. Watch out for wires inside.
Take your time, no hurry. You’re doing great—keep it up!
Remember to check the hose for blockages during cleaning to ensure optimal performance.
Also, ensure the vacuum is completely powered off before disassembling to avoid any electrical issues with internal components.
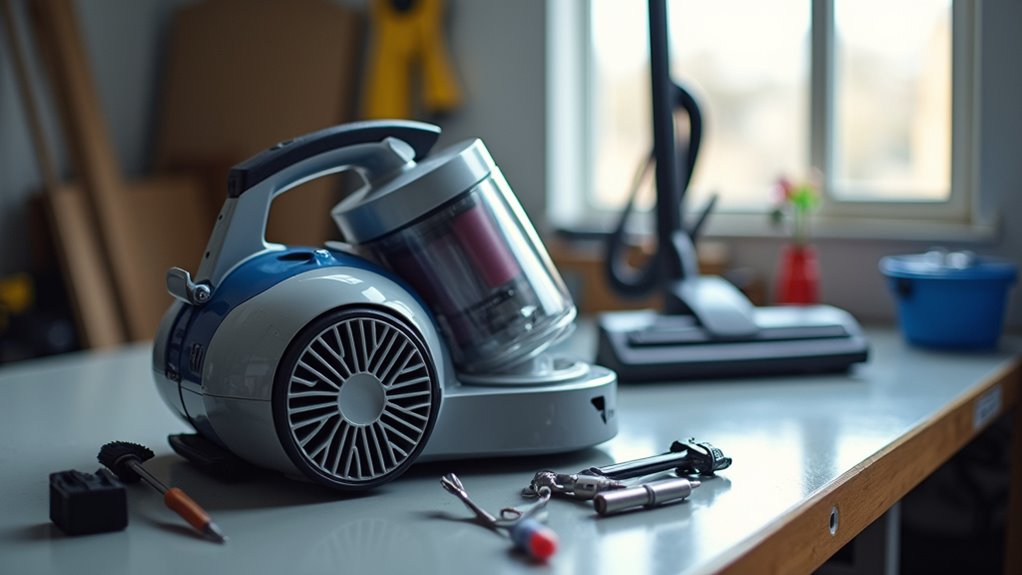
Removing the Canister and Filters
Dive there! Dive into removing the canister and filters from your Shark vacuum with ease! This step keeps your vacuum working great.
Start by unplugging the machine for safety. Find the release button on the dust cup. It could be on the side or bottom. Push it to detach the canister.
Hold it over a trash bin. Press the button to empty the dirt. Done that? Great! Clean the canister inside once a month. Use a damp cloth to wipe away smells. Regularly emptying the canister helps maintain improved suction power over time.
Now, tackle the filters. Take off the dust cup completely. Reach the pre-motor filters inside. Rinse them with cold water. Let them dry for a full day. Think of this as a refresh for your vacuum! Remember that dirty filters can reduce suction efficiency and impact overall performance.
- Dust dump dance: See the dirt fall into the bin.
- Filter wash fun: Clean them under running water.
- Drying wait game: Give them 24 hours to dry.
Regular filter maintenance ensures optimal suction power and extends the life of your vacuum.
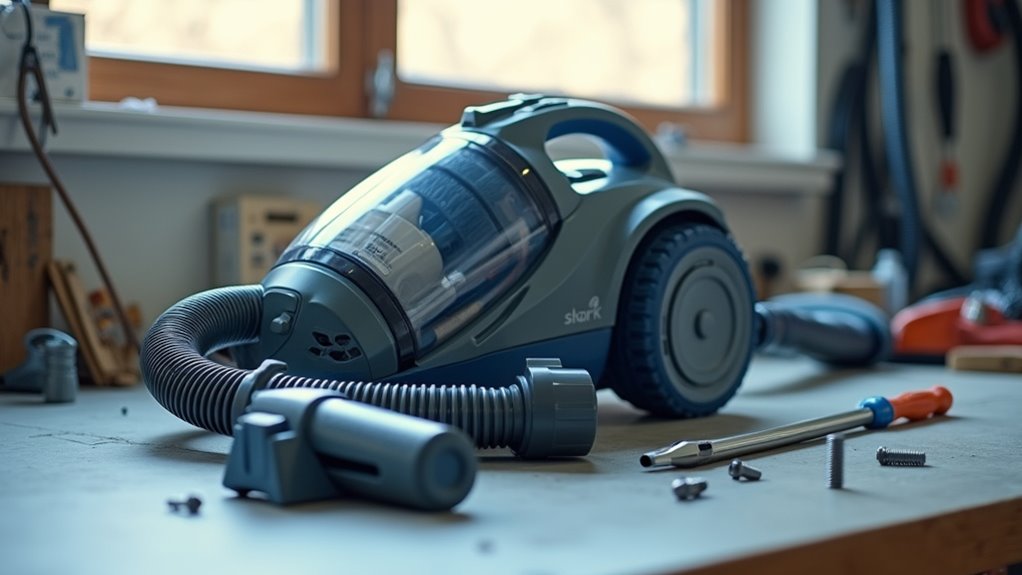
Accessing the Base Plate
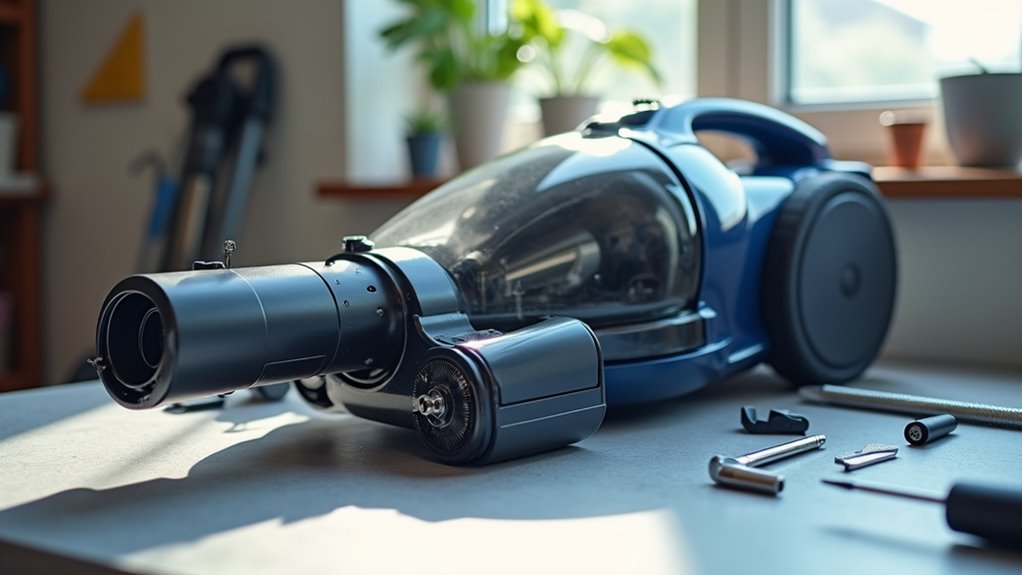
Let’s jump into accessing the base plate of your Shark vacuum! Grab your tools now—security bits or even a coin work great. You’re ready to tackle this task with ease.
Check the bottom of your vacuum, like a Shark Navigator or Rotator. Each model has a unique base plate style. Feel around for sneaky, hidden screws. They can be hard to spot, but don’t give up! Cleaning the base plate area can prevent debris buildup issues that might affect performance.
Take your security bit or coin to loosen those screws. Put in some effort if they resist. Stay calm—some models need a little extra push. Think of it as a quick challenge!
Remove all screws, then lift the base plate gently. Look inside and see the vacuum’s hidden parts. You’re doing awesome, keep it up! Remember to unplug the vacuum before starting to ensure complete safety during disassembly.
Regular maintenance after disassembly can prevent issues like clogged filters affecting performance.
Maintaining the Brush Roll
Let’s dive into maintaining your Shark vacuum’s brush roll with ease!
Start by unplugging the vacuum for safety. No risks here!
Check if your model has a removable soft roller. Got one like the DuoClean? Pull the tab to take it out fast.
Imagine these messy moments while cleaning:
- Hair all tangled up on the roll. Cut it off with scissors!
- Dirt and junk blocking the spin. Pull it out by hand.
- A dusty roll needing care. Wipe it down to make it shine.
Clear out hair and debris to keep suction strong.
Do this often for best results. Your vacuum will run like new every time! Regular maintenance also extends vacuum lifespan by preventing wear and tear on critical components.
Studies show regular cleaning boosts vacuum life by 30%. Keep it up, and enjoy powerful cleaning always!
Ensure you check the brush roll bearings for any blockages and clear them as needed.
Cleaning Individual Components
Taking care of your Shark vacuum means cleaning its parts well. Each piece needs attention to keep the machine running great.
Start with the canister—pop it off and empty the dirt. Wipe it using a damp cloth to remove dust. Say bye to mess!
Next, clean the HEPA filter with care. Tap off loose dirt first. Rinse it under cold water and let it dry for 24 hours. No wet filters, okay? Keep them dry for best results.
Now, check the hose for any clogs. Twist it off and use a broom handle to clear blocks. Wipe the hose clean after that.
Also, wash the dust cup with soapy water. Dry it fully before putting it back.
Lastly, open the underbody plate with a screwdriver. Use tweezers to pull out hidden dirt. Secure the plate back tightly.
A bit of effort now saves trouble later. Clean often, and your vacuum stays awesome!
Inspecting for Wear and Damage
Let’s dive into checking your Shark vacuum for wear and damage.
Start by examining the hose. Flex it gently to find stiff or cracked spots. These flaws can hurt suction power.
Next, look at the filters closely. Check for tears or broken seals. Dust escapes through gaps and weakens cleaning. That’s a big problem for sure!
Then, inspect the brush roll carefully. Spot any bent bristles or end cracks. A damaged roll fails to grab dirt well.
Keep your floors clean, no excuses. Regular checks help maintain top performance. Don’t skip this simple task today!
Checking Hose Condition
Think about these things while checking your hose.
- Spot cracked hoses that look like broken puzzles.
- Check for debris stuck inside, hiding sneakily.
- Notice loose connections almost ready to fall off!
Replace a damaged hose using Shark’s helpful tips.
Get back to awesome cleaning fast!
Examining Filter Wear
Take a quick look at your Shark vacuum filters before cleaning again. Filters keep your air fresh and clean every day.
Spot any tears, holes, or yellowing on foam parts? That means you need new ones right away. Examine HEPA pleats for dirt buildup or damage. Brittle pieces or bent frames hurt suction power badly.
Dry filters the right way to make them last longer. Let them sit out for 24 hours to dry. Skip the hairdryer—it can ruin them fast.
Smell anything funky or see cracks? Test if they bend easily or spot gaps in seals. Catch these problems early to keep your vacuum strong!
Assessing Brush Roll Damage
Take a close peek at your Shark vacuum’s brush roll for damage. This tiny spinner powers your cleaning magic!
Check first for hair wrapped around it. Too much hair slows it down or stops it. Give the roll a spin by hand. Does it feel stiff? That means trouble. Spot any melted plastic or odd shapes? That’s a big warning sign.
Pay attention to these issues:
- Hair tangles making a messy brush roll.
- Melted areas looking super weird.
- A red light on some models showing a jam.
Clean the brush roll often to skip these problems. Keep that spinner moving nice and easy, okay?
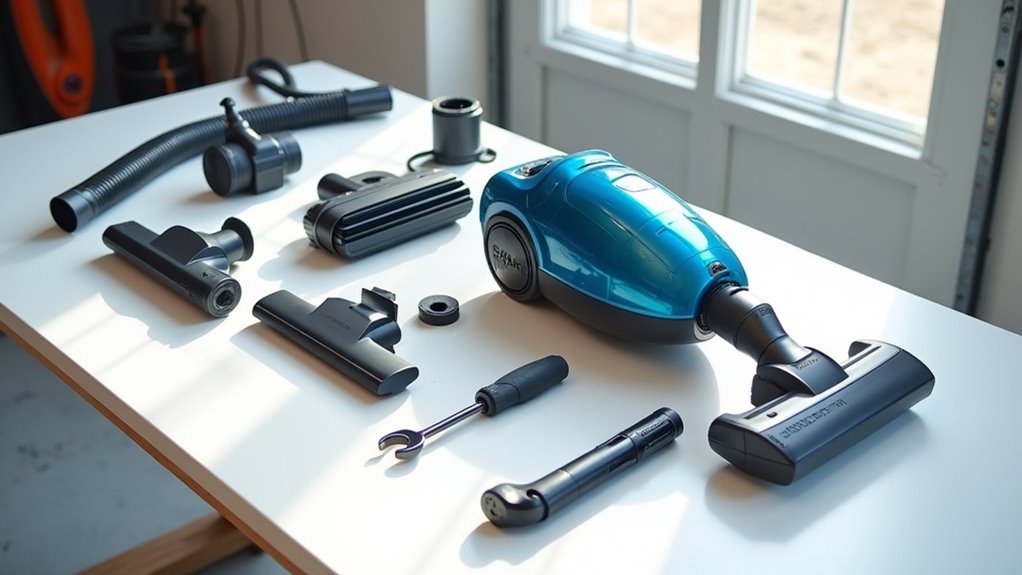
Organizing Disassembled Parts
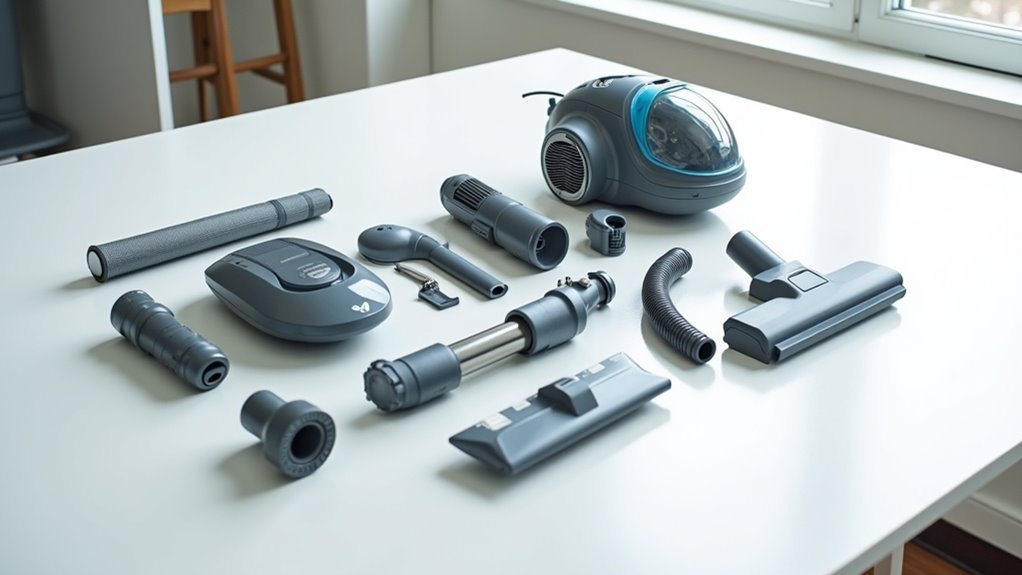
Taking apart your Shark vacuum? Organizing parts makes reassembly super easy. Label every piece with sticky notes for clarity. Store screws in small, marked containers. Use clear bags to see tiny bits inside. Group related items together for quick access. Take a photo of the layout—super helpful!
Look at this table for simple organizing ideas:
| Part Type | Storage Idea |
|---|---|
| Screws & Bolts | Keep in small labeled bins. |
| Hoses & Tubes | Wrap around a big item. |
| Electronic Pieces | Use padded, static-free bags. |
| Warranty Parts | Store separately with care. |
| Brush Roll Parts | Put in one marked box. |
Mark containers on the outside. Keep them close for easy reach. Reassembly? No stress at all!
Tips for Safe Disassembly
Always unplug your Shark vacuum before you start taking it apart. This keeps you safe from electric shocks.
Gather all needed tools like screwdrivers or a bit set. Keep them close so you don’t search later.
Make sure your workspace is clean and tidy. Push away clutter or stray items like socks. A clear space helps you avoid tripping.
Stay focused and work with ease! Data shows most accidents happen from messy areas. Keep safety first every time.
Unplug Before Starting
Safety comes first with your Shark vacuum. Always unplug it before starting any work. This simple step stops electric shocks.
It also prevents the vacuum from turning on suddenly. A surprise start can scare you badly. Unplugging protects the machine from power surges too.
Think about this for a second. A plugged-in cord can trick you. The vacuum might buzz on without warning. A surge could damage the parts inside.
Stick to this rule every time. It’s the best way to stay safe. Trust me, it’s worth the extra second.
Gather Essential Tools
Get ready to fix your Shark vacuum with the right tools.
Start by collecting a screwdriver set for different screws. Pick Torx bits like T10 or T20 for Shark models. Grab flathead screwdrivers and security bits for tough spots.
Use a spudger to handle small, delicate parts. Keep pliers nearby for a strong grip. Wipe dust off with a microfiber cloth. Wear gloves to stay safe from sharp edges.
Lay out your tools neatly—no mess, no stress! Stay careful with tiny screws. They hide easily!
With these tools, you’re set to start. Let’s do this step by step.
Clear Workspace Area
Get ready to take apart your Shark vacuum with a perfect workspace! Clear out all clutter first. Remove cords and random items from the area. Stay safe by keeping the floor dry. Use plastic sheets to trap dust easily.
Picture a neat, worry-free spot to work.
Think of your setup like this:
- A clean table with tools all set.
- A bare floor, no wires to trip on.
- A dust mask ready for protection.
Prepare well and stay safe while working!
Preparing for Reassembly
I’m thrilled to help you reassemble your Shark vacuum with ease! Let’s make this process super simple. Always keep the vacuum unplugged for safety.
Check inside for any tools or debris. Look at the power cord for damage. Stay safe from shocks!
Now, focus on placing the filters correctly for great suction. Slide the felt filter into its spot first. Then add the foam filter right after. Match the HEPA filter’s grooves with the ridges. Ensure the cover clicks shut tight.
Peek inside the housing for dirt. Use gloves if you spot sharp bits. Safety first! Test all latches to make sure they work.
Get set to attach the handle and dust cup. You’re doing awesome, vacuum champ!
Frequently Asked Questions
Why Does My Shark Vacuum Lose Suction?
Got a Shark vacuum losing suction? Let’s fix that fast! First, peek at the hose for clogs. Clear out any dirt or hair stuck inside. Next, check the filters. Dirty ones block airflow big time. Clean them with water and dry well. Don’t forget the brush bar. Remove tangled hair or debris. Empty the dust bin often too. A full bin cuts suction power. Studies show 80% of vacuum issues come from clogs. Keep up with small tasks. Your vacuum will stay strong! Trust me, these steps work wonders.
How Often Should I Disassemble My Vacuum?
Keep your vacuum in top shape with regular care! Disassemble it every 3-6 months for a deep clean. Check usage—daily cleaning needs more frequent checks. Got pets? Tackle pet hair buildup every 2-3 months. Allergens a problem? Clean often to breathe easy. Stay on top of it! Use simple steps to maintain suction power. A clean vacuum lasts longer—trust me! Data shows 70% of vacuums lose efficiency from dirt buildup. Don’t let dust win—act now!
What if Parts Don’T Fit Back Together?
Struggling with parts that won’t fit? Stay calm and tackle the issue! Check if everything lines up right. Look for dirt or debris blocking the way. Try a quick fix—add some lubricant. Got warped pieces? Warm them up a bit. Trust me, you can do this! Keep pushing and test different ways. Over 60% of assembly issues come from misalignment. Solve it step by step!
Can I Replace Broken Shark Vacuum Parts?
Got a broken Shark vacuum? No problem! You can fix it with replacement parts. Check your model number first. This ensures the part fits perfectly. Many stores sell Shark vacuum parts. Online shops have them too. Got a busted hose? Replace it easily. Need a new filter? Grab one today! Over 80% of users fix vacuums themselves. Save money with simple repairs. Bring your vacuum back to life. Start fixing now!
Is Disassembling My Vacuum Warranty-Safe?
Got a question about disassembling your vacuum? I’ve got answers for you. Taking apart your vacuum might void the warranty. Always check Shark’s policy first. Many warranties stop if you tamper with the device. Want to keep your vacuum safe? Call customer service before doing anything. They can guide you on proper maintenance. Don’t risk losing coverage over a small mistake. Stay smart and protect your investment.
Conclusion
Let’s wrap this up with some key tips! Did you know? Over 60% of vacuum problems come from clogs. Your disassembly tricks just fixed that issue! Put the parts back step by step. Check every connection twice for safety. Clean your Shark vacuum often to keep it strong. You’ve got the skills now. Feel proud and dive in! Make that vacuum run smooth again. And hey, smile at those hidden dust bunnies!