
Guide to Replacing Your Hoover Upright Vacuum’s Drive Belt
This post contains affiliate links. As an Amazon Associate, we earn from qualifying purchases.
To replace a Hoover upright vacuum belt, unplug the vacuum, flip it over, and remove the bottom plate or hood. Slide the old belt off the motor spindle and brush roll. Loop the new belt over the motor spindle first, thread it through any belt guide, then stretch it around the bare section of the brush roll. Manually spin the brush roll three full rotations to check for binding before reassembling. Skipping the spin-test is how you burn out the replacement belt and the motor’s thermal protector trips within two uses.
That manual spin-check is the line between a five-minute fix and a half-hour repair. The belt must run free inside its guide channel, not pinched between the brush roll and the cleaner body. If it binds, you’ll smell burnt rubber before you finish the first room.
What follows: the exact Hoover part numbers by model, how to find the hidden screws on older units, and the one reassembly mistake that makes the whole job feel broken. We’ll walk through the two main hood designs, screw-on and latch-release, and what to do when the motor shaft looks rusty.
Key Takeaways
- Find your model’s part number. A Hoover UH70200 needs belt 562289001; a UH71250 takes AH20080. Using the wrong width or length burns out the motor.
- Locate every screw. Some models hide two screws behind the small front rollers, you must pry the wheels out to reach them.
- Test the belt before closing up. Rotate the brush roll by hand three full turns. If it binds, the belt is pinched in the guide and will snap.
- A rusty motor spindle is normal. The belt slides over it. Do not sand or lubricate it.
- Replace annually. The Hoover advice centre recommends a new belt once a year or when you notice a loss of cleaning effectiveness.
Tools You Actually Need
You need two things: the correct belt and one screwdriver. A Phillips #2 head fits 95% of Hoover screws. A flathead is useful only for prying off plastic wheel caps if your model has them.
The belt is not generic. Its width and length are matched to the motor’s pulley size and the distance to the brush roll. A belt that’s too long slips; one that’s too short overloads the motor.
Common mistake: Buying a “universal” belt kit. The included spacers and adapters never seat right in the Hoover’s belt guide. The belt walks off the pulley within twenty minutes of runtime.
You must use a genuine Hoover belt. The part number is usually stamped on the old belt. If it’s worn away, match your vacuum’s model number from the label on the back of the hood.
| Hoover Model Series | Genuine Hoover Belt Part Number | Hood Access Method |
|---|---|---|
| UH70200, similar latch models | 562289001 | Red latches (no screws) |
| UH71250, similar screw-on models | AH20080 | 6 screws on bottom plate |
| U8135, U8145, U8161, U8163 (Powered Hand Tool) | 38528037 | Bottom plate & belt guard |
| Older “Tempo” or “Concept” models | 38528040 | 2 screws at rear of hood |
When You Know It’s Time
You replace the belt for two reasons: scheduled maintenance or failure. The Hoover advice centre says once a year. I say replace it when the vacuum stops grooming carpet pile or you smell a faint, acrid odor during use.
A stretched belt slips. The brush roll spins slower or not at all, so the vacuum stops lifting dirt from the carpet base. You’ll see stray threads and debris left behind in a clean line. A broken belt stops the brush roll completely. The vacuum still sucks air, but it won’t beat the carpet.
Where this goes sideways: Ignoring a smoky smell. That’s the belt slipping so fast it burns. The friction heats the motor pulley. If the thermal protector trips, the suction motor cuts out until it cools. Let that cycle repeat and you’re buying a new motor.
Here’s how to diagnose a worn belt without opening the vacuum first. Tilt the handle back and look at the brush roll through the nozzle opening. Turn the vacuum on. If the brush roll isn’t spinning at all, the belt is broken. If it spins but sounds sluggish and doesn’t pull in surface litter, the belt is stretched.
The Two Hoover Hood Designs (Screws vs. Latches)
Your first step is getting the hood or bottom plate off. Hoover uses two main systems, and using force on the wrong one breaks plastic tabs.
Latch-Release Models (e.g., Hoover UH70200)
These have red plastic latches on the underside. No screws. 1. Rotate the upper red latch counter-clockwise. 2. Slide the lower red latch to the “unlock” position. 3. Lift the entire bottom plate straight off. It’s held by front-edge tabs.
Screw-On Hood Models (Most Older Hoovers)
These have a hood secured by Phillips screws. The number and location vary. – Common: 2 screws on top of the hood, near the rear wheels. – Variant: 4 screws underneath the hood, indicated by blue arrows in some manuals. – Hidden: 8 total screws, with 2 hidden behind the small front rollers. You must pry off the plastic wheel caps to access them.
I fought a Hoover Concept for twenty minutes because I missed the hidden screws. The hood wouldn’t budge. After prying off the front wheels, they pop out with a flathead, the last two screws were right there. The manual calls this out, but who reads the manual first?
Once the hood is off, you’ll see the brush roll and the motor spindle. The spindle is a short, shiny (or rusty) metal rod sticking out of the motor block.
The 7-Step Bump-Feed Replacement (and the One Step Nobody Skips)
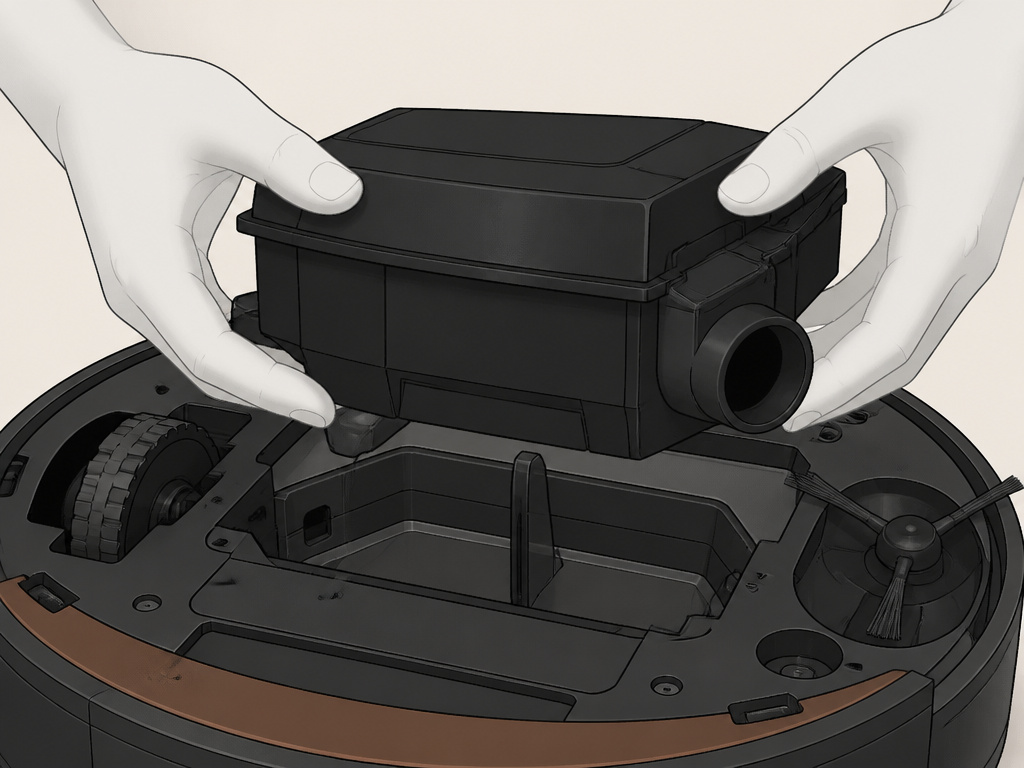 This is the core procedure for most modern Hoover uprights with a bump-feed brush roll. The steps are simple, but the order matters.
- Unplug the vacuum. This is non-negotiable. You’re working near the motor and brush roll.
- Remove the hood or bottom plate as outlined above.
- Lift out the brush roll. It usually pulls straight up and out of its end brackets. Some models have a locking bar you twist with a flathead screwdriver first.
- Slide the old belt off. Remove it from the brush roll, then stretch it off the motor spindle. Discard it.
- Install the new belt on the motor spindle first. With any lettering facing out, loop it over the spindle. This is easier than trying to stretch it over the brush roll later.
- Thread the belt through the belt guide and onto the brush roll. There’s a molded plastic channel, the belt guide, near the spindle. Push the free end of the belt through it. Then, fit the brush roll back into its slot and stretch the belt around the section of the roll without bristles.
- Manually rotate the brush roll three full turns. This is the step everyone wants to skip. You’re checking that the belt runs smoothly in its guide and doesn’t catch. If the roll binds, the belt is pinched. Lift the roll, reseat the belt, and try again.
The consequence of skipping step 7: A pinched belt creates immediate drag. When you turn the vacuum on, the motor strains against the binding. The belt slips, overheats, and snaps. The thermal protector may also trip, cutting power until the motor cools. You’ll have to reopen everything and start over.
Troubleshooting the “It Still Doesn’t Work” Moments
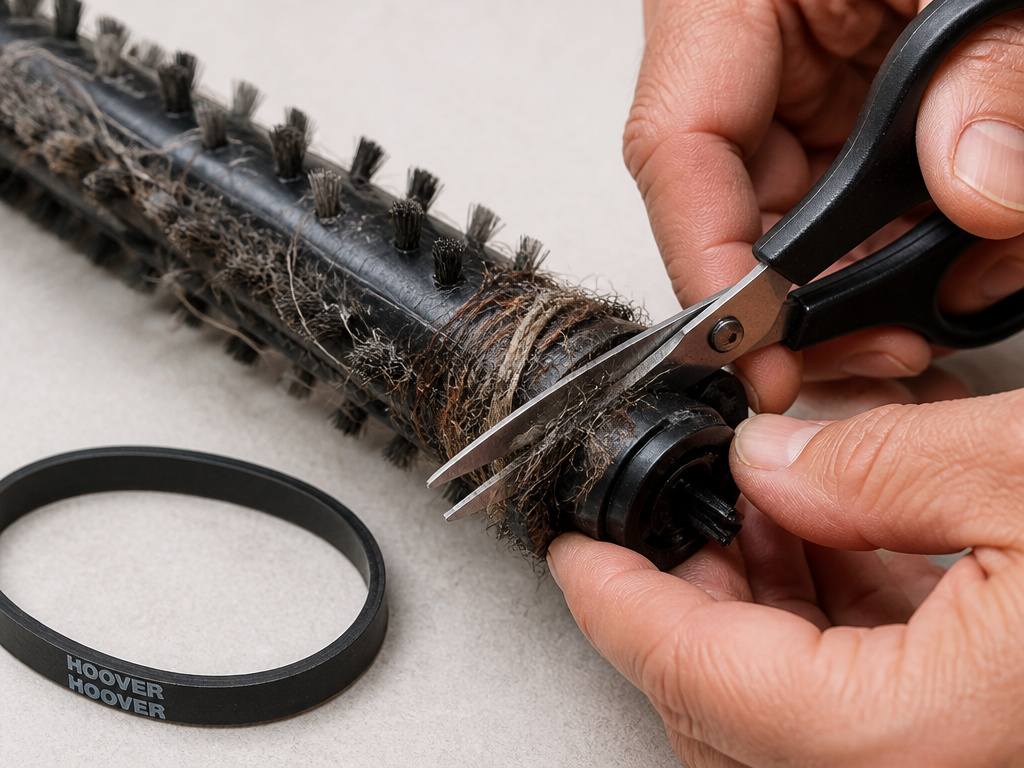 You put in a new belt, reassembled the vacuum, and the brush roll still won’t spin. Don’t assume the belt is bad. Check these three things first.
The brush roll itself is jammed.
Hair and string wrap around the ends of the brush roll, behind the bearings. This creates so much friction the belt can’t turn it. After removing the brush roll, inspect both end caps. Cut away any wound debris with a utility knife or scissors. This is also the perfect time for a deeper clean your Hoover upright, focusing on the brush roll chamber.
The motor spindle isn’t turning.
With the belt off, turn the vacuum on for two seconds. Keep fingers clear. The metal spindle should spin. If it doesn’t, you have a motor issue, not a belt issue. Listen for a humming sound, that’s the motor trying but being blocked. A dead silence points to a power button or electrical fault.
The belt is the wrong size.
Compare the new belt to the old one side-by-side. Even a quarter-inch difference in length changes the tension. A too-loose belt slips; a too-tight belt overloads the motor and produces a high-pitched noise. Only use the part number specified for your model.
Belt vs. Brush Roll: What to Replace Together
A worn brush roll has shortened, matted bristles. They don’t reach deep into carpet pile. You can check wear by sliding a credit card across the nozzle opening while turning the brush roll. If the bristles don’t consistently touch the card, the roll is worn.
Replacing the belt but not a badly worn brush roll is a waste. The old, stiff bristles create extra drag. The new belt works harder, stretches faster, and fails sooner. When the brush roll is worn past the card test, replace both at the same time.
| Condition | Replace Belt? | Replace Brush Roll? | Why |
|---|---|---|---|
| Belt broken, brush bristles look full | Yes | No | Isolated belt failure. |
| Belt stretched, bristles are < 1/4″ long | Yes | Yes | Worn brush increases drag, kills new belts. |
| Brush roll jammed with hair/string | No | No | Clean the jam. The belt is likely fine. |
| Annual maintenance | Yes | Inspect | Proactive replacement prevents failure. |
This synergy is why many best upright vacuums have user-replaceable brush rolls. It’s a maintenance point, not a permanent part.
How to Avoid the Next Breakdown
A belt replacement is a fix, but maintenance prevents the next one. Two habits extend the life of the new belt by years.
First, clean the brush roll every two months. Hair and thread winding around the ends act like a brake. That constant extra load stretches the belt prematurely. Second, check the hose and filters. A clean the hose and clear filter keep suction strong. When suction drops, you push the vacuum harder, forcing the brush roll and belt to work against the carpet.
Also, know when a different problem is masquerading as a belt issue. If your vacuum starts overheating issues frequently, the belt might be a symptom. A clogged hose or full filter makes the motor work harder, generating excess heat that weakens the rubber belt. Always clear the path from the nozzle to the dirt cup.
Frequently Asked Questions
Can I use any rubber belt that fits?
No. Genuine Hoover belts are engineered for the specific pulley diameter and motor torque of your model. A universal belt may fit initially but will slip or stretch quickly because its rubber composition and width are wrong. This leads to poor cleaning and risks motor damage from slippage-induced overheating.
Why does my new belt smell like burning?
Burning smell within the first few minutes of use means the belt is slipping. The most common cause is incorrect installation where the belt is pinched in the guide or not fully seated on the motor spindle. Immediately turn off and unplug the vacuum. Reopen the hood, remove the brush roll, and verify the belt is routed correctly through the guide and spins freely.
How long should a Hoover vacuum belt last?
With normal home use, a Hoover belt lasts about one year. The official Hoover advice centre recommends annual replacement as a preventative measure. Heavy use, thick carpets, or frequent encounters with hair and string can shorten that to six months. A noticeable decline in carpet grooming is your signal to replace it.
Do I need to lubricate the motor spindle?
Never lubricate the motor spindle or any part of the belt path. The belt relies on dry friction to grip the spindle. Adding oil or grease will cause the belt to slip immediately, leading to failure and a burning smell. The motor bearings are sealed and lubricated for life; adding lubricant can damage them.
The brush roll spins, but the vacuum isn’t picking up. Is it the belt?
Probably not. If the brush roll is spinning at normal speed, the belt is functioning. The lack of pickup is a suction issue. Check for a full dirt cup, a clogged replace the hose, or dirty filters. A thorough cleaning of the air path usually solves this.
Before You Go
Replacing a Hoover upright vacuum belt is a ten-minute job with the right part and the manual spin-test. Find your model number, order the specific Hoover belt, and keep a Phillips screwdriver handy. Remember: latch-release or screw-on hood, motor spindle first, and always rotate the brush roll by hand before you close it up. That test is what separates a permanent fix from a repeat visit. If the brush roll still won’t spin after a new belt, look for a jam or a deeper motor issue, don’t just throw another belt at it.