
Hoover Pet Vacuum Filter Cleaning Guide: Steps & Drying Tips
This post contains affiliate links. As an Amazon Associate, we earn from qualifying purchases.
To clean a Hoover pet vacuum filter, first identify your model’s specific access method for its pre-motor and exhaust filters. Wash them separately in cold or warm water only, never hot water or detergent, then squeeze out excess moisture and let them air-dry completely for at least 24 hours before reinstalling. A wet filter can trigger a thermal cut-out or damage the motor.
That 24-hour dry time is the single biggest point of failure. Hoover’s own advice centre notes it can take “around 24 hours” for some filters to dry fully. Reinstalling a damp filter doesn’t just drop suction; it pushes moist dust into the motor housing, which is a direct path to a repair bill.
What follows is the exact procedure pulled from five different Hoover service manuals, the schedule conflict between models, and the one mistake that voids your warranty faster than anything else.
Key Takeaways
- Dry for 24 hours minimum. A damp filter is the leading cause of reduced suction and motor stress. Never use the vacuum until the filter feels completely dry to the touch.
- Cold water only. Every Hoover manual explicitly bans hot water and detergents, they degrade the filter’s foam and mesh, letting fine dust bypass and reach the motor.
- Match your model’s schedule. The Hurricane and Blaze models say wash “every 5 container empties.” The Turbo Power says “every 3 months.” Use whichever comes first for your cleaning habits.
- Never run it without a filter. Operating the vacuum without its pre-motor or exhaust filter installed allows unfiltered debris straight into the motor, causing immediate damage.
- Replace annually. For peak performance, Hoover recommends replacing both the pre-motor and exhaust filters once per year, available from their official spares site.
The Two Filters You’re Actually Cleaning
Your Hoover pet vacuum has two distinct filters that work as a team. The pre-motor filter (often a blue plastic cage with a foam or mesh insert) sits right before the motor, catching the bulk of dust and hair to protect the fan and electrical components. The exhaust filter (usually a flat, rectangular pad) sits at the rear of the vacuum, capturing the finest particles before air exits back into your room.
If the pre-motor filter is the bouncer at the club door, the exhaust filter is the air filter on the HVAC system. One stops the big trouble; the other cleans what’s left before it circulates.
Skipping the exhaust filter seems harmless because the air is “already clean.” It isn’t. The motor itself sheds microscopic carbon dust from its brushes, and without the final filter, you’re blowing that back into the room. For homes with allergies or pets, that’s a direct irritant.
| Filter Type | Location | Its Job | What Happens If It’s Missing |
|---|---|---|---|
| Pre-Motor Filter | Inside the dust container assembly, before the motor intake. | Traps bulk debris (hair, dust, litter) to prevent motor clogging and abrasion. | Debris enters the motor fan, causing imbalance, overheating, and eventual bearing failure. |
| Exhaust Filter | Rear of the vacuum body, behind a plastic grille. | Captures fine dust and motor carbon particles before air is exhausted. | Fine dust recirculates into the room, and motor wear accelerates without back-pressure protection. |
| Foam Sleeve / Mesh | Often inside the pre-motor filter cage. | Provides the actual filtration surface; the cage is just a holder. | Larger particles pass through, quickly clogging the finer exhaust filter and dropping suction. |
Find and Remove Your Model’s Filters
This is where most generic guides fail. Hoover pet vacuums from the last decade use three main filter-access designs. Using the wrong method can break the plastic tabs that hold the dust bin together.
For Hoover Hurricane / Vision Reach / Rush Models
These use a rotating lid system. To access the pre-motor filter, you rotate the dust container lid counter-clockwise to unlock and lift it off. The filter pack is usually attached to this lid. A further counter-clockwise twist separates the mesh from the foam filter. The exhaust filter is a simple clip-out panel on the vacuum’s back.
For Hoover Turbo Power / Rush (ML) Models
These use a slide-and-rotate handle. Slide the dust container release button toward the rear of the vacuum. Then, rotate the bin handle counter-clockwise to release it from the container. The blue filter pack pulls straight out of the handle. The foam filter then separates from the plastic cage.
For Hoover Blaze / Sprint Models
Access is via the bin lid release. Press the dust container release button and remove the entire bin. Then, rotate the bin lid counter-clockwise to open it. The pre-motor filter and its mesh screen are inside, often requiring a clockwise turn to unlock.
Common mistake: Forcing a component that doesn’t want to move. If the lid won’t rotate, check for a secondary release latch or button. The Hoover Blaze manual specifically warns that forcing parts can break the filter door latch, which then won’t seal, causing an immediate and severe loss of suction.
The 5-Step Hoover Filter Cleaning Process
Once the filters are out, the cleaning itself is simple. The danger is in the details you skip.
- Separate every component. If your filter has a plastic cage and a foam insert, take them apart. If there’s a mesh screen, remove it. Dirt hides between these layers, and water won’t reach it if they’re stacked.
- Tap out loose debris. Gently tap each filter over a trash can to dislodge the top layer of dust and hair. Don’t bang it, you can deform the foam’s cell structure.
- Rinse under cold or warm tap water. Use a gentle stream. Never use hot water. Never use detergent. Every Hoover manual from the Hurricane to the Rush states this prohibition verbatim. Hot water breaks down the foam’s bonds, and detergent residue clogs the microscopic pores.
- Squeeze, don’t wring. Press the water out with your palms. Wringing twists and stretches the foam, creating permanent thin spots where dust will blow through.
- Air-dry for 24 hours. Place all parts on a towel in a well-ventilated area, out of direct sunlight. They must be bone-dry before reassembly. A filter that feels cool or damp to the touch is not ready.
I learned the dry-time lesson the hard way with a Hoover WindTunnel. The filter felt “mostly dry” after 12 hours. I reinstalled it, and the vacuum ran for 10 minutes before losing all power. It had triggered the thermal cut-out protecting the motor from the moisture-laden air strain. I had to wait another 30 minutes for it to reset.
The thermal cut-out is a safety feature in models like the Hoover Blaze. If the motor overheats from a blockage, a full bin, or, critically, a wet filter, it shuts off. The manual states it takes about 30 minutes to reset automatically. If your vacuum suddenly stops, check these three things before you panic.
When to Wash vs. When to Replace
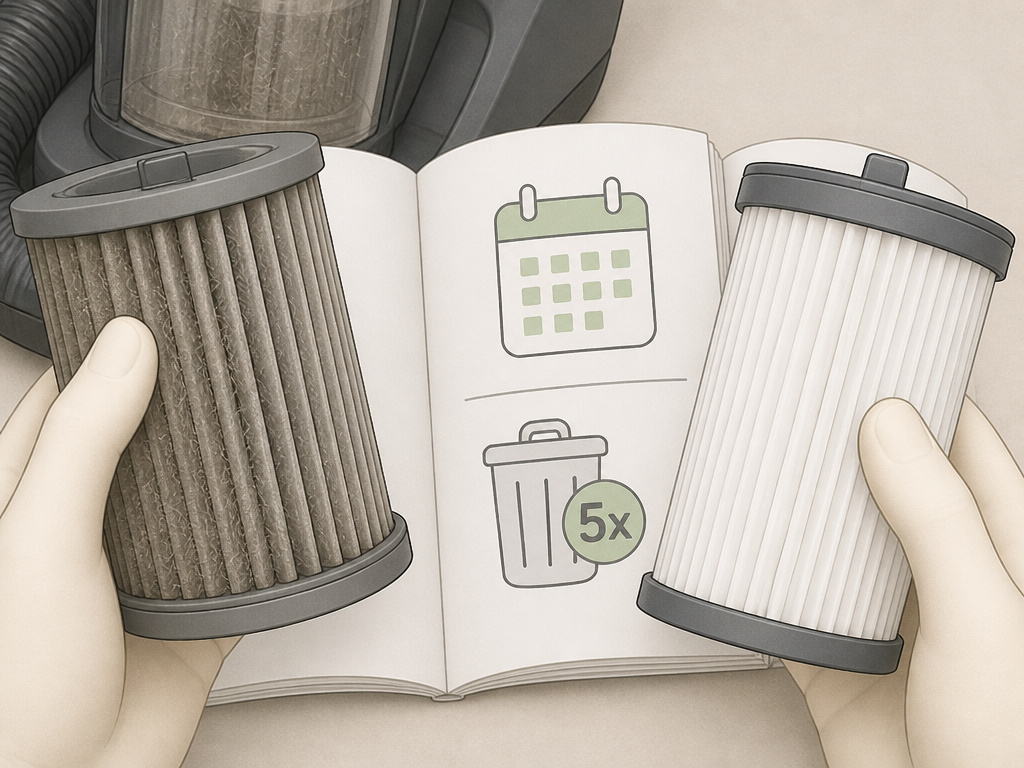
Hoover’s own guidance has two conflicting schedules, and which one you follow depends on your model and how much you vacuum.
Schedule A: “Every 5 Container Empties”
This is the rule for the Hurricane, Blaze, and Vision Reach. It’s a usage-based trigger. If you have multiple pets and empty the bin twice a week, you’re washing filters every two and a half weeks.
Schedule B: “Every 3 Months”
This comes from the Turbo Power manual. It’s a time-based rule for lighter users.
The Hybrid Rule from Hoover’s Advice Centre
The official Hoover advice centre adds a third layer: “clean the 2 filters once a week and wash them once per month.” This is the most aggressive schedule and is aimed at maintaining peak suction.
| Trigger | Recommended For | Action |
|---|---|---|
| Bin is 2/3 full | All models, all users. | Empty the dust container immediately. |
| After 5 empties | Heavy users (multi-pet homes, weekly cleaning). | Wash both filters. |
| Every 3 months | Light to moderate users (single pet, bi-weekly cleaning). | Wash both filters. |
| Noticeable drop in suction | Any user, any model. | Check for and wash filters, and inspect for vacuum hose blockages. |
| Once per year | All models, for optimal performance. | Replace both filters with new OEM ones. |
The “replace annually” note is critical. Foam and felt degrade. Even with perfect cleaning, a three-year-old filter won’t seal or filter as well as a new one. Genuine Hoover replacement filters are designed to match the original airflow specs, third-party ones can choke the motor.
What Not to Do: Three Warranty-Voiding Moves
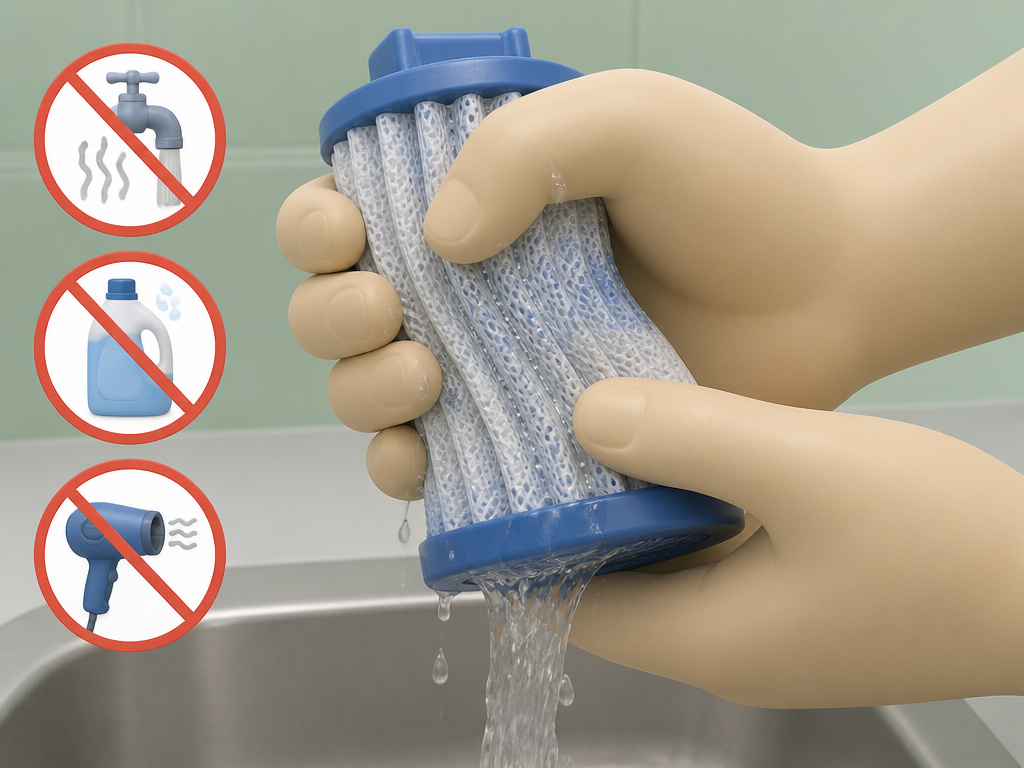
The cleaning process has hard boundaries. Cross them, and you move from maintenance to causing the problem you’re trying to fix.
1. Using Hot Water or Detergent
This isn’t a suggestion; it’s a prohibition printed in every manual. Hot water melts the binders in the foam. Detergent leaves a film that attracts and holds dust, clogging the filter permanently. The result is a filter that looks clean but passes fine dust straight to the motor.
2. Operating with Wet Filters
This is the fastest way to stress the motor. A wet filter restricts airflow, making the motor work harder and heat up. The moisture also turns dust in the air path into a paste that can coat internal components. This is a common precursor to an overheating vacuum event.
3. Running the Vacuum Without a Filter
The manuals are unequivocal: “Do not use the product without the filter pack fitted.” Without the pre-motor filter, hair and debris wrap around the motor fan blades in seconds. Without the exhaust filter, the motor loses its designed back-pressure, which can alter its operating speed and cause premature brush wear.
Where this goes sideways: Using a hair dryer or heater to speed up drying. The concentrated heat can warp the plastic filter cage or melt the foam edges, creating gaps that unfiltered air will rush through. Patience is the only tool here.
Troubleshooting Post-Cleaning Problems
You washed the filters, dried them thoroughly, and reassembled everything. But now the vacuum sounds different, has weak suction, or won’t turn on. Here’s what to check.
Problem: Weak or No Suction
- Likely Cause: The filter isn’t seated correctly. The pre-motor filter cage must be fully locked into its slot. On the Hoover Blaze, an unlatched filter door creates a massive air leak.
- Fix: Disassemble and reassemble, listening for a definitive click or feeling the rotation lock into place. Also, check the main vacuum hose for a clog you may have missed.
Problem: Vacuum Shuts Off After a Few Minutes
- Likely Cause: The thermal cut-out has been triggered. This points to a remaining blockage, an over-full dust cup, or, most likely, a filter that is still slightly damp.
- Fix: Unplug the vacuum. Let it sit for 30-40 minutes to reset. Remove the filters and feel the innermost foam surfaces. If there’s any dampness, leave them out to dry longer. Empty the dust cup completely.
Problem: Burning Smell or Unusual Noise
- Likely Cause: Debris has entered the motor compartment, often because a filter was missing or badly torn during reassembly.
- Fix: Unplug immediately. This isn’t a user-serviceable fix. You’ll need to consult a technician, as continued running can destroy the motor.
If your vacuum is chronically losing power, the issue may extend beyond the filters. A full diagnostic includes checking the Hoover vacuum hose for obstructions and ensuring the pet vacuum dust cup is emptied before it’s completely full.
Frequently Asked Questions
Can I wash Hoover vacuum filters in the washing machine?
No. The agitation and heat from a washing machine will destroy the foam and mesh filters. It can also warp or crack the plastic filter cages. Hand washing in a sink with cold water is the only method Hoover recommends.
How long does it take for Hoover filters to dry?
Hoover states drying “can take up to 24 hours” for filters to be thoroughly dry inside and out. In humid environments, it may take longer. The foam core holds moisture long after the surface feels dry.
What happens if I don’t clean my Hoover pet vacuum filter?
Suction will drop progressively as the filter clogs. The motor will strain, overheat, and eventually trigger the thermal cut-out. Over time, fine pet dander and dust will bypass the clogged filter and coat the motor, leading to permanent damage and costly repairs.
Are Hoover pet vacuum filters universal?
No. While many models share similar designs, the exact shape and size of the filter cage differ between series like the Hurricane, Turbo Power, and Blaze. Always use the filter model number listed in your specific vacuum’s manual or the Hoover bagless filter replacement guide.
Can I use my Hoover without a filter while the other one dries?
Absolutely not. Running any bagless vacuum without its pre-motor or exhaust filter will draw unfiltered debris directly into the motor, causing immediate and often irreversible damage. Always wait until all components are completely dry and reinstalled.
Before You Go
Cleaning a Hoover pet vacuum filter boils down to three non-negotiable rules: use cold water only, ensure a full 24-hour dry time, and never run the vacuum with a filter missing or damp. The schedules vary by model, follow the “every 5 empties” or “3 months” rule from your manual, whichever hits first.
For homes with heavy pet hair, consider this filter cleaning a core part of your routine, just like emptying a Hoover pet vacuum dust cup. If you’re in the market for a new machine, our reviews of the best Hoover pet vacuums and the broader best pet hair vacuum options rank models based on real-world filter access and maintenance hassle. Stick with the OEM replacement filters each year, and your vacuum will handle the fur for years to come.