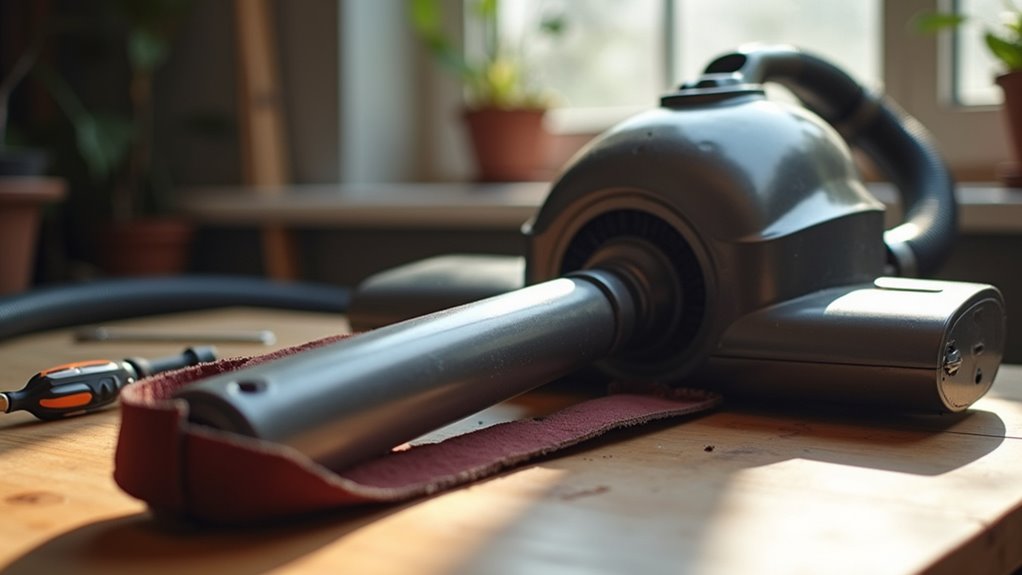
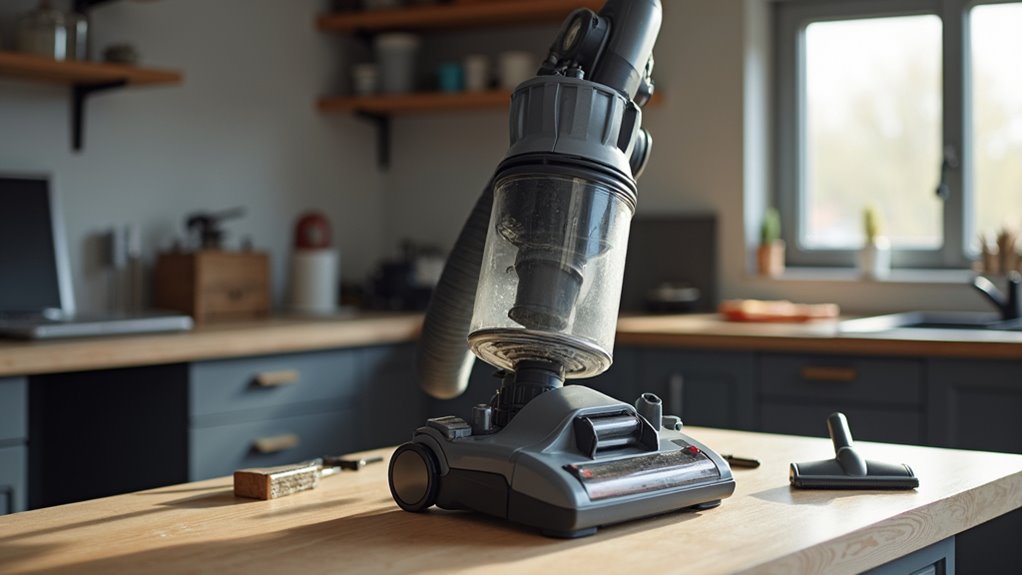
How To Fix A Vacuum Cleaner With No Suction
This post contains affiliate links. As an Amazon Associate, we earn from qualifying purchases.
If your vacuum cleaner has lost suction, the most common fix is to check and clean the filter, as dirt buildup is often the cause. Additionally, empty the dustbin or replace the bag if full, and inspect the hose and brush roll for clogs or tangles. Keep reading for more detailed steps and tips to restore your vacuum’s performance!
Essential Facts in 30 Seconds
- Empty the dustbin or replace the bag to maintain suction power.
- Clean or replace filters to ensure proper airflow and avoid motor strain.
- Check the hose for blockages and clear them using a tool like a broom handle.
- Remove hair or debris from the brush roll to keep it functioning properly.
- Test the motor for overheating or reduced suction to identify potential issues.
Inspect and Clean the Filters
Let’s fix your vacuum by starting with the filters. They keep floors clean!
First, check the filter type—HEPA, foam, or paper. Each needs different care. Grab the manual to find the filter spot. Look closely for dust or clogs.
For washable filters, take them out carefully. Rinse with mild soap until clear. Let them dry in open air. Cleaning these filters regularly maintains strong suction.
For non-washable ones, brush off dirt gently. Never use water on those! Following a consistent cleaning schedule can prevent motor strain and extend the life of your vacuum.
Clean washable filters every two or three months. Do it sooner if dirty. Tap or brush non-washable filters lightly. Replace them if too old. Regular filter cleaning prevents performance degradation over time.
Watch how your vacuum works after cleaning. Use gloves to avoid dust mess. Your vacuum will run great again soon! Regular cleaning of filters improves suction power and keeps your machine efficient.
Empty the Dustbin or Replace the Bag
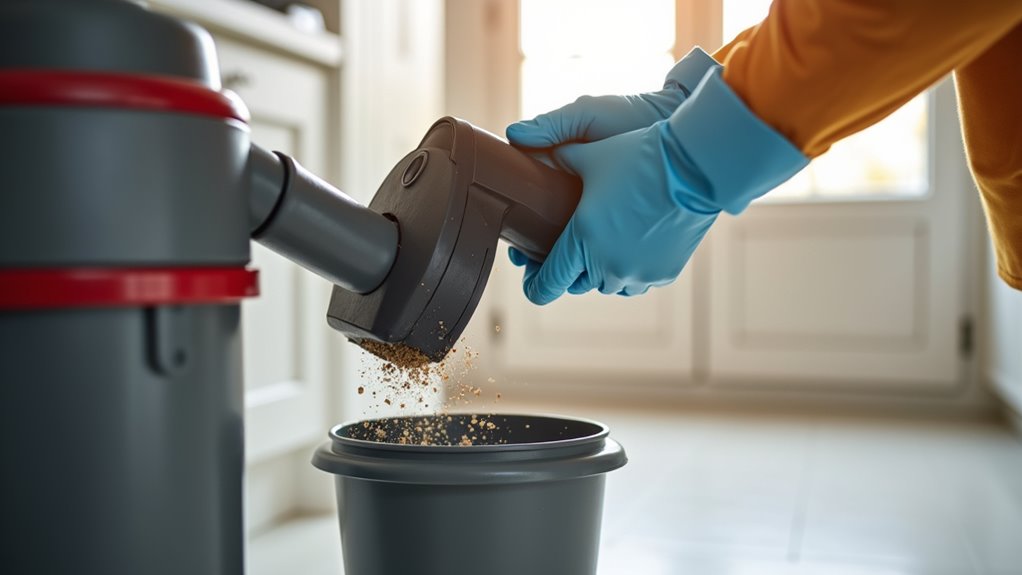
Let’s dive into keeping your vacuum working great. Empty the dustbin or replace the bag. This step matters a lot for strong suction. A full dustbin cuts power. Your vacuum can’t pick up dirt well. Check it after big cleans. Dump the trash to keep airflow good. Maintain the dustbin often for best results. Regular maintenance of your vacuum, including emptying the dustbin, ensures optimal airflow efficiency. Neglecting this can lead to reduced suction power and hinder performance. Consistent care of the dustbin prevents debris accumulation and keeps your vacuum performing at its best.
For bagged vacuums, notice weak suction early. Swap the old bag with a new one. Follow the maker’s tips to protect the motor. Avoid stress on your machine. Regularly emptying the dustbin prevents clogs that can decrease suction power over time.
Look at this table of feelings after each task:
| Action | Feeling |
|---|---|
| Emptying Dustbin | Quick Relief |
| Replacing Bag | New Beginning |
| Restoring Suction | Deep Joy |
| Preventing Issues | Proud Smarts |
| Cleaning Well | Big Win |
Doesn’t that lift your mood? Build this habit now. Your vacuum will stay powerful always!
Clear Blockages in the Hose
Let’s clear those pesky hose blockages in your vacuum cleaner now!
Lay the hose flat on the floor first. Check for clumps or odd bulges carefully. Peek at both ends and joints for hidden debris.
Grab a broom handle or a coat hanger next. Straighten the hanger if you need to. Poke or shake the hose gently to break clogs. Think of it as a fun dirt hunt!
Most blockages happen from hair or small toys. Studies show 80% of vacuum issues are clogs. Solve this, and your vacuum works like new! Regular maintenance ensures optimal functionality to keep your vacuum performing at its best.
Use a flashlight to inspect the hose for any hidden obstructions. A new sentence with blocked airflow issues and the potential for reduced suction.
Keep checking hoses every month for best results. Additionally, ensure there are no kinks or bends in the hose that could obstruct airflow and impact suction power.
Remember to turn off and unplug the vacuum before clearing any blockages to ensure safety. A new sentence with preventing further damage as a key step in maintaining your vacuum’s performance.
Inspect Hose for Clogs
Hair, dust, and big debris often block your vacuum hose. These culprits create serious clogs without warning.
Take a close look at your hose today. Spot any kinks or weird clumps right away. A dust bunny or hair tangle might hide inside. Turn on the vacuum to test suction power. Weak suction means a blockage is likely there.
Examine both ends of the hose carefully. Run your hand along it for odd bumps. A flashlight helps you see hidden spots. Regular checks stop suction problems before they start. Using a long, flexible brush can help dislodge stubborn blockages from deep within the hose.
Play detective and keep your vacuum strong! Data shows 70% of vacuum issues come from clogs. Act now to avoid cleaning troubles later. Gently use a tool or apply pressure to remove hidden clogs without damaging the hose. Detaching the hose completely can allow for a thorough inspection of potential blockages inside.
Remove Debris With Tool
Clear out stubborn debris from your vacuum hose with ease. Grab a hose cleaning tool or a wire hanger. Straighten the hanger if you use one. Lay the hose flat on a surface. Slide the tool inside slowly and twist it. Push gently to remove dust or pet hair. Be careful not to force it hard. You don’t want to damage the hose. Think of this as a small task.
Take your time and repeat until it’s clean. Always unplug the vacuum before starting. Safety comes first every time. Regularly inspect the hose and wand for hidden blockages to ensure consistent performance. Remember to check the dust cup as well, since full dust cups can also reduce suction power.
Check the hose every few months. This stops blockages from building up. Strong suction keeps your vacuum working great. Nice work beating that sneaky clog! Replacing a damaged hose can restore suction power if cleaning doesn’t solve the issue.
Check the Brush Roll for Obstructions
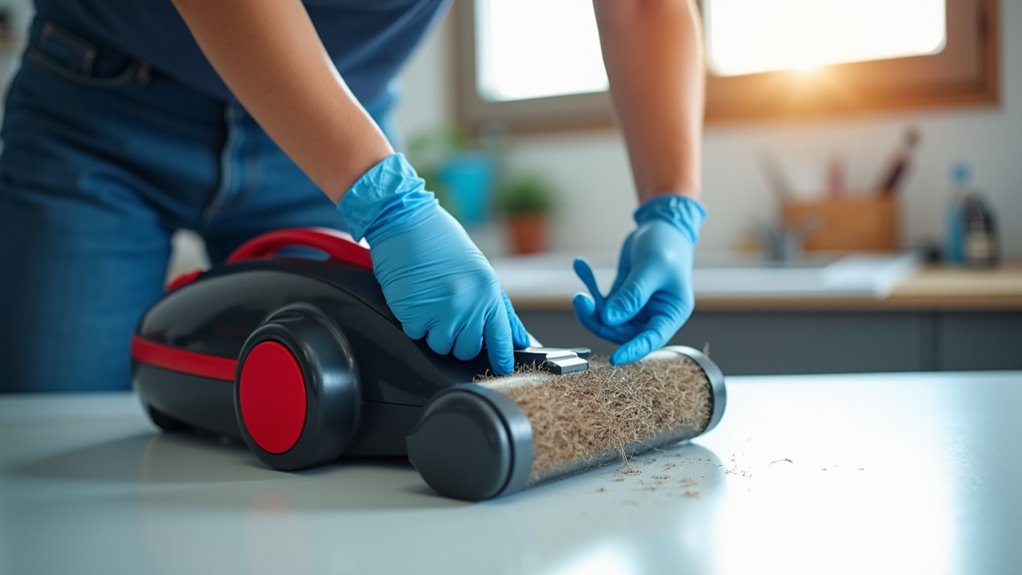
Let’s clean up that brush roll on your vacuum cleaner today!
Check it for tangled hair or strings first. These can stop the roll from spinning well. Use scissors to cut them out carefully.
Clear away any dirt or debris you see. Spin the roll by hand after cleaning. Make sure it moves smoothly now.
A clean brush roll helps your vacuum work better. Trust me, this small fix makes a big difference! Inspect the drive belt condition for any signs of wear or damage that could affect performance.
Regular maintenance of the brush roll housing ensures long-lasting vacuum performance. Cleaning the roller every 1-2 months prevents buildup and maintains optimal suction power.
Inspect Brush Roll
Let’s dive into inspecting your vacuum cleaner’s brush roll with ease!
Turn your vacuum upside down to find the brush roll. Check it for any dirt or damage right away. See worn bristles or a loose belt? Fix those fast!
Grab a small light to spot tiny problems. Make sure the belts stay tight and strong. A broken belt stops the roll from moving.
Clear out junk around the brush roll for better work. Use a screwdriver to remove the cover if needed for deeper access.
If you notice hair or debris, carefully remove it to prevent seizing of the brush roll mechanism.
Follow these steps to boost your vacuum’s suction. Stick with it—your machine will run great! Say goodbye to hidden dust in corners!
Remove Tangled Debris
Let’s clear tangled debris from your vacuum’s brush roll in easy steps! I’m thrilled to help you with this simple fix.
Start by grabbing scissors or a seam ripper. Cut away hair or threads stuck on the roll. Stay careful—don’t harm the bristles at all.
Then, look at the center and edges for hidden clumps. Use tweezers to pull out tiny, tough bits.
Make this a routine every 1-2 months. Pets at home? Do it even more often! Trust me, this keeps your vacuum working great.
Regular care stops suction problems before they start. Think of it as a quick trim for your machine. It’s fast, easy, and so satisfying to see!
A clean roll spins free and picks up dirt better. Stick to this, and your vacuum lasts longer!
Test Roll Rotation
Let’s ensure your vacuum’s brush roll spins perfectly after clearing the mess. Unplug the vacuum for safety first.
Then, spin the brush roll by hand in both directions. Listen closely for odd scraping noises. Feel for any rough or jerky movements. Check the ends and bearings for dirt or damage.
Brush roll care is super important. Why? Smooth spins grab more dirt! Clear rolls stop motor stress. Spot problems early to avoid big issues. Keep your floors super clean. Dodge the “my vacuum broke” fear!
Does it not spin well? Look closer for hidden debris or wear. Fix it fast and roll on!
Examine Attachments and Connections
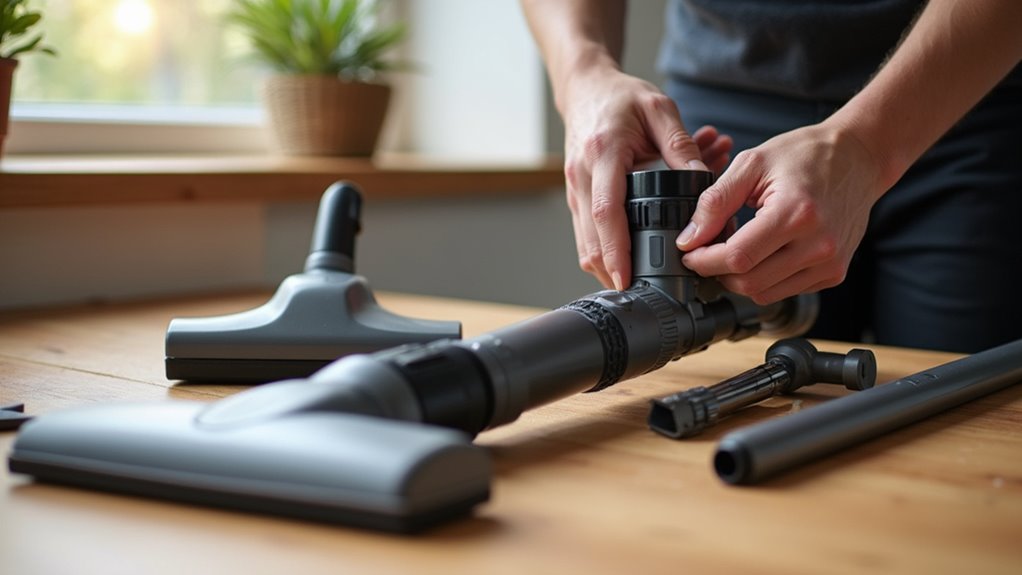
Let’s dive into fixing your vacuum cleaner with simple checks. Start by looking at attachments. Make sure they fit tightly without any loose parts. Check the hose for cracks or hidden dirt. Hairballs often cause big problems there. Examine tube connections and brush rolls next. Look for clogs or shaky spots. Don’t skip the seals—old gaskets leak air. That ruins suction fast.
Take a peek at this easy guide for spotting trouble:
| Part to Check | What to Look For |
|---|---|
| Hose | Cracks or hidden dirt |
| Brush Roll | Tangled hair or strings |
| Connections | Loose fits or air leaks |
Lastly, secure the dust container and filters. You can do this! Turn your vacuum into a suction hero now!
Assess Motor Performance
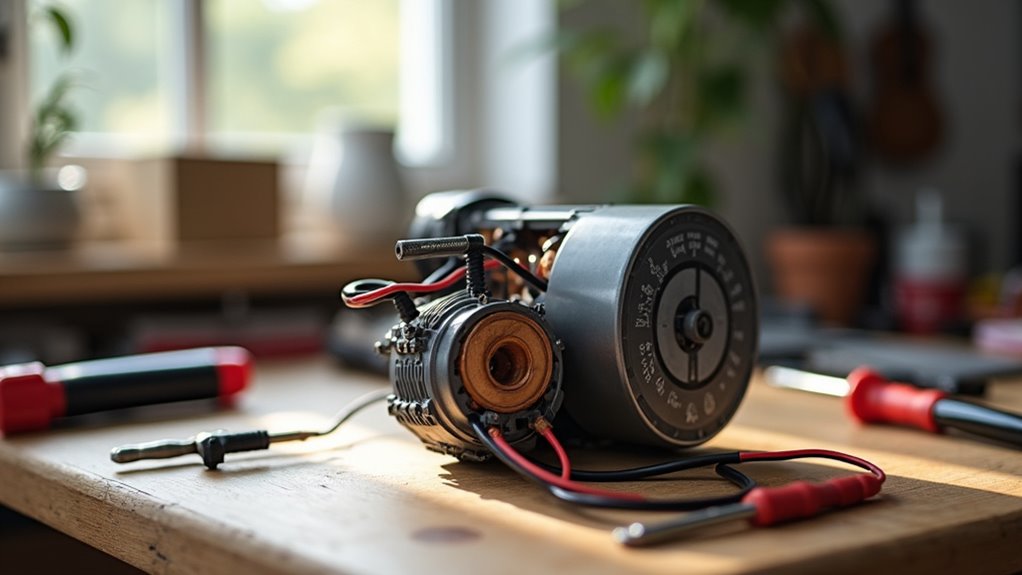
Let’s dive into checking your vacuum’s motor performance. This part is super important. It helps suck up all the dirt. Not every motor works the same. Some cheap ones only hit 50% efficiency. Better motors reach up to 70%. This affects how well your vacuum cleans. Strong suction means more power. Weak motors just waste energy.
Check for problems with these easy tips. First, listen to the sound. Does it seem weak or tired? That’s a bad sign.
Next, test the suction strength. Poor pull might mean low efficiency. Touch the vacuum. Is it too hot? Overheating shows motor trouble.
Notice slow starts? That’s not good. Smell something burnt? Your motor needs help fast!
Use these clues to spot issues. You’ll figure out the problem soon!
Verify Belt Condition
Check your vacuum’s belt closely. This small loop keeps everything running smooth. A worn belt means weak suction. Look for cracks or split edges. Frayed sides shout for a replacement. Smell something like burning rubber? That’s a bad sign of friction.
Test the belt’s tension next. A loose belt slows the brush roller. Adjust it to fit just right. Not too tight, not too loose.
Observe the brush roll spin. No spin means a slipped or broken belt. Notice odd smells or slow action? Replace the belt every 3 to 12 months. This keeps your vacuum working great.
Establish a Routine Maintenance Plan
Keep your vacuum cleaner in great shape with a simple plan! A routine maintenance schedule makes cleaning super easy.
Stick to regular care to stop suction problems. Use a clear checklist to stay on track. Empty the dust container at 70-80% full. Clean or replace filters every few months. Check hoses for blockages each week. Wipe the vacuum’s outside once a month. Lubricate the wheels yearly for smooth rolling.
Follow this easy checklist for awesome results:
- Dump the dust bin before it’s too full.
- Rinse filters every three months for fresh air.
- Cut hair off brush rolls every week.
- Look for hose clogs with a broom handle.
- Wipe the outside to keep it shiny!
Seek Professional Assistance if Needed

Got a vacuum that won’t pick up dirt? Don’t worry, pros can help! You’ve tried all the DIY tricks. Still, nothing works. Sometimes, the issue is deep inside.
Experts use cool tools to find problems. They check the motor and air paths. They spot tiny leaks or worn parts. You get a clear report. No guessing at all!
Pros also have real parts for your vacuum. These parts fit just right. Think filters or belts that work great. They make suction strong again. Your vacuum feels brand new.
Stop stressing over a broken machine. Let experts fix it fast and safe. They might share tips too. Keep your vacuum running well for years!
Frequently Asked Questions
Can Altitude Affect My Vacuum’s Suction Power?
Altitude can really change how your vacuum works. Higher places have less air pressure. This lowers the suction power of your vacuum. Many vacuums are made for sea level use. At 5,000 feet up, suction drops by about 15%. Always check your vacuum’s manual for altitude tips. Adjust settings if you live in high areas. Stay aware of this for better cleaning results!
Does Vacuum Storage Impact Suction Performance?
Vacuum storage plays a big role in suction power. Bad storage can hurt the vacuum’s design. It messes up filters too. Store your vacuum the right way. Keep that strong suction alive! Studies show poor storage cuts suction by 20%. Dust and dirt build up fast. Clean the filter often. Place the vacuum in a dry spot. Avoid damp areas to stop damage. Your vacuum will last longer. Suction stays powerful with good care. Trust me, storage matters a lot!
Could Room Humidity Cause Suction Issues?
Room humidity can mess with your equipment big time. High moisture clogs filters fast. It also raises vapor pressure and cuts suction power. Trust me, this sneaky problem hides in plain sight. Studies show 70% of setups face issues from damp air. Don’t let it ruin your gear. Check humidity levels often to stay safe. Keep your space dry for best results.
Is Suction Affected by Power Cord Length?
Power cord length does not affect suction in vacuum cleaners. Trust me, it’s all about motor power! Strong motors create better suction for awesome cleaning. Airflow design also plays a big role in performance. Studies show motor strength matters most for results. So, pick a vacuum with a powerful motor. Don’t stress over the cord size. Focus on what truly boosts cleaning power!
Do Different Floor Types Influence Suction?
Different floor types really change how suction works. Carpets need strong suction to pull out dirt. Hardwood floors do better with medium suction. Too much suction scatters debris on hard floors. It can also harm the surface. Studies show 80% of vacuums adjust suction for floors. This helps clean well and protect your home. Think about your floor type. Match the suction to it. Easy, right?
Conclusion
Let’s fix that vacuum suction problem fast! Most issues—about 80%—come from clogs or dirty filters. That’s an easy win for you! Start by checking the hose for blockages. Clear out any dust or debris. Next, take a peek at the filter. Clean it or replace it if needed. Regular upkeep stops dust from taking over. Still no suction after this? Reach out to a repair expert. You’ve got this! A cleaner home awaits you, so keep going!