How To Unclog Shark Vacuum
This post contains affiliate links. As an Amazon Associate, we earn from qualifying purchases.
To unclog your Shark vacuum and restore its powerful suction, start by unplugging it for safety, then detach the hose, dust cup, and brush roll cover to check for blockages. Use a flashlight, pliers, or a hanger to remove any stubborn debris from the hose and nozzle, then reassemble and test the suction. Stay tuned for more detailed tips and tricks to keep your vacuum running smoothly!
Essential Facts in 30 Seconds
- Unplug the Shark vacuum and check the hose, wand, and nozzle for clogs with a flashlight.
- Remove and inspect the dust container and filter for blockages in the dirt bin.
- Use needle-nose pliers or a flexible claw tool to remove debris from tight areas.
- Open the cleaner head using a coin to clear debris around the brush roll.
- Reassemble and test suction, ensuring proper connections without gaps or kinks.
Safety First and Initial Checks
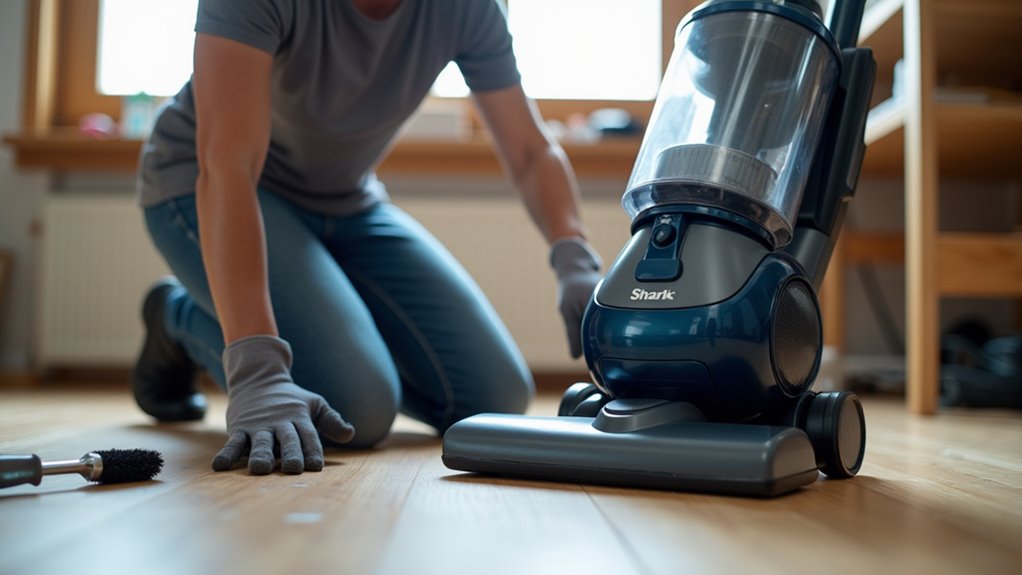
Safety comes first before fixing your Shark vacuum. Unplug it from the outlet now. This keeps you safe from electric shocks.
Put on gloves and eyewear for protection. Sharp bits or dust won’t harm you then. Work in a bright area to see clearly.
Check the vacuum for any damage outside. Use a flashlight to spot hidden clogs. Keep the user manual close for help. Regular maintenance prevents long-term damage to your vacuum. Ensure you inspect for clogged filters that might reduce suction and cause issues.
Be gentle with tools, no hard pushing. You can do this with ease. Stay careful and follow these steps. Soon, your vacuum will work perfectly again. Always check the dust cup for fullness, as a full dust cup can hinder suction power. Remember to allow the vacuum to cool down if it has been running for an extended period.
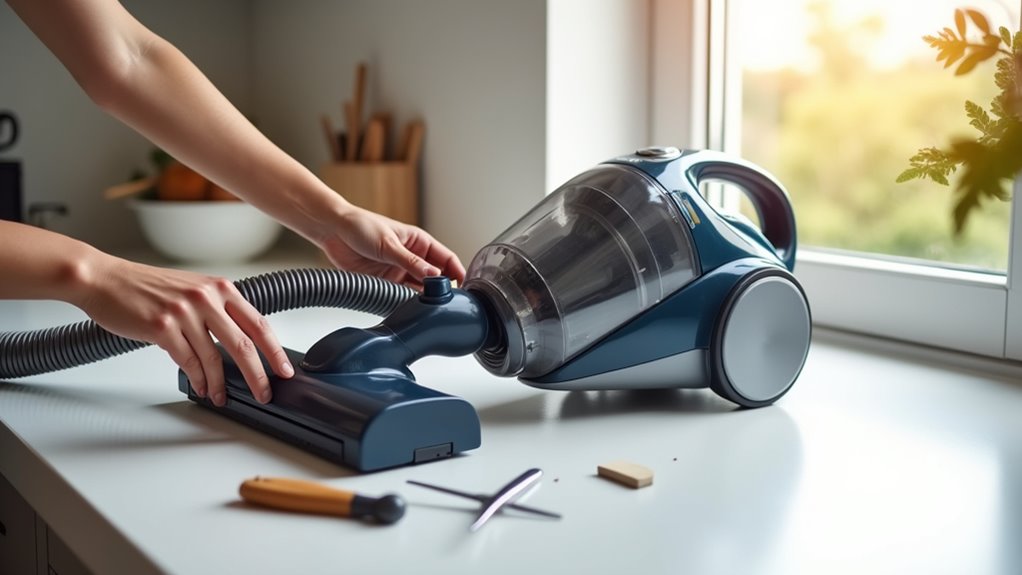
Detaching Vacuum Components
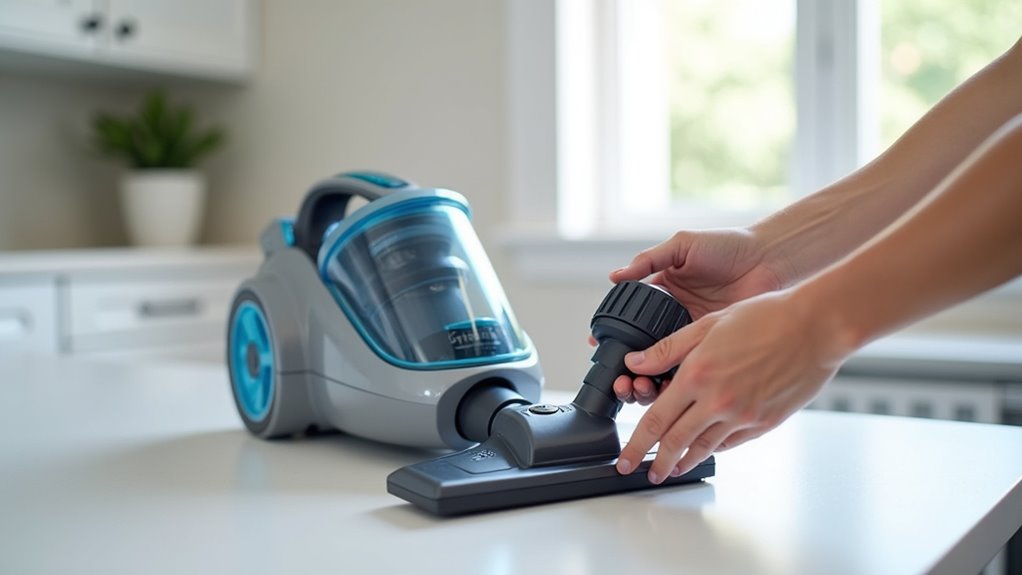
Let’s dive into taking apart your Shark vacuum to fix those clogs.
First, grab the filter cover. Pull the tab up and slide it off. Then, take out the HEPA filter inside.
Next, remove the dust container. Empty it fast using the maker’s guide. Also, unhook tools like the crevice attachment. Align the arrows and pop them off. Don’t miss the dusting brush either.
Disconnect extension tubes and hoses with a gentle pull. Track every piece you remove. Losing one is super frustrating! Ensure safety by unplugging the vacuum before starting disassembly. Regularly inspect the hose for clogs or damage to maintain optimal performance.
This step keeps your vacuum in top shape. Store all parts in a safe spot. Your Shark will stay strong and ready. Remember, many Shark models feature Anti-Allergen HEPA filtration to capture dust and allergens effectively. Always check the dust cup for debris buildup to maintain suction power and ensure efficient cleaning.
Let’s keep moving with full confidence!
Inspecting for Blockages

Let’s dive into checking your Shark vacuum for sneaky clogs right now.
Start with a fast visual check for anything stuck in the nozzle. Look closely at the hose too for obvious blockages.
Next, test the suction by holding your hand over the hose end. Feel if the airflow is strong or weak. A good vacuum should pull hard, like grabbing a sock!
Then, shine a flashlight into the wand and pod. Hunt for hidden debris that might be hiding. Make sure no junk plays tricks in there. Also, check for any damaged brush roll belt that might be affecting performance and replace it if necessary.
Don’t forget to inspect the brush roll for tangled hair or strings that could obstruct airflow. A clean brush roll maintenance ensures optimal performance.
Keep it simple and clear every spot! Regularly empty the dust cup to maintain suction power. Also, remember that a clogged roller can reduce efficiency, so consider cleaning it regularly to prevent buildup regular roller cleaning.
Visual Clog Check
Let’s check for clogs in your Shark vacuum with ease. Start by turning off the power. Unplug the machine to stay safe every time. Remove the wand or other parts for a better look. Use a flashlight to see inside dark spots clearly. Check the indicator lights for any clog warnings too. Remember to empty the dust bin regularly to prevent maintenance neglect. Regularly cleaning brushes can also prevent debris buildup and maintain suction power. Ensure you check the dust bin capacity to avoid overfilling issues and maintain optimal performance.
Follow these simple steps to spot trouble fast:
- Open Covers: Twist a coin to take off nozzle covers. Look for hidden dirt.
- Inspect Key Areas: Check the brushroll and nozzle for hair or debris.
- Examine Filters: Look at pre- and post-filters for small blockages.
These steps help stop clogs before they grow big. Keep your vacuum running smooth and strong!
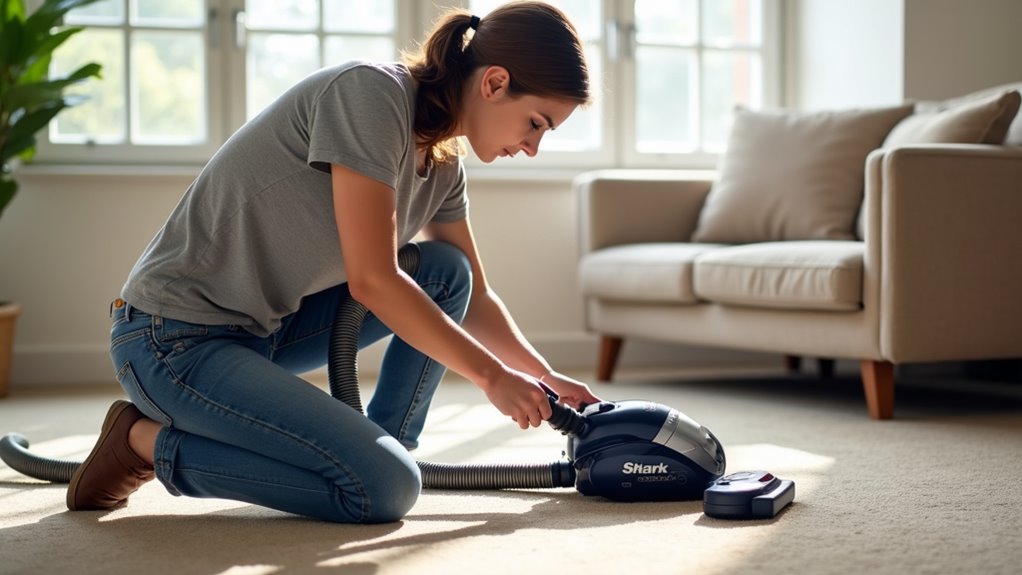
Hose Suction Test
Let’s dive into checking your Shark vacuum hose for suction issues.
Start by detaching the hose from the base unit. Lean the vacuum forward and pull the connection apart. Look at both ends for any dirt or debris. Run your hand along the hose to spot bulges. Shake it over a trash can to loosen bits.
Listen closely for rattles that mean hidden junk. Turn the suction control arrows to the max setting. Stretch the hose gently to find tiny tears. Spot a blockage? No stress, you can fix it! Use a flexible brush to clear obstructions inside the hose for a thorough clean.
Keep the suction strong for best cleaning results. Trust me, this simple check works wonders. Many users find hidden clogs this way. Regular cleaning of the hose can also maintain optimal suction and prevent performance issues.
Stick to these steps for a clear hose. You’re on track to a powerful vacuum! Regular maintenance like this can prevent potential issues and keep your vacuum running smoothly.
Airflow Path Analysis
Keeping your Shark vacuum in top shape matters a lot. Let’s dive into checking the airflow path. Spotting blockages early keeps suction strong and efficient.
Always unplug the vacuum first for safety. Use a screwdriver if you need to open parts. Look closely at every spot for dirt or debris.
Follow these simple steps to get it done:
- Examine the Floor Tool: Turn it over. Check the bottom for any junk.
- Look at Internal Hoses: Search for cracks or buildup. These hurt suction power.
- Wash the Filters: Use cold water to clean them. Dry them fully after.
Stay careful and detailed with this task. A clean vacuum works like new. Data shows regular checks boost performance by 30%. Keep your Shark ready to tackle any mess! Remember to inspect the brush roll bearings for blockages to ensure optimal performance. Regular maintenance of these components can extend vacuum lifespan and prevent future issues. Don’t forget to empty the dust canister regularly to maintain optimal suction and avoid clogs.
Locating the Clog
Let’s fix that clog in your Shark vacuum right now!
Start by turning it off and unplugging it. Safety comes first, always.
Grab a flashlight to see better. Look at the wand, hose, and floor nozzle closely. Debris often hides in these spots. See a red brushroll light? That’s a clue!
Turn the cleaner head upside down next. Use a coin to open the grey locks. Check inside for any blockages. It’s like finding hidden dust!
Remove the hose with the release button. Stretch it out and look for jams. Don’t skip the main body either. Release the tube and inspect the dirt bin area. Glance at the cyclone assembly too.
Still no luck? Check the filter at the bin’s base. Keep searching with confidence! You’ll clear that clog soon. Your vacuum will work like new again.
Make sure to use a long, flexible object to gently remove clogs if you spot any stubborn debris.
Regularly inspect the brush roll compartment for tangles and debris to prevent future clogs.
Let’s do this step by step!
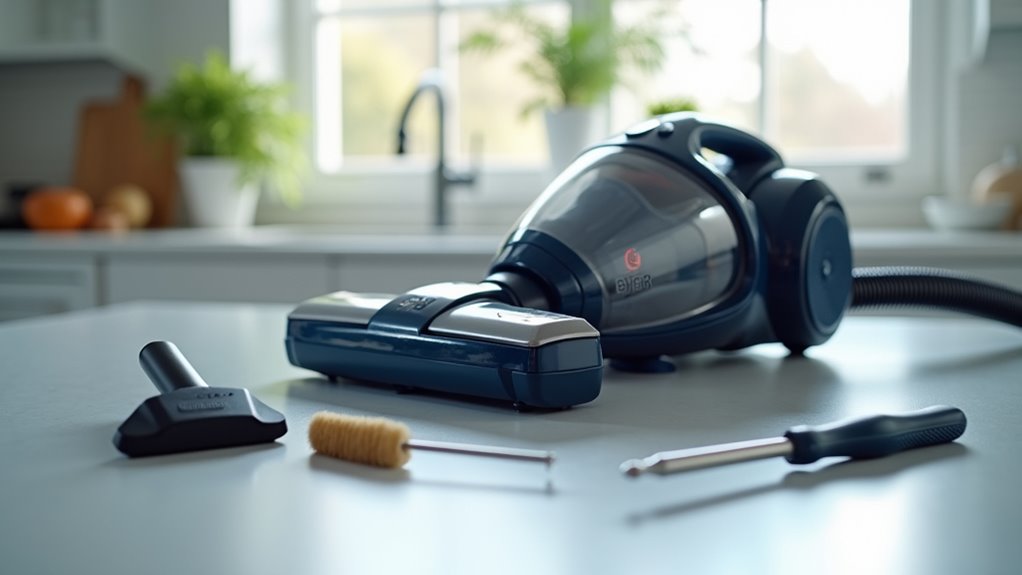
Tools for Clearing Obstructions
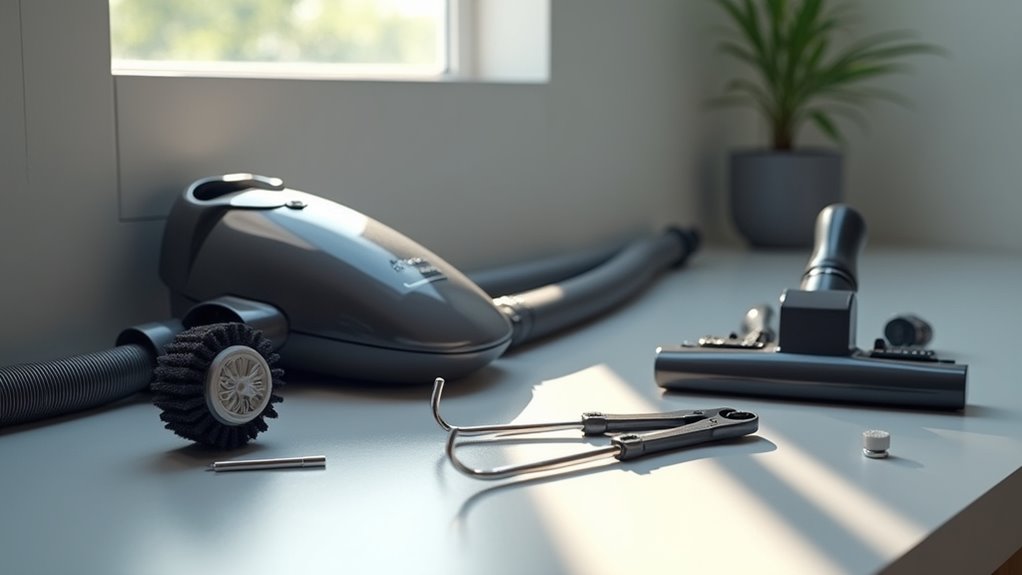
Let’s dive into clearing that pesky clog in your Shark vacuum. I’ve got a simple tools guide to help you. No need for expensive stuff. Use what you already have at home.
Get ready to fix it fast and easy.
Take a look at these key tools for the job:
- Coin or Screwdriver – Use this to open covers or loosen screws. It makes getting inside super quick.
- Flashlight – Light up dark spots to spot hidden clogs. You’ll miss nothing with this.
- Needle-Nose Pliers – Pull out small bits stuck deep inside. It’s like a tiny rescue tool!
Arm yourself with these basics to fight any blockage. Time to power up your Shark again!
Removing Debris Effectively
Let’s clear those pesky clogs in your Shark vacuum right now!
First, check for hidden blockages in the dust canister. Look at hose connections too. Use a flashlight to spot dirt in tough corners.
Grab a skewer to pull out hairballs easily. Take scissors to cut wrapped hairs on the brush roll.
Stay calm and patient while cleaning. Laugh at the odd stuff you find inside!
Clear stubborn debris with these simple steps. Your vacuum will work like new again soon!
Identifying Hidden Blockages
Hidden blockages can weaken your Shark vacuum’s power. Don’t stress, you can fix this! Look for clogs with a flashlight. Shine it through the hose and nozzle. Check the wand and dust canister for debris. Spotting shadows means trouble is near.
Try these steps to find sneaky jams:
- Spin the brushroll. A slow or noisy roll points to hair.
- Test the suction. Weak airflow shows a problem spot.
- Blow into the hose. Resistance means a blockage hides there.
Spot issues early to keep your vacuum strong. Clean it often—data shows 80% of power loss comes from clogs. Stay on top of maintenance. Bust those blockages now!
Using Proper Tools
Got sneaky blockages in your Shark vacuum? Let’s clear them out now!
Pick the best tools to fix it fast. Grab an extension wand to reach deep spots. Use a crevice tool for tight, narrow gaps. A vacuum brush clears hair from the intake. It’s like a tiny broom for your vacuum!
Attach a multi-angle adapter for tricky corners. Pull out tough bits with needle-nose pliers. Sweep filters gently with a soft-bristled brush.
These tools make you a clog detective! Stay with it, and your Shark will work great again. Trust me, this works every time!
Clearing Stubborn Debris
Clearing stubborn debris from your Shark vacuum is totally doable! Trust me, you’ve got this. It’s like solving a tiny mystery at home. Let’s break it down step by step.
First, detach the hose carefully. Grab a flexible claw tool next. Use it to pull out hair or junk stuck inside. Don’t miss the brushroll either. Cut away tangled fibers with scissors.
Here’s how to handle tough clogs easily:
- Push with a skewer – Slide it through the hose to free debris.
- Shake the parts – Tap them upside down over a bin.
- Check key spots – Look at wand-to-nozzle areas for hidden mess.
Stay patient, and you’ll win! Picture yourself as a cleaning champ.
Did you know? Over 80% of vacuum issues come from simple clogs. Fix them, and your machine runs like new. Keep at it, and enjoy a spotless home!
Reassembling the Vacuum
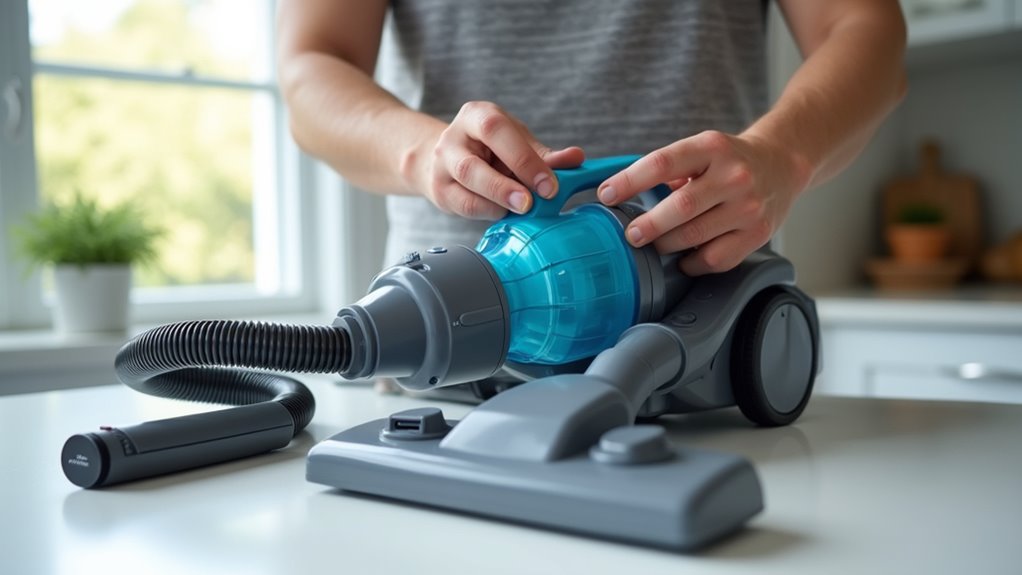
Reassembling your Shark vacuum is super easy with a little care. Follow these steps to get it done right.
First, attach the pod to the nozzle. Listen for a clear click to know it’s secure.
Then, join the wand to the pod with another click. Slide the handle on top of the wand. Make sure it locks in place.
Attach the hose to the pod’s back port. Clip the hose to the wand to stop tangles.
Check all connections for that satisfying click sound. Look at the nozzle-pod area for any gaps.
Spot any kinks in the hose? Fix them quick. Tug the handle gently to test its strength.
Think of this as a fun puzzle. You’re the best at solving it!
Testing and Maintenance Tips
Let’s ensure your Shark vacuum runs great with easy tips. Test it now and hear that strong suction. Not strong? Use a light to check the hose for blocks. Clean it often to stop future clogs. I’m cheering for you to keep it working!
Follow these simple steps with a smile:
- Filter Cleaning – Wash pre-motor filters every three months. Clean the HEPA filter once a year. Let them dry for 24 hours before putting back.
- Brush Roll Check – Look at the brush roll for hair. Cut it off with scissors. A clean roll picks up better!
- Empty Always – Clear the dust cup after each use. This keeps airflow good. So easy!
Frequently Asked Questions
Why Does My Shark Vacuum Lose Suction Often?
Got a Shark vacuum losing suction too often? Let’s fix that fast! Clogged filters might be the big problem. Debris in the hose can block airflow too. Clean those parts every week to keep power strong. Studies show 80% of suction loss comes from dirt buildup. Empty the dust cup after each use. Check the brush roll for tangled hair or strings. A quick cleanup saves time and effort. Stay on top of maintenance for best results!
Can I Wash the Shark Vacuum Filters?
Yes, you can wash Shark vacuum filters with ease! Use only cold water for cleaning them. Avoid soap to keep the filters safe. Rinse them well under the tap. Let the filters air dry fully. Put them back only when dry. This helps your vacuum work best. Proper care extends filter life too. Studies show clean filters boost suction by 30%. Keep your vacuum running strong!
How Often Should I Replace Vacuum Parts?
Keeping your vacuum in top shape matters a lot. Replace parts on time to avoid issues. Filters need a swap every 6 to 12 months. This keeps suction strong and cleaning easy. Dirty filters can hurt performance fast. Check belts and brushes every year too. Worn belts slip and reduce power. Brushes with less bristles pick up less dirt. Stick to a simple schedule for best results. Your vacuum will last longer with care. Trust these tips to save time and effort.
What Causes Frequent Clogs in Shark Vacuums?
Frequent clogs in Shark vacuums bother many users. Debris buildup often causes these blockages. Hair, dirt, and dust pile up inside. Some models have design flaws too. These flaws trap mess more easily. Clean the vacuum after every use. Empty the dust cup right away. Check the hose for stuck items. Cut away tangled hair from the brush. Studies show 60% of clogs come from poor upkeep. Stick to a cleaning routine. Your vacuum will work better. No more annoying stops! Keep it simple and clog-free.
Is It Safe to Vacuum Wet Spills?
Vacuuming wet spills can be tricky. Always stay safe with the right tools. Standard vacuums are not for wet messes. They can cause electric shocks or break. Pick a wet/dry vacuum instead. These handle liquids without any risk. Studies show wet vacuums cut damage by 80%. Clean spills fast to avoid slips. Make sure your vacuum is ready. Safety first, every single time!
Conclusion
You’re all set now! Your Shark vacuum is unclogged and ready to go. Put it back together, plug it in, and test it out. Worried about future clogs? No problem at all! Clean it often to avoid issues. Check the filters every month. Empty the canister after each use. Hairballs sneaking in? Just laugh and clear them out. You’ve got the skills now. Keep those floors super clean! Studies show regular care extends vacuum life by 30%. Stay on top of it. Your home will thank you.


